AFL3-W07A-BT Panel PC
Page 75
Step 6:
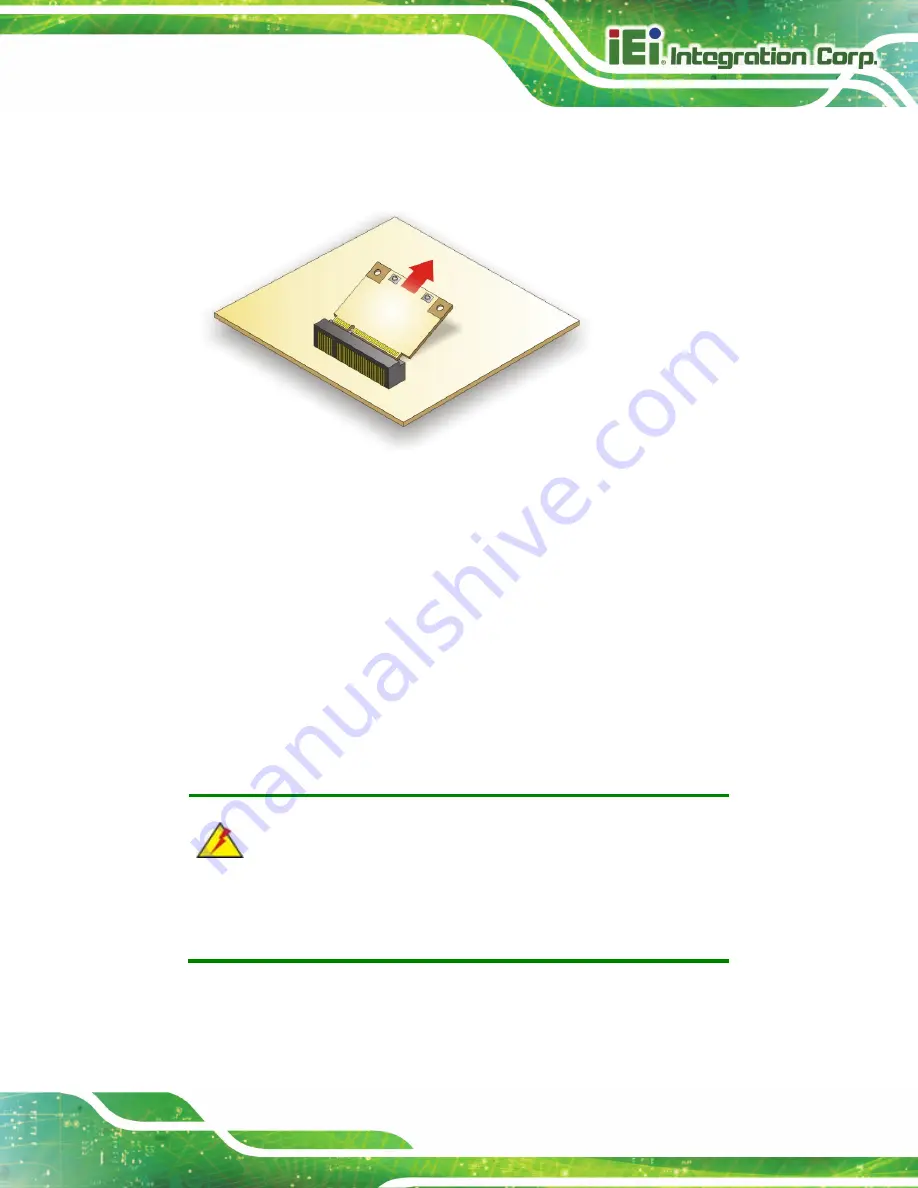
Grasp the WLAN card by the edges and carefully pull it out of the socket (
Figure 5-4: Removing the WLAN Card
Step 7:
Install a new WLAN card by inserting the card into the slot at an angle.
Step 8:
Push the WLAN card down and secure it with the previously removed retention
screw.
Step 9:
Connect the antenna cables.
Step 10:
Replace the back cover and secure it using the previously removed retention
screws.
Step 0:
5.6 Reinstalling the Cover
WARNING:
Failing to reinstall the cover may result in permanent damage to the
system. Please make sure all coverings are properly installed.
When maintenance procedures are complete, please make sure the plastic back cover is
replaced
Summary of Contents for AFL3-W07A-BT-N1/PC/2G-R20
Page 13: ...AFL3 W07A BT Panel PC Page 1 1 Introduction Chapter 1 ...
Page 21: ...AFL3 W07A BT Panel PC Page 9 2 Unpacking Chapter 2 ...
Page 25: ...AFL3 W07A BT Panel PC Page 13 3 Installation Chapter 3 ...
Page 54: ...AFL3 W07A BT Panel PC Page 42 4 BIOS Setup Chapter 4 ...
Page 82: ...AFL3 W07A BT Panel PC Page 70 5 System Maintenance Chapter 5 ...
Page 88: ...AFL3 W07A BT Panel PC Page 76 6 Interface Connectors Chapter 6 ...
Page 99: ...AFL3 W07A BT Panel PC Page 87 Appendix A A Regulatory Compliance ...
Page 104: ...AFL3 W07A BT Panel PC Page 92 B Safety Precautions Appendix B ...
Page 109: ...AFL3 W07A BT Panel PC Page 97 C BIOS Menu Options Appendix C ...
Page 112: ...AFL3 W07A BT Panel PC Page 100 Appendix D D Watchdog Timer ...
Page 115: ...AFL3 W07A BT Panel PC Page 103 E Hazardous Materials Disclosure Appendix E ...

