background image


AFL3-W07A-BT Panel PC

Page 24 

Step 6: 

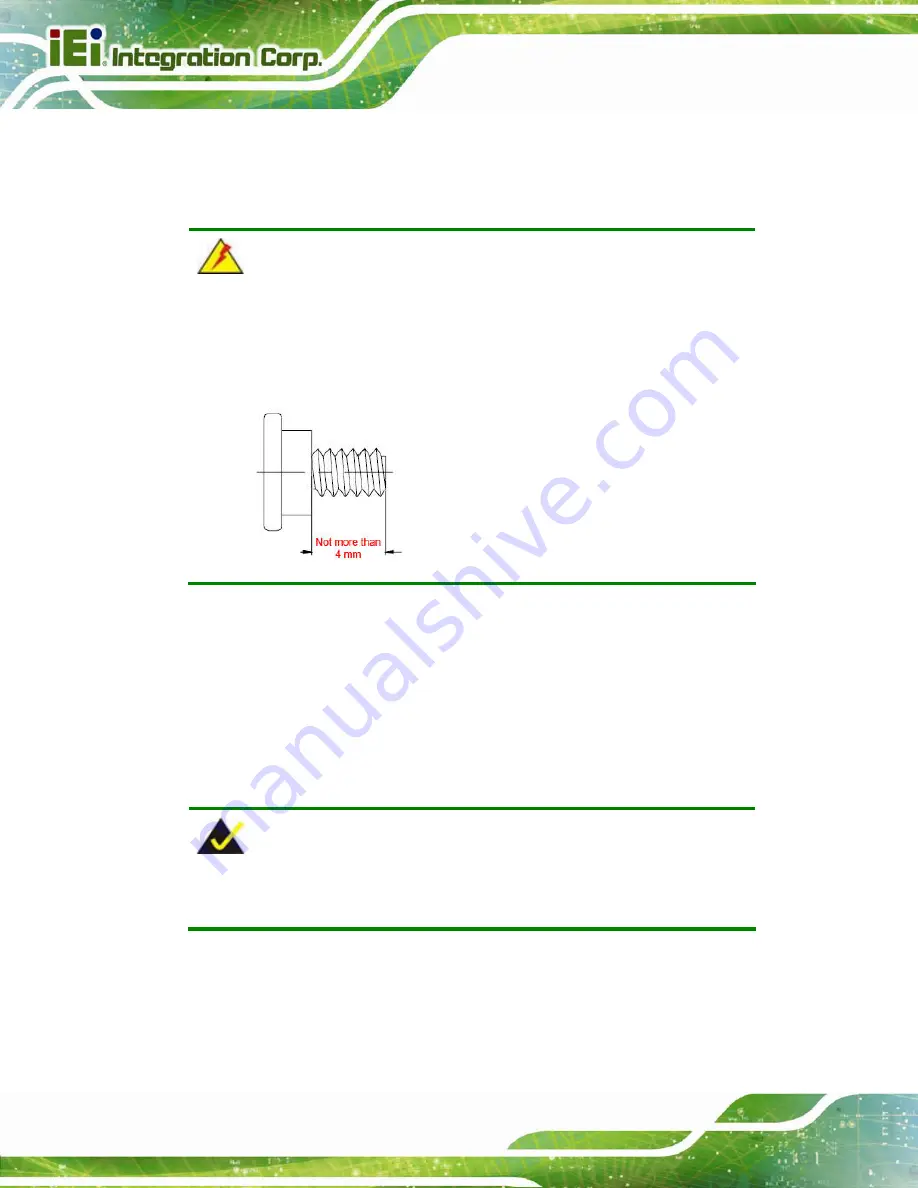
Insert the four monitor mounting screws provided in the wall mount kit into the 

four screw holes on the real panel of the flat bezel panel PC and tighten until the 

screw shank is secured against the rear panel (

4

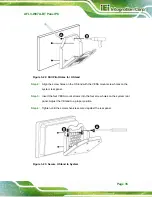
Figure 3-10

). 

 WARNING: 

Please use the M4 screws provided in the wall mount kit for the rear panel. 

If the screw is missing, the thread depth of the replacement screw should 

be not more than 4 mm. 


Step 7: 

Align the mounting screws on the monitor rear panel with the mounting holes on 

the bracket. 

Step 8: 

Carefully insert the screws through the holes and gently pull the monitor 

downwards until the monitor rests securely in the slotted holes (

4

Figure 3-10

). 

Ensure that all four of the mounting screws fit snugly into their respective slotted 

holes. 


NOTE: 

In the diagram below the bracket is already installed on the wall. 


Summary of Contents for AFL3-W07A-BT

Page 1: ... Page I User Manual AFL3 W07A BT MODEL Flat Bezel Panel PC with Intel Celeron N2807 Dual Core CPU Touchscreen Dual USB 3 0 Dual GbE LAN Dual RS 232 HD Audio Wi Fi 802 11a b g n ac and RoHS Rev 1 05 March 4 2016 User Manual ...

Page 2: ...ection 3 11 OS Installation Updated Chapter 4 BIOS Setup July 23 2015 1 03 Updated Table 6 13 Webcam Connector CAM_USB1 Pinouts June 30 2015 1 02 Updated the following sections Chapter 2 Unpacking Section 3 7 2 Panel Mounting Section 3 7 3 Cabinet and Rack Installation November 11 2014 1 01 Updated Wi Fi specification to 802 11a b g n ac July 22 2014 1 00 Initial release ...

Page 3: ...s arising out of the use or inability to use the product or documentation even if advised of the possibility of such damages This document contains proprietary information protected by copyright All rights are reserved No part of this manual may be reproduced by any mechanical electronic or other means in any form without prior written permission of the manufacturer TRADEMARKS All registered trade...

Page 4: ...ON Cautionary messages should be heeded to help reduce the chance of losing data or damaging the product NOTE These messages inform the reader of essential but non critical information These messages should be read carefully as any directions or instructions contained therein can help avoid making mistakes HOT SURFACE This symbol indicates a hot surface that should not be touched without taking ca...

Page 5: ... mark the locations of the four screw holes in the bracket on the wall Step 3 Drill four pilot holes at the marked locations on the wall for the bracket retention screws Step 4 Align the wall mounting bracket screw holes with the pilot holes Step 5 Secure the mounting bracket to the wall by inserting the retention screws into the four pilot holes and tightening them 4Figure 3 9 Figure 3 9 Wall mou...

Page 6: ... the rear panel If the screw is missing the thread depth of the replacement screw should be not more than 4 mm Step 7 Align the mounting screws on the monitor rear panel with the mounting holes on the bracket Step 8 Carefully insert the screws through the holes and gently pull the monitor downwards until the monitor rests securely in the slotted holes 4Figure 3 10 Ensure that all four of the mount...

Page 7: ...AFL3 W07A BT Panel PC Page 25 Figure 3 10 Chassis Support Screws Step 9 Secure the panel PC by fastening the retention screw of the wall mounting bracket 4Figure 3 11 Figure 3 11 Secure the Panel PC ...

Page 8: ...r edge Figure 3 12 Cutout Dimensions Step 3 Slide the flat bezel panel PC through the hole until the frame is flush against the panel Step 4 Insert a M5 50 screw into the screw hole on the side of the panel mounting bracket Then install the following components onto the screw in sequence See Figure 3 13 Sequence Item Photo Instruction 1 Spring Install a spring onto the screw 2 Nut Tighten a nut un...

Page 9: ... mounting bracket screw holes with the VESA mounting holes on the rear of the panel PC Step 7 Secure the two panel mounting brackets to the rear of the panel PC by inserting the four retention screws into the VESA mounting holes and tightening them Figure 3 14 S t e p 0 NOTE The panel mounting kit described in this section is an optional item To purchase it please contact an IEI sales representati...

Page 10: ...panel mounting installation To do this please follow the steps below NOTE When purchasing the cabinet rack installation bracket make sure it is compatible with both the AFL3 W07A BT flat bezel panel PC and the rack cabinet into which the AFL3 W07A BT is installed Step 1 Slide the rear chassis of the AFL3 W07A BT flat bezel panel PC through the rack cabinet bracket until the frame is flush against ...

Page 11: ...e following components onto the screw in sequence See Figure 3 16 Sequence Item Photo Instruction 1 Spring Install a spring onto the screw 2 Nut Tighten a nut until the spring is compressed enough for plastic cap 3 Plastic cap Tighten a plastic cap onto the end of screw thread Step 3 Repeat Step 4 to install the other three screws into the sides of the two rack mounting brackets ...

Page 12: ...nting holes on the rear of the panel PC Step 5 Secure the two rack mounting brackets to the rear of the panel PC by inserting the four retention screws into the VESA mounting holes and tightening them Figure 3 17 NOTE The rack mounting kit described in this section is an optional item To purchase it please contact an IEI sales representative ...

Page 13: ...07A BT Panel PC Page 31 Figure 3 17 Securing Rack Mounting Brackets Step 6 Slide the panel PC with the attached rack cabinet bracket into a rack or cabinet Figure 3 18 Figure 3 18 Install into a Rack Cabinet ...

Page 14: ...e arm is a separately purchased item Please correctly mount the arm onto the surface it uses as a base To do this refer to the installation documentation that came with the mounting arm NOTE When purchasing the arm please ensure that it is VESA compliant and that the arm has a 75 mm interface pad If the mounting arm is not VESA compliant it cannot be used to support the AFL3 W07A BT flat bezel pan...

Page 15: ...igure 3 19 Arm Mounting Retention Screw Holes Step 4 Secure the AFL3 W07A BT to the interface pad by inserting four retention screws through the mounting arm interface pad and into the AFL3 W07A BT S t e p 0 Figure 3 20 Arm Mounting ...

Page 16: ...racket with the screw holes Step 3 To secure the bracket to the AFL3 W07A BT insert the retention screws into the screw holes and tighten them Figure 3 21 Stand Mounting Stand A Bxx 3 7 6 V Stand Mounting To mount the AFL3 W07A BT using the V Stand mounting kit please follow the steps below Step 1 Carefully mark the locations of the four V Stand screw holes on the mounting area Drill four pilot ho...

Page 17: ...he V Stand with the VESA mount screw holes on the system rear panel Step 3 Insert the four VESA mount screws into the four screw holes on the system rear panel Adjust the V Stand to a proper position Step 4 Tighten until the screw shank is secured against the rear panel Figure 3 23 Secure V Stand to System ...

Page 18: ...te the system S t e p 0 Figure 3 24 Secure V Stand to Mounting Area 3 8 Powering On the System To power on the system follow the steps below Step 1 Connect the power cord to the power adapter Connect the other end of the power cord to a power source Step 2 Connect the power adapter to the power connector of the AFL3 W07A BT Step 3 Locate the power button on the I O panel Step 4 Hold down the power...

Reviews: