EBC-3620 IEI Technology Corp. Page 4
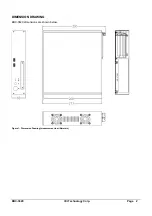
Figure 6: Optical Drive Bracket Screws
Step 4:
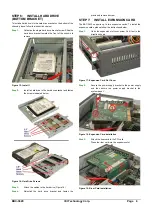
Reinstall the optical drive bracket and fasten the
screws. Also attach the hard drive cables
Step 0:
STEP 4:
INSTALL OPTICAL DRIVE
The optical drive bracket supports either a slim-type optical drive or
2.5” hard disk. To install the optical drive or hard disk, please follow
the steps below.
Step 1:
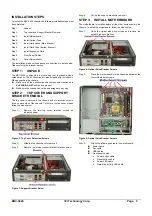
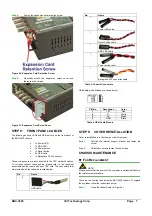
Slide the optical drive into the optical drive bracket.
Slide the optical drive from the front of the bracket.
Figure 7: Slide the Optical Drive
Step 2:
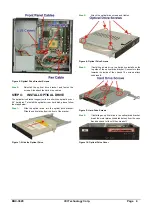
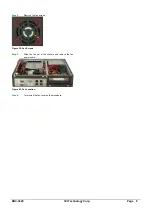
Attach the optical drive screws and tighten.
Figure 8: Optical Drive Screws
Step 3:
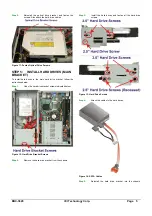
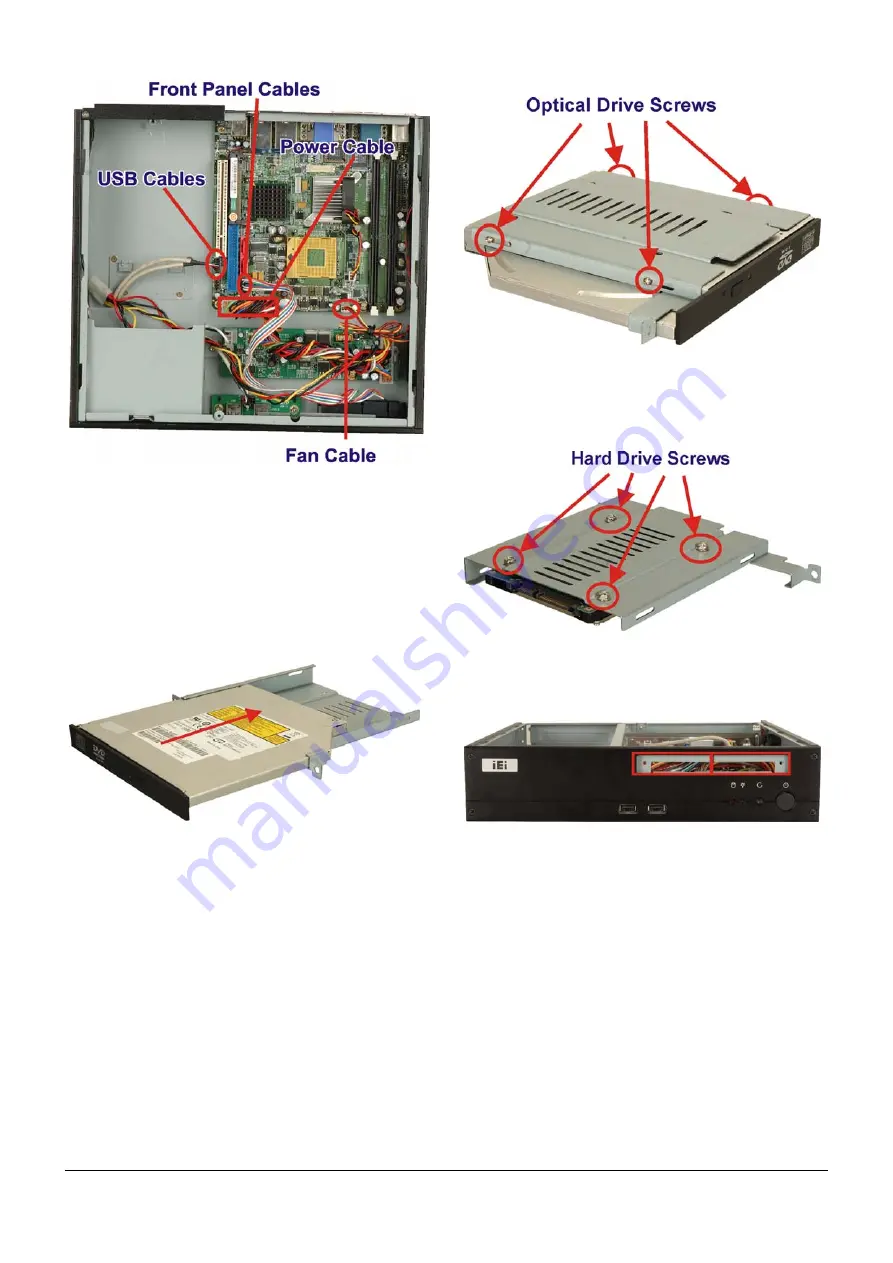
If installing a hard drive, the hard drive installs on the
top side of the optical drive bracket. Connectors face
towards the inside of the chassis The screws attach
underneath.
Figure 9: Hard Drive Screws
Step 4:
If installing an optical drive in the optical drive bracket,
break the metal plates (indicated below) from the case.
Bend back and forth until they break off.
Figure 10: Optical Drive Cover


