IOVU-210AR-RK39 Panel PC
Page 9
To unpack the panel PC, follow the steps below:
WARNING!
The front side LCD screen has a protective plastic cover stuck to the
screen. Only remove the plastic cover after the system has been
properly installed. This ensures the screen is protected during the
installation process.
Step 1:
Carefully cut the tape sealing the box. Only cut deep enough to break the tape.
Step 2:
Open the box.
Step 3:
Lift the IOVU-210AR-RK39 out of the box.
Step 4:
Make sure all the components listed in the packing list are present.
Step 0:
2.1 Packing List
NOTE:
If any of the components listed in the checklist below are missing, do
not proceed with the installation. Contact the IEI reseller or vendor the
IOVU-210AR-RK39 was purchased from or contact an IEI sales
representative directly by sending an email to
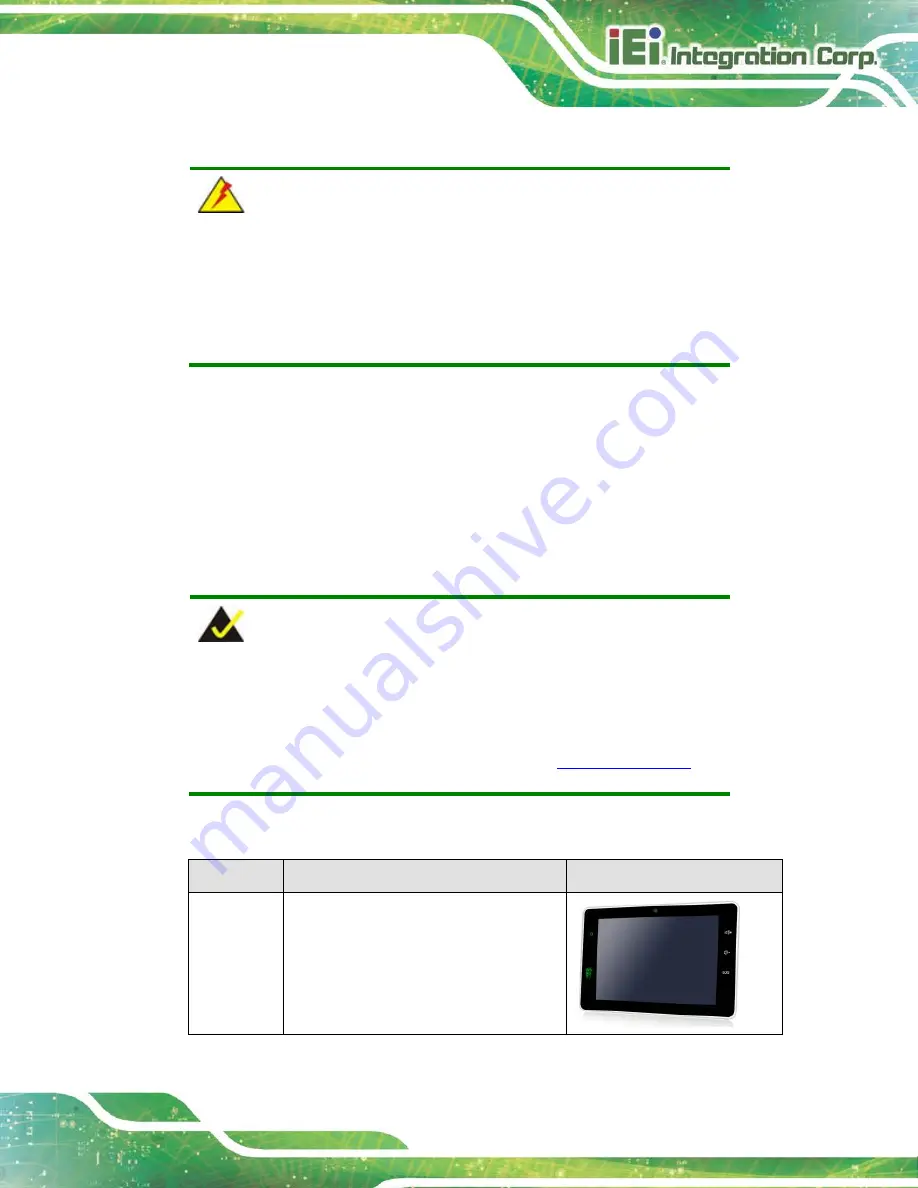
The IOVU-210AR-RK39 is shipped with the following components:
Quantity
Item
Image
1
IOVU-210AR-RK39 panel PC
Summary of Contents for IOVU-210AR-RK39
Page 9: ...IOVU 210AR RK39 Panel PC Page 1 Chapter 1 1 Introduction ...
Page 16: ...IOVU 210AR RK39 Panel PC Page 8 Chapter 2 2 Unpacking ...
Page 19: ...IOVU 210AR RK39 Panel PC Page 11 Chapter 3 3 Installation ...
Page 36: ...IOVU 210AR RK39 Panel PC Page 28 Chapter 4 4 Android OS ...
Page 44: ...IOVU 210AR RK39 Panel PC Page 36 Figure 4 8 Notification List and System Status ...
Page 45: ...IOVU 210AR RK39 Panel PC Page 37 Appendix A A Regulatory Compliance ...
Page 50: ...IOVU 210AR RK39 Panel PC Page 42 Appendix B B Safety Precautions ...
Page 55: ...IOVU 210AR RK39 Panel PC Page 47 Appendix C C Hazardous Materials Disclosure ...


