IOVU-430S Panel PC
Page 24
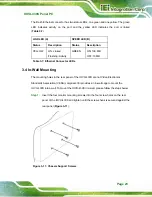
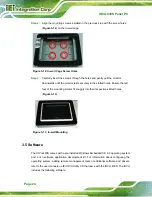
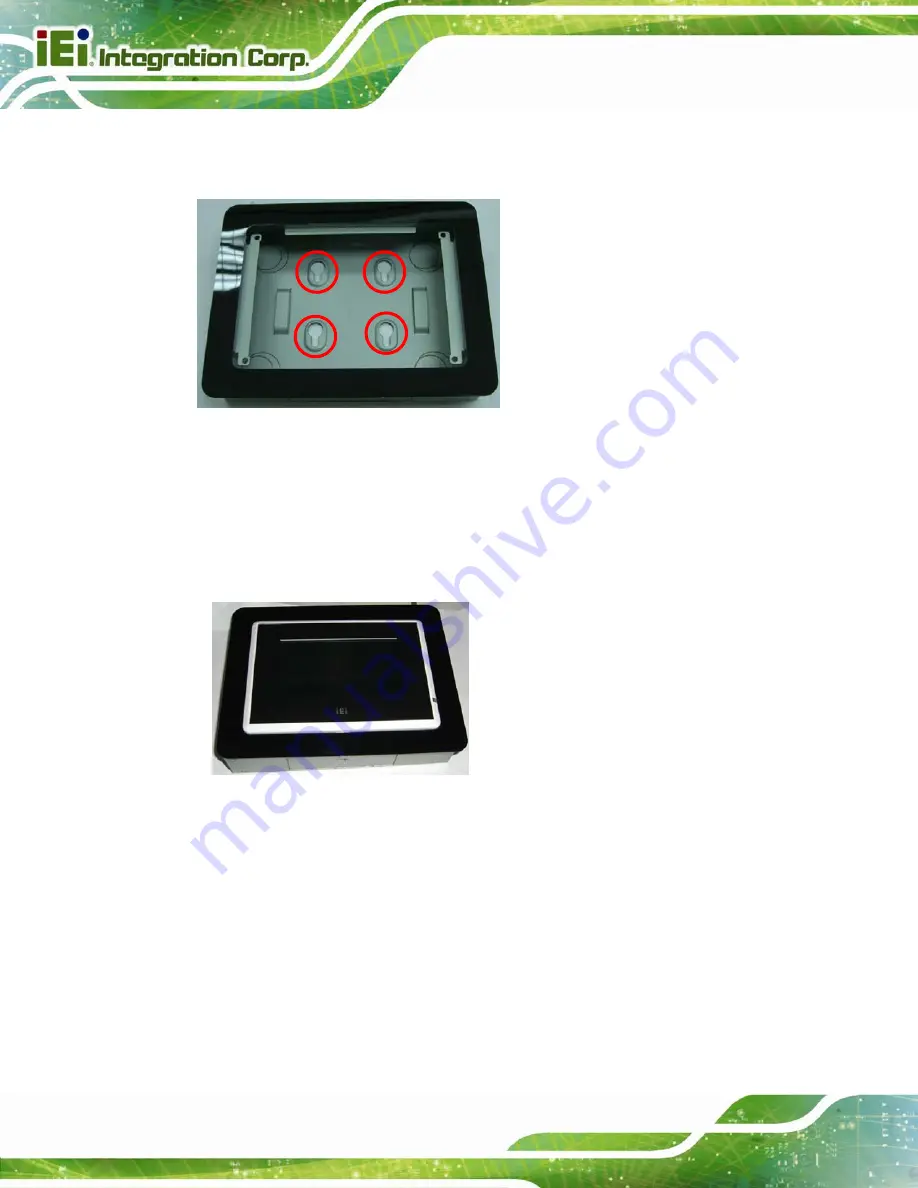
Step 2:
Align the mounting screws installed in the previous step with the screw holes
(
) on the in-wall cage.
Figure 3-12: In-wall Cage Screw Holes
Step 3:
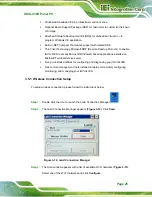
Carefully insert the screws through the holes and gently pull the monitor
downwards until the monitor rests securely in the slotted holes. Ensure that all
four of the mounting screws fit snuggly into their respective slotted holes.
(
Figure 3-13: In-wall Mounting
3.5 Software
The IOVU-430S comes with a pre-installed Windows Embedded CE 6.0 operating system
and a rich software application development kit. For information about configuring the
operating system, adding remote management tools or additional software and drivers,
refer to the user manuals on IEI IOVU Utility CD that came with the IOVU-430S. The IOVU
includes the following software:
Summary of Contents for IOVU-430S
Page 8: ......
Page 9: ...IOVU 430S Panel PC Page 1 Chapter 1 1 Introduction ...
Page 18: ...IOVU 430S Panel PC Page 10 Chapter 2 2 Unpacking ...
Page 22: ...IOVU 430S Panel PC Page 14 Chapter 3 3 Installation ...
Page 37: ...IOVU 430S Panel PC Page 29 Appendix A A Certifications ...
Page 39: ...IOVU 430S Panel PC Page 31 Appendix B B Safety Precautions ...
Page 44: ...IOVU 430S Panel PC Page 36 Appendix C C Hazardous Materials Disclosure ...


