IOVU-572M Panel PC
Page 24
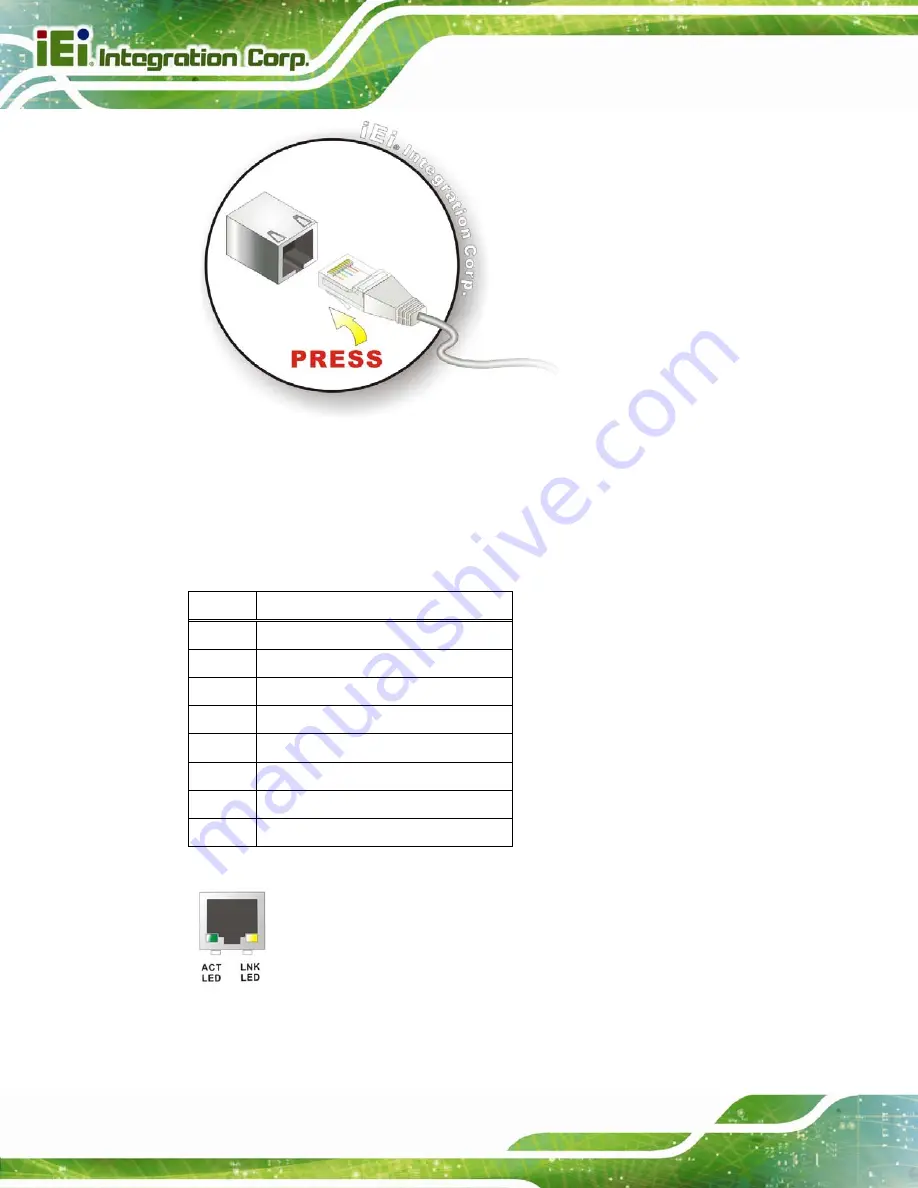
Figure 4-11: LAN Connection
Step 2:
Insert the LAN cable RJ-45 connector.
Once aligned, gently insert the LAN
cable RJ-45 connector into the on-board RJ-45 connector.
Step 0:
The Ethernet connector pinouts are shown below.
PIN
DESCRIPTION
1
TPT+
2
TPT-
3
TPR+
4
LAN_GND
5
LAN_GND
6
TPR-
7
LAN_GND
8
LAN_GND
Table 4-5: Ethernet Connector Pinouts
Figure 4-12: Ethernet Connector
Summary of Contents for IOVU-572M
Page 7: ...IOVU 572M Panel PC Page vii Figure 4 27 Network Connected 35 ...
Page 9: ...IOVU 572M Panel PC Page 1 Chapter 1 1 Introduction ...
Page 14: ...IOVU 572M Panel PC Page 6 Chapter 2 2 Detailed Specifications ...
Page 19: ...IOVU 572M Panel PC Page 11 Chapter 3 3 Unpacking ...
Page 23: ...IOVU 572M Panel PC Page 15 Chapter 4 4 Installation ...
Page 44: ...IOVU 572M Panel PC Page 36 Appendix A A Certifications ...
Page 46: ...IOVU 572M Panel PC Page 38 Appendix B B Safety Precautions ...
Page 52: ...IOVU 572M Panel PC Page 44 Appendix C C Hazardous Materials Disclosure ...


