KINO-780AM2 Motherboard
Page 49
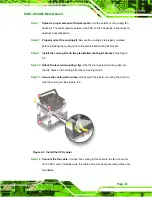
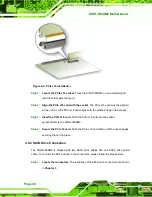
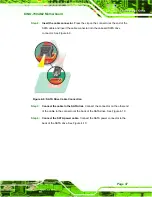
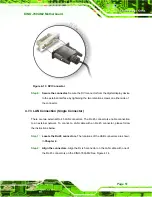
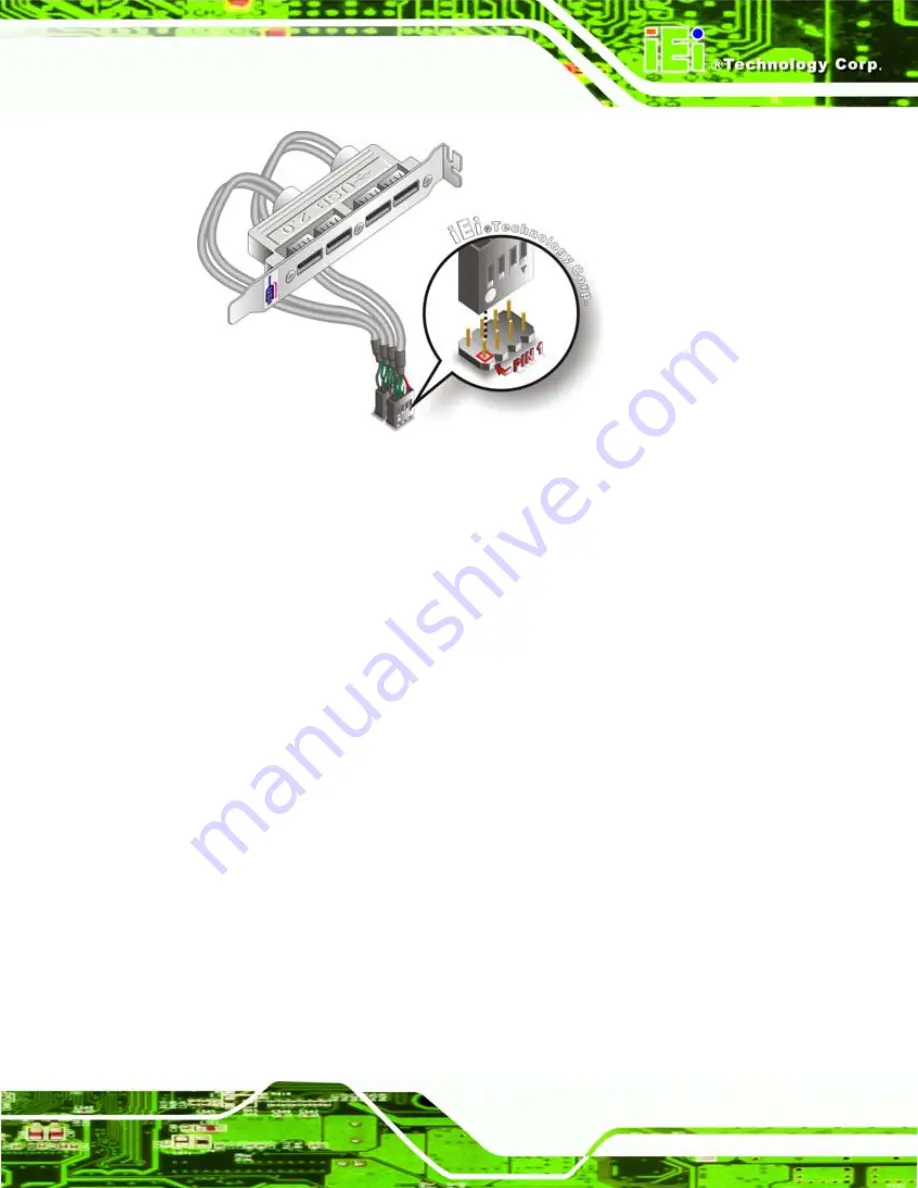
Figure 4-11: Four Port USB Cable Connection
Step 8:
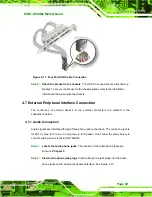
Attach the bracket to the chassis
. The USB 2.0 connectors are attached to a
bracket. To secure the bracket to the chassis please refer to the installation
instructions that came with the chassis.
Step 0:
4.7 External Peripheral Interface Connection
The connection of external devices to the external connectors are outlined in the
subsections below.
4.7.1 Audio Connection
Audio signals are interfaced through three phone jack connections. The red phone jack is
for Mic In, blue is for Line In and green is for Speaker Out. Follow the steps below to
connect audio devices to the KINO-780AM2.
Step 1:
Locate the audio phone jacks
. The location of the audio phone jacks are
shown in
Chapter 3
.
Step 2:
Insert audio phone jack plugs
.
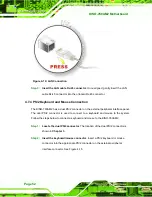
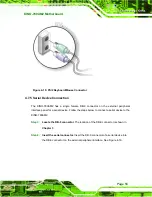
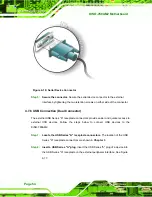
Insert audio phone jack plugs into the audio
phone jacks on the external peripheral interface. See Figure 4-12.
Step 2:
Summary of Contents for KINO-780AM2
Page 12: ...KINO 780AM2 Motherboard Page xii...
Page 13: ...KINO 780AM2 Motherboard Page 1 Chapter 1 1 Introduction...
Page 16: ...KINO 780AM2 Motherboard Page 4 Figure 1 3 KINO 780AM2 Dimensions mm...
Page 20: ...KINO 780AM2 Motherboard Page 8 Chapter 2 2 Packing List...
Page 24: ...KINO 780AM2 Motherboard Page 12 Chapter 3 3 Connectors...
Page 45: ...KINO 780AM2 Motherboard Page 33 Chapter 4 4 Installation...
Page 70: ...KINO 780AM2 Motherboard Page 58 Chapter 5 5 BIOS...
Page 114: ...KINO 780AM2 Motherboard Page 102 Appendix A A BIOS Options...
Page 117: ...KINO 780AM2 Motherboard Page 105 Load Optimal Defaults 100 Load Failsafe Defaults 101...
Page 118: ...KINO 780AM2 Motherboard Page 106 Appendix B B Terminology...
Page 122: ...KINO 780AM2 Motherboard Page 110 Appendix C C Digital I O Interface...
Page 125: ...KINO 780AM2 Motherboard Page 113 Appendix D D Watchdog Timer...
Page 128: ...KINO 780AM2 Motherboard Page 116 Appendix E E Hazardous Materials Disclosure...

