KINO-PVN-D5251/D4251/ Mini ITX SBC
Page 53
Step 1:
Locate the DB-9 connector
. The location of the DB-9 connector is shown in
Chapter 3
.
Step 2:
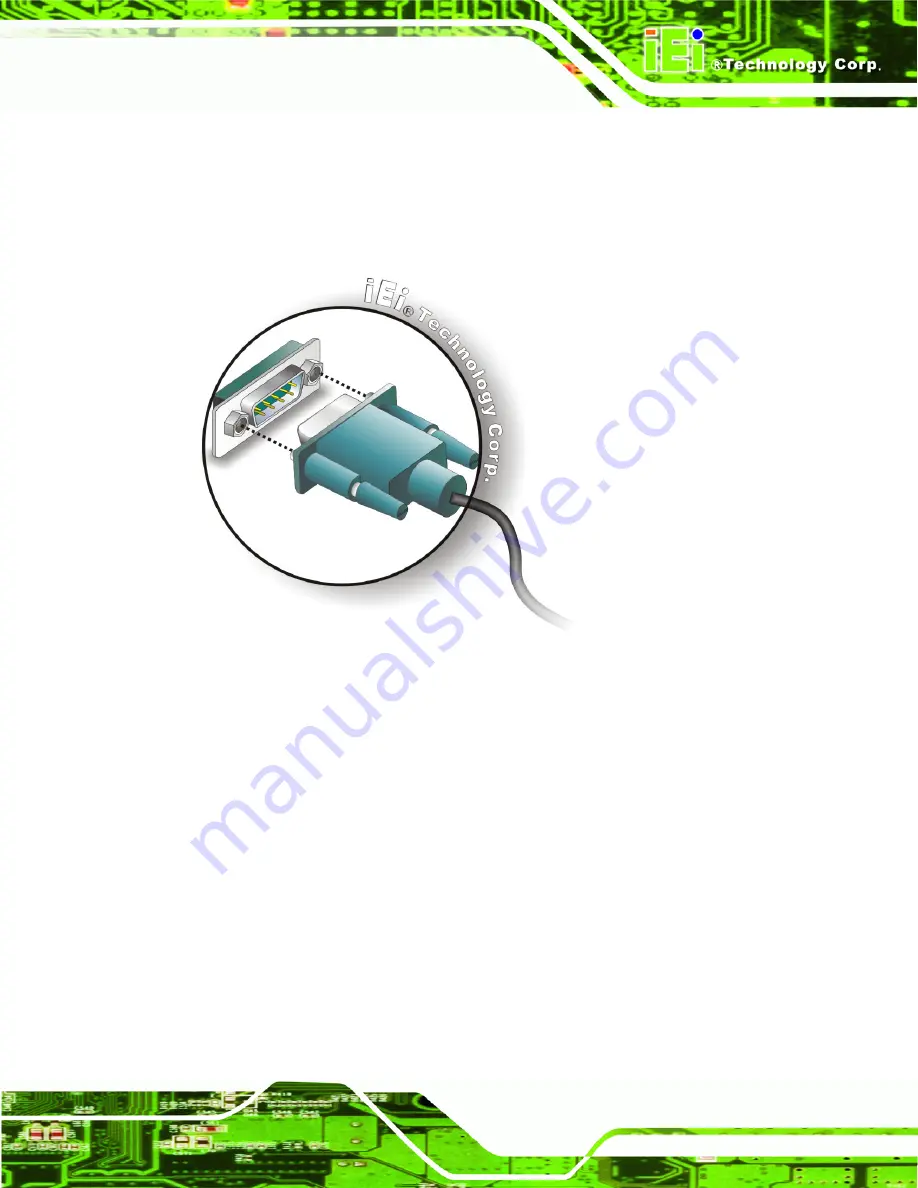
Insert the serial connector
.
Insert the DB-9 connector of a serial device into
the DB-9 connector on the external peripheral interface. See Figure 4-13.
Figure 4-13: Serial Device Connector
Step 3:
Secure the connector
. Secure the serial device connector to the external
interface by tightening the two retention screws on either side of the connector.
Step 0:
4.9.4 USB Connection (Quad Connector)
The external USB Series "A" receptacle connectors provide easier and quicker access to
external USB devices. Follow the steps below to connect USB devices to the
KINO-PVN-D5251/D4251.
Step 1:
Locate the USB Series "A" receptacle connectors
. The location of the USB
Series "A" receptacle connectors are shown in
Chapter 3
.
Summary of Contents for KINO-PVN-D5251
Page 14: ...KINO PVN D5251 D4251 Mini ITX SBC Page xiv...
Page 15: ...KINO PVN D5251 D4251 Mini ITX SBC Page 1 Chapter 1 1 Introduction...
Page 24: ...KINO PVN D5251 D4251 Mini ITX SBC Page 10 Chapter 2 2 Unpacking...
Page 28: ...KINO PVN D5251 D4251 Mini ITX SBC Page 14 Chapter 3 3 Connectors...
Page 51: ...KINO PVN D5251 D4251 Mini ITX SBC Page 37 Chapter 4 4 Installation...
Page 73: ...KINO PVN D5251 D4251 Mini ITX SBC Page 59 Figure 4 19 Graphics Driver Installation Reminder...
Page 74: ...KINO PVN D5251 D4251 Mini ITX SBC Page 60 Chapter 5 5 BIOS Screens...
Page 102: ...KINO PVN D5251 D4251 Mini ITX SBC Page 88 Appendix A A BIOS Options...
Page 105: ...KINO PVN D5251 D4251 Mini ITX SBC Page 91 Appendix B B One Key Recovery...
Page 133: ...KINO PVN D5251 D4251 Mini ITX SBC Page 119 Appendix C C Terminology...
Page 137: ...KINO PVN D5251 D4251 Mini ITX SBC Page 123 Appendix D D Digital I O Interface...
Page 143: ...KINO PVN D5251 D4251 Mini ITX SBC Page 129 Appendix F F Hazardous Materials Disclosure...


