PAC-125G QIG IEI Technology Corp. Page 8
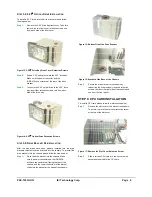
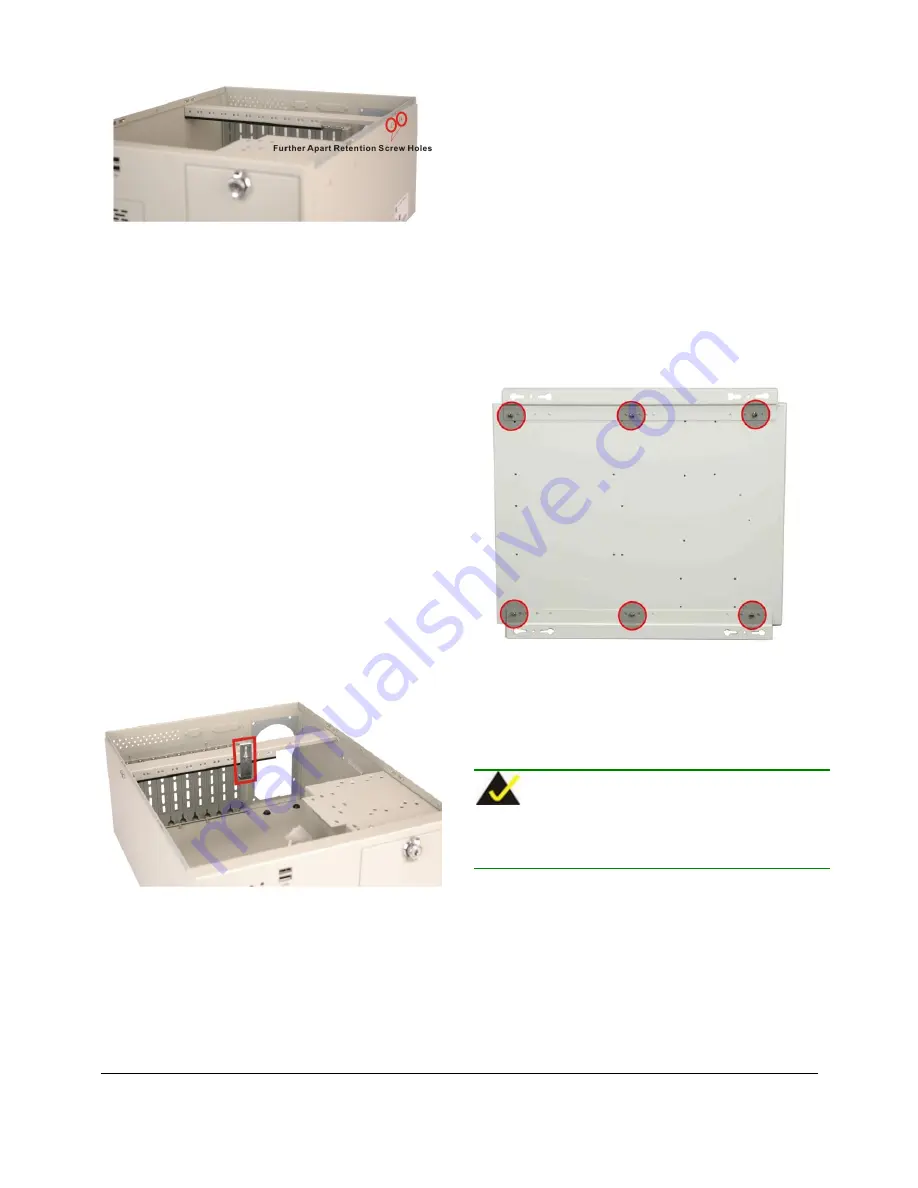
Figure 19: Right Side Further Apart Retention Screw Holes
Step 2:
Align the retention screw holes on both ends of
the hold-down clamp with the retentions screw
holes in both sides of the chassis.
Step 3:
To secure the hold-down clamp to the chassis,
insert the four previously removed hold-down
clamp retention screws.
S
TEP
10.2:
S
HOCK
A
BSORBER
I
NSTALLATION
The PAC-125G chassis is shipped with two long shock
absorbers and four short shock absorbers used for securing
PCI/ISA expansion cards. To install a shock absorber, please
follow the instructions below:
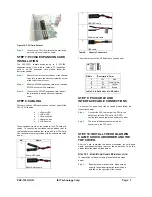
Step 1:
Choose a shock absorber with proper length
according to the height of the installed PCI/ISA
card.
Step 2:
Press the rubber of the shock absorber against
the PCI/ISA card.
Step 3:
Align the retention screw hole in the shock
absorber with the predrilled retention screw hole
in the hold-down clamp.
Step 4:
Insert one retention screw to secure the shock
absorber to the hold-down clamp.
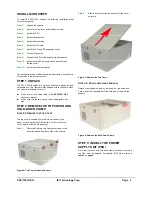
Figure 20: Shock Absorber
S
TEP
10.3:
T
OP
C
OVER
R
EINSTALLATION
Slide the cover back over the chassis and reinsert the six previously
removed retention screws.
STEP 11: WALL-MOUNT PLATES
INSTALLATION
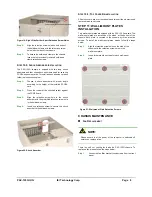
Two wall-mount plates are shipped with the PAC-125G chassis. The
wall-mount plates are installed on the sides, at the bottom of the
chassis. Each plate is secured to the chassis by three retention
screws. To install the wall-mount plates, please follow the steps
below.
Step 1:
Align the retention screw holes on the side of the
chassis with the retention screw holes in the
wall-mount plate.
Step 2:
Insert three retention screws for each wall-mount
plate.
Step 0:
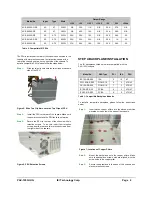
Figure 21: Wall-mount Plate Retention Screws
CHASSIS MAINTENANCE
F
AN
R
EPLACEMENT
NOTE:
Please ensure that the power of the computer is switched off
before you replace a fan.
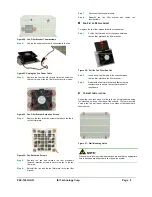
There is one 8 cm cooling fan inside the PAC-125G chassis. To
replace a fan, please follow the steps below:
Step 1:
Loosen the fan filter bracket thumbscrews from the front
panel.


