PPC-37xx-N270 Panel PC
Page 32
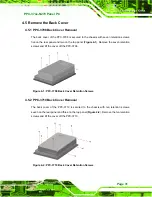
4.5.3 PPC-3712 Back Cover Removal
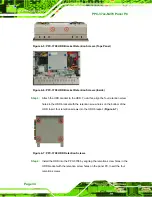
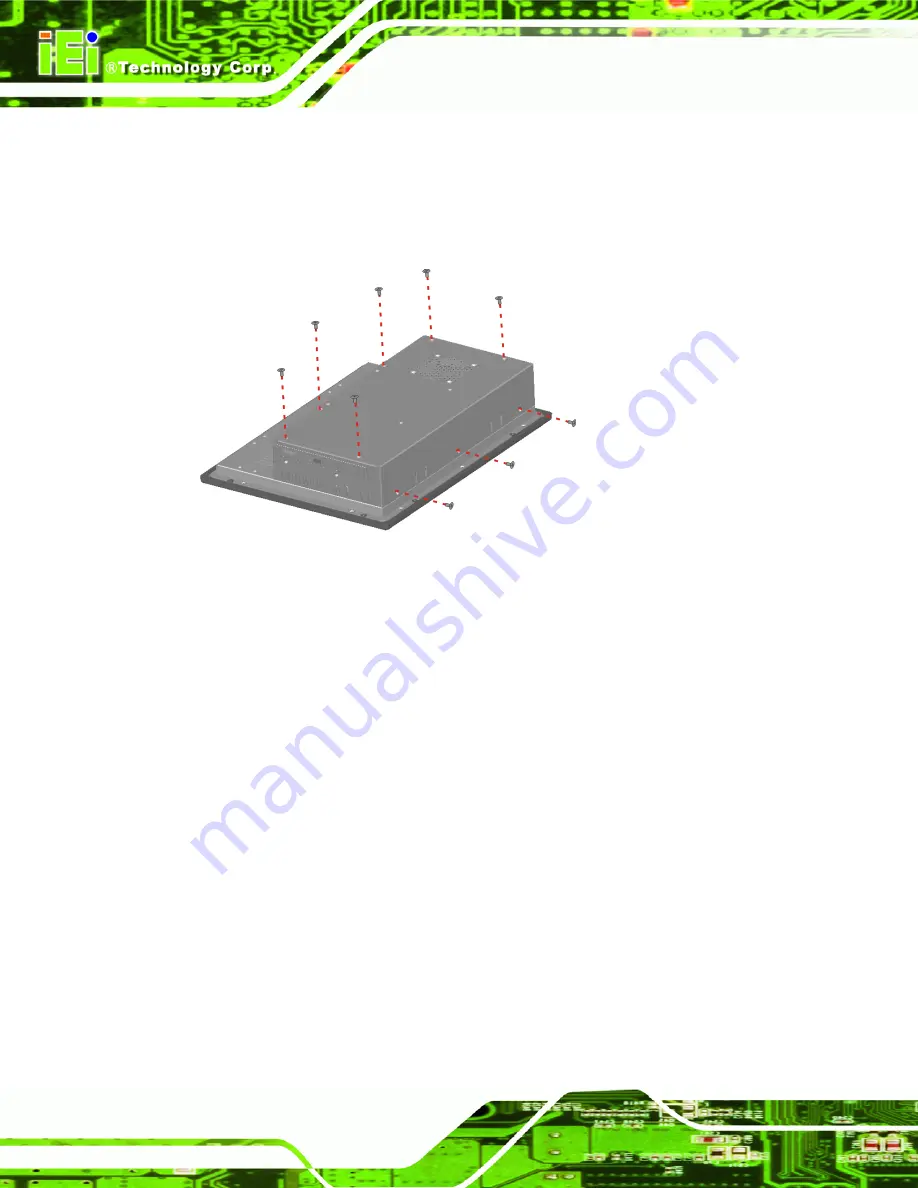
The back cover is secured to the chassis with nine retention screws, six on the rear panel
and three on the top panel (
). Remove the nine retention screws and lift the
cover off the PPC-3712.
Figure 4-3: PPC-3712 Back Cover Retention Screws
4.6 Jumper Settings
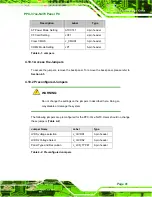
The jumper settings are all described in
. During normal installation, these
settings should not be changed
4.7 CompactFlash® Card Installation
To install the a CF Type II card onto the PPC-37xx-N270, please follow the steps below:
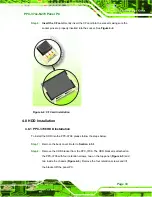
Step 1:
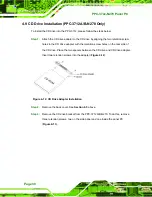
Locate the CF card socket
. Place the PPC-37xx-N270 on an anti-static pad
with the solder side facing up. Locate the CF card socket.
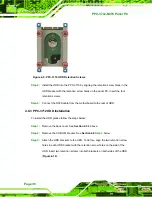
Step 2:
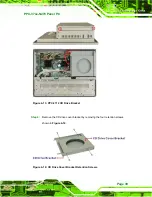
Remove
the CF card socket cover
. The socket cover is secured to the chassis
with two retention screws. Remove the two retention screws to remove the
socket cover.
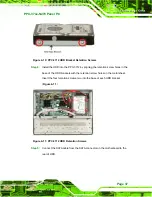
Step 3:
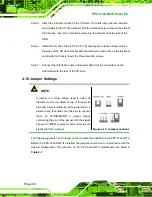
Align the CF card
. Make sure the CF card is properly aligned with the CF
socket.
Summary of Contents for PPC-3708A-N270
Page 14: ......
Page 15: ...PPC 37xx N270 Panel PC Page 1 Chapter 1 1 Introduction ...
Page 24: ...PPC 37xx N270 Panel PC Page 10 Chapter 2 2 Detailed Specifications ...
Page 38: ...PPC 37xx N270 Panel PC Page 24 3 Unpacking Chapter 3 ...
Page 42: ...PPC 37xx N270 Panel PC Page 28 4 Installation Chapter 4 ...
Page 77: ...PPC 37xx N270 Panel PC Page 63 5 BIOS Screens Chapter 5 ...
Page 123: ...PPC 37xx N270 Panel PC Page 109 Chapter 6 6 Driver Installation ...
Page 140: ...PPC 37xx N270 Panel PC Page 126 A Safety Precautions Appendix A ...
Page 145: ...PPC 37xx N270 Panel PC Page 131 Appendix B B BIOS Options ...
Page 149: ...PPC 37xx N270 Panel PC Page 135 Appendix C C Watchdog Timer ...
Page 152: ...PPC 37xx N270 Panel PC Page 138 Appendix D D Hazardous Materials Disclosure ...


