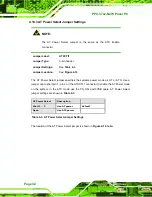
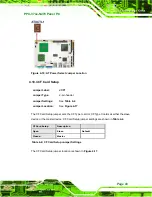
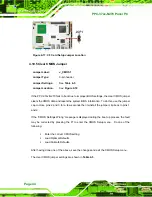
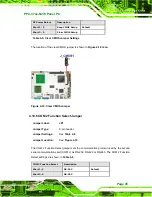
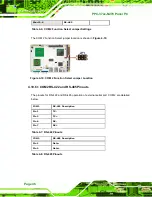


PPC-37xx-N270 Panel PC
Page 56
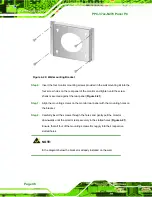
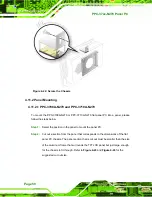
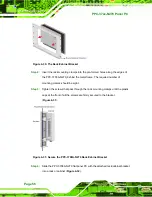
Figure 4-30: The Rack/Cabinet Bracket
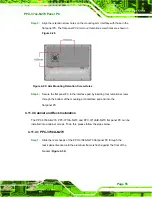
Step 2:
Insert the rack mounting clamps into the pre-formed holes along the edges of
the PPC-3708A-N270, behind the metal frame. The required number of
mounting clamps should be eight.
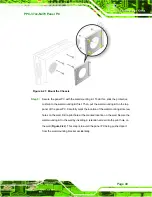
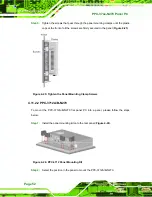
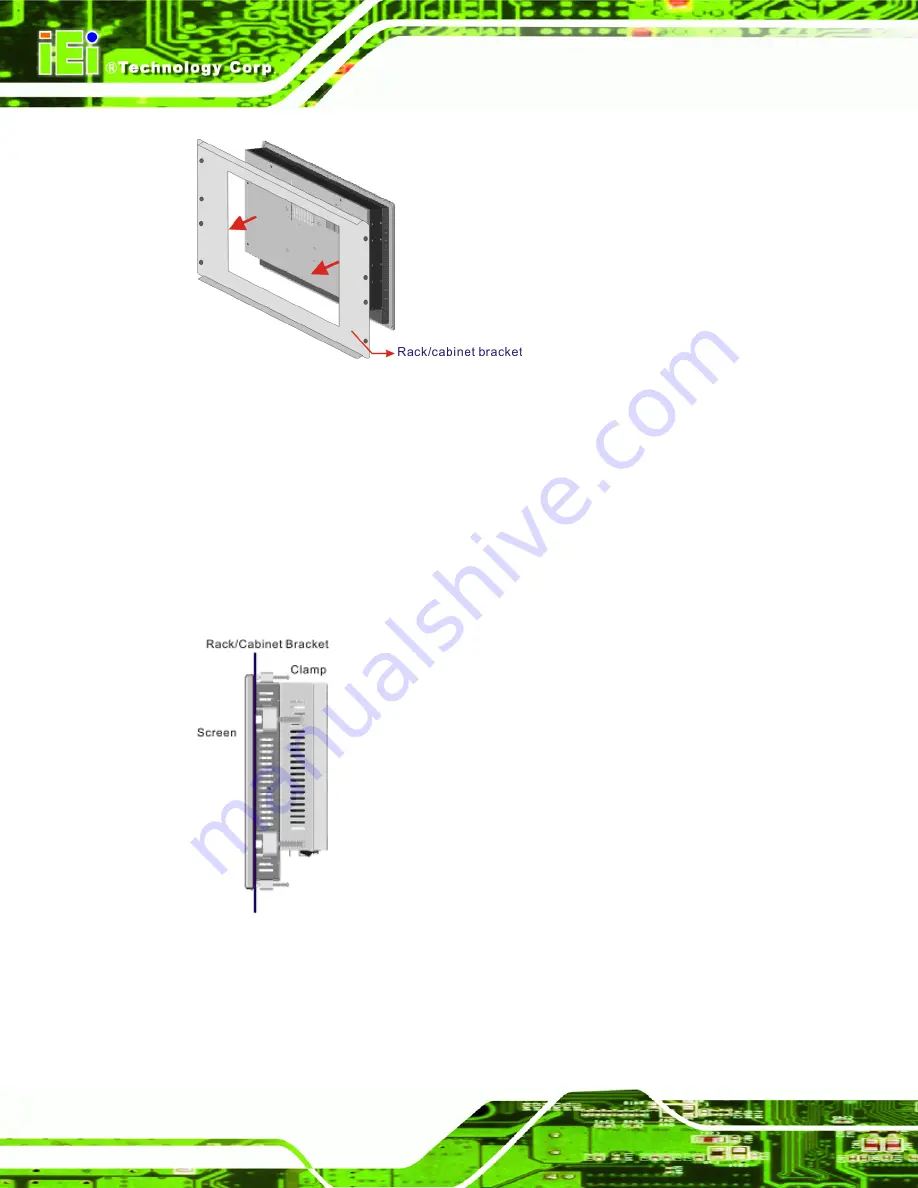
Step 3:
Tighten the screws that pass through the rack mounting clamps until the plastic
caps at the front of all the screws are firmly secured to the bracket
(
Figure 4-31: Secure the PPC-3708A-N270 Rack/Cabinet Bracket
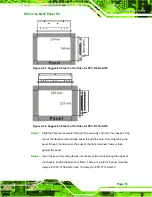
Step 4:
Slide the PPC-3708A-N270 flat panel PC with the attached rack/cabinet bracket
into a rack or cabinet (
).
Summary of Contents for PPC-3708A-N270
Page 14: ......
Page 15: ...PPC 37xx N270 Panel PC Page 1 Chapter 1 1 Introduction ...
Page 24: ...PPC 37xx N270 Panel PC Page 10 Chapter 2 2 Detailed Specifications ...
Page 38: ...PPC 37xx N270 Panel PC Page 24 3 Unpacking Chapter 3 ...
Page 42: ...PPC 37xx N270 Panel PC Page 28 4 Installation Chapter 4 ...
Page 77: ...PPC 37xx N270 Panel PC Page 63 5 BIOS Screens Chapter 5 ...
Page 123: ...PPC 37xx N270 Panel PC Page 109 Chapter 6 6 Driver Installation ...
Page 140: ...PPC 37xx N270 Panel PC Page 126 A Safety Precautions Appendix A ...
Page 145: ...PPC 37xx N270 Panel PC Page 131 Appendix B B BIOS Options ...
Page 149: ...PPC 37xx N270 Panel PC Page 135 Appendix C C Watchdog Timer ...
Page 152: ...PPC 37xx N270 Panel PC Page 138 Appendix D D Hazardous Materials Disclosure ...


