PPC-FxxA-H81 Panel PC
Page 127
Step 9:
The program begins to install.
Step 10:
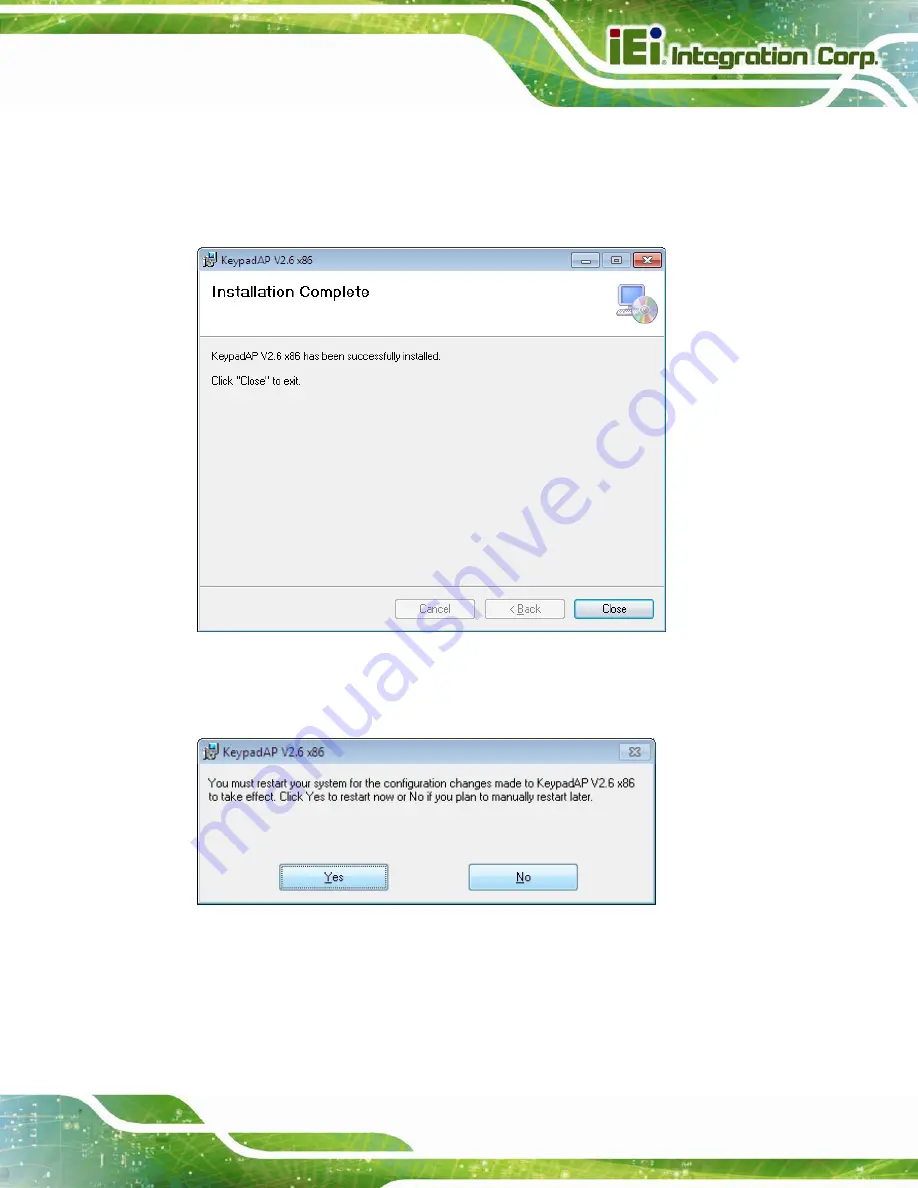
When the installation is complete, the screen in
Figure 6-40
appears. Click
Close
to exit.
Figure 6-40: Keypad AP Installation Complete
Step 11:
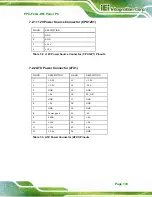
The screen in
Figure 6-41
appears. Click
Yes
to restart the system.
Figure 6-41: Keypad AP Installation Complete
Summary of Contents for PPC-FxxA-H81
Page 14: ...PPC FxxA H81 Panel PC Page 1 1 Introduction Chapter 1 ...
Page 20: ...PPC FxxA H81 Panel PC Page 7 Figure 1 4 Bottom View ...
Page 28: ...PPC FxxA H81 Panel PC Page 15 2 Unpacking Chapter 2 ...
Page 32: ...PPC FxxA H81 Panel PC Page 19 3 Installation Chapter 3 ...
Page 69: ...PPC FxxA H81 Panel PC Page 56 Chapter 4 4 System Maintenance ...
Page 75: ...PPC FxxA H81 Panel PC Page 62 5 BIOS Setup Chapter 5 ...
Page 113: ...PPC FxxA H81 Panel PC Page 100 6 Driver Installation Chapter 6 ...
Page 142: ...PPC FxxA H81 Panel PC Page 129 7 Interface Connectors Chapter 7 ...
Page 162: ...PPC FxxA H81 Panel PC Page 149 A BIOS Configuration Options Appendix A ...
Page 165: ...PPC FxxA H81 Panel PC Page 152 B Safety Precautions Appendix B ...
Page 170: ...PPC FxxA H81 Panel PC Page 157 C Watchdog Timer Appendix C ...
Page 173: ...PPC FxxA H81 Panel PC Page 160 D Hazardous Materials Disclosure Appendix D ...


