background image


RACK-3200G QIG                         IEI Technology Corp. 

           Page  10 


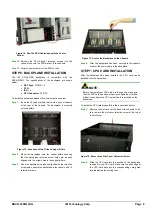
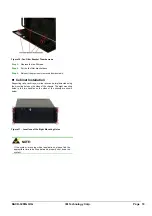
Figure 30: Fan Filter Bracket Thumbscrews 

Step 3: 

Replace the fan filter pad. 

Step 4: 

Put the fan filter bracket back 

Step 5: 

Reinsert the previously removed thumbscrews. 

Step 0:


Cabinet Installation 

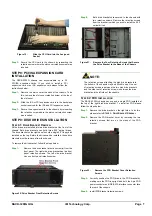
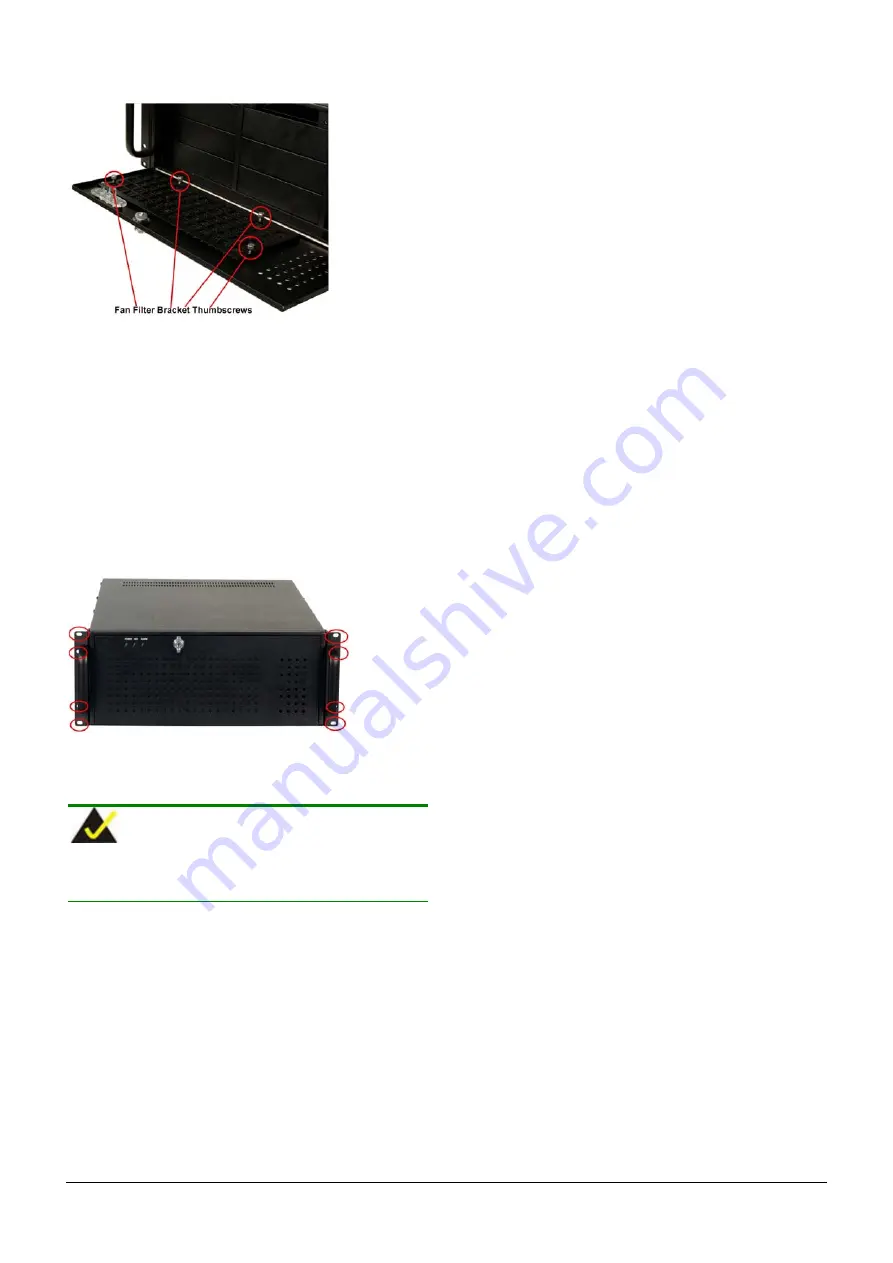
Supporting rails, rack trays, or slide rails can be implemented using 
the mounting holes on the sides of the chassis. The eight mounting 
holes in the two handles on the sides of the chassis are shown 
below. 


Figure 31:  Locations of the Eight Mounting Holes 


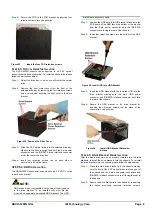
 NOTE: 

If the system is running critical applications, please find the 
appropriate time to backup data and properly shut down the 
system. 


Summary of Contents for RACK-3200G

Page 1: ...loppy disk drive Dimensions DxWxH o 674mm x 431mm x 176mm Operating Temperature 0 40 C Relative Humidity 5 95 Vibration o 5 17Hz 0 1 double amplitude displacement o 17 640Hz 1 5G acceleration peak to...

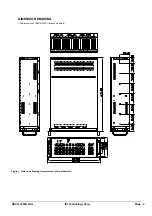
Page 2: ...RACK 3200G QIG IEI Technology Corp Page 2 DIMENSION DRAWING The dimensions of RACK 3200G are shown below Figure 1 Dimension Drawing measurement units millimeter...

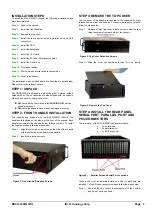
Page 3: ...3200G chassis The handles are installed on the sides at the front of the chassis Each handle is secured to the chassis by four retention screws To install the handles please follow the steps below Ste...

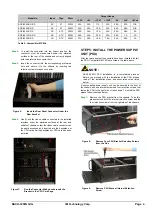
Page 4: ...stall the PSU Compatible IEI PSUs are listed in the table above NOTE RACK 3200G PSU installation is a complicated process Before you proceed with the installation of the PSU please read all the instal...

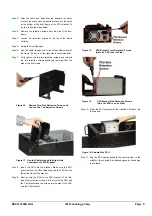
Page 5: ...e Figure 10 Remove Two Side Retention Screws and Loosen Two Top Retention Screws Figure 11 Run the Cable through the Right Hole underneath the PSU Bracket Step 8 Insert the PSU into the bracket Make s...

Page 6: ...copper pillars Step 3 Once the backplane is properly aligned with the retention screw holes secure the backplane to the chassis with 15 retention screws Figure 17 Secure the Backplane to the Chassis S...

Page 7: ...the drive bracket retention screw s from the front panel The right side drive bracket has two front panel retention screws The left side drive bracket has one front panel retention screw Figure 20 Dri...

Page 8: ...ey must first be mounted on separately purchased HDD brackets The HDD brackets are accessory items Step 1 Position the HDD onto the HDD bracket Make sure the PCB board of the HDD faces the bottom of t...

Page 9: ...over the chassis and reinsert the eight previously removed retention screws Chassis Maintenance Fan Replacement NOTE Please ensure the power of the computer is switched off before fan replacement proc...

Page 10: ...ep 0 Cabinet Installation Supporting rails rack trays or slide rails can be implemented using the mounting holes on the sides of the chassis The eight mounting holes in the two handles on the sides of...

Reviews: