RACK-3200G QIG IEI Technology Corp.
Page 5
Step 2:
After the cable has been secured beneath the cable
bracket, the cable must be inserted into one of the holes
at the bottom of the front frame of the PSU bracket. To
do this, follow the steps below:
Step 3:
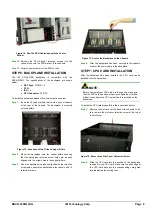
Remove the retention screws from the side of the front
frame.
Step 4:
Loosen the retention screws at the top of the frame
halfway.
Step 5:
Swing the front flap open.
Step 6:
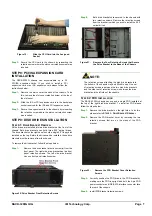
Run the cable through one of the holes at the bottom of
the frame. (The hole on the right side is recommended)
Step 7:
Fully tighten the top two retention screws and reinsert
the two retention screws previously removed from the
side of the front frame.
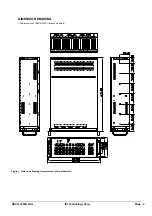
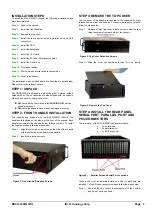
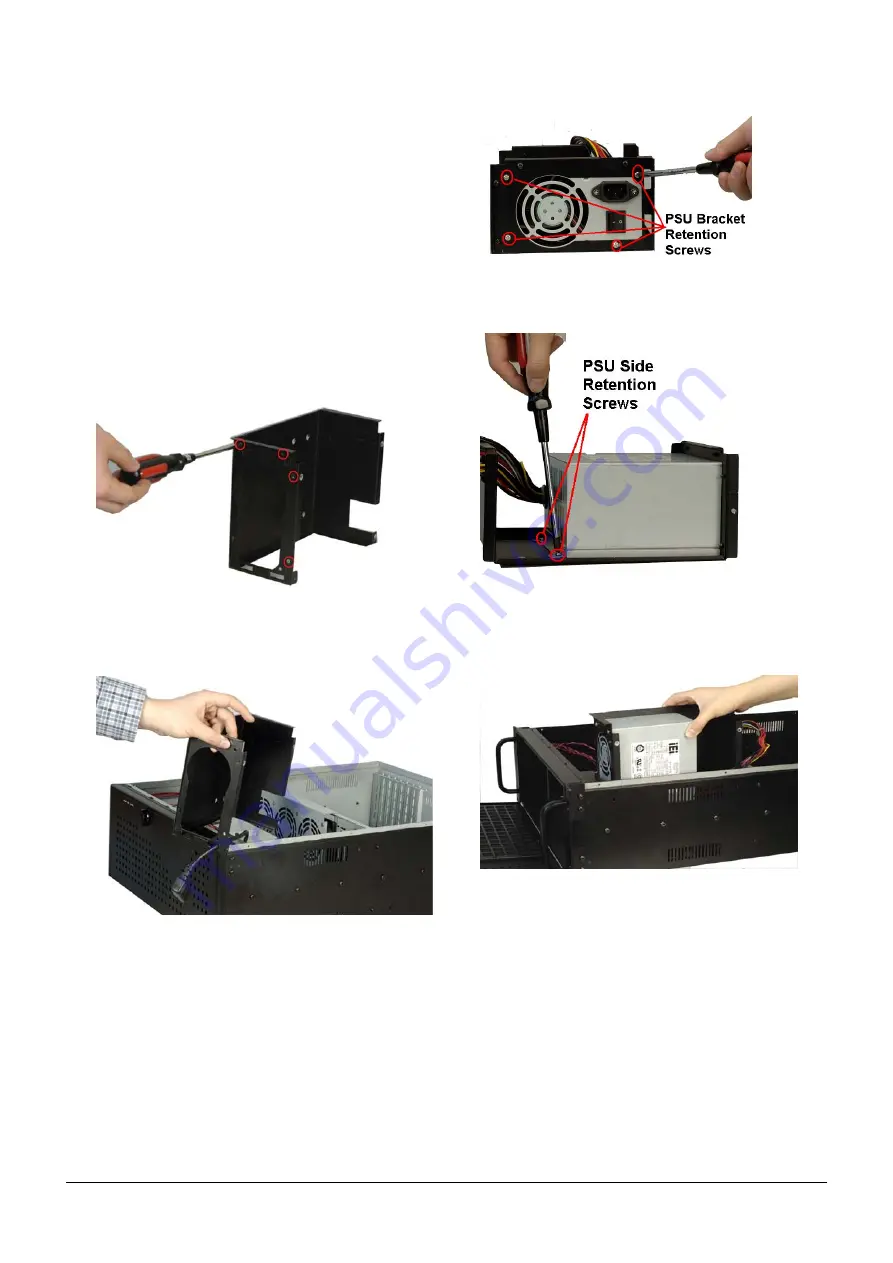
Figure 10: Remove Two Side Retention Screws and
Loosen Two Top Retention Screws
Figure 11: Run the Cable through the Right Hole
underneath the PSU Bracket.
Step 8:
Insert the PSU into the bracket. Make sure the PSU
power switch, the PSU cable plug and the PSU fan are
facing the front of the bracket.
Step 9:
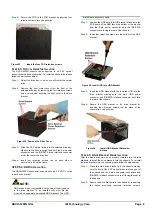
Next, secure the PSU to the PSU bracket. To do this,
insert four retention screws into the front of the PSU and
the PSU bracket and two screws into the side of the PSU
and the PSU bracket.
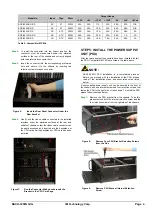
Figure 12:
PSU Bracket Front Retention Screws
(Note the PSU is on its Side)
Figure 13:
PSU Bracket Side Retention Screws
(Note the PSU is on its Side)
Step 10:
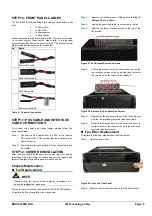
Place the PSU bracket with the installed PSU back into
the chassis.
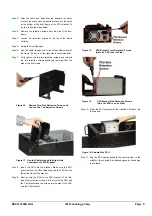
Figure 14: Reinstall the PSU
Step 11:
Run the PSU cables beneath the center divider in the
middle of the chassis. A dedicated space for the cables
is available.


