RACK-360G QIG IEI Integration Corp. Page 4
STEP 4: INSTALL THE POWER SUPPLY UNIT (PSU)
Once the top cover and hold-down clamp have been removed, a user supplied PSU must be installed. Compatible IEI PSUs are listed in the
table below.
Output Range
Model No.
Input
Type
Watt
+3.3V
+5V
+12V1
+12V2
-5V
-12V
+5Vsb
ACE-940AP-RS
AC AT 390W
N/A 40A 15A N/A 0.3A 0.8A N/A
ACE-832AP-RS
AC ATX
300W
28A 30A 15A N/A 0.3A 0.8A 2A
ACE-841AP-S-RS AC ATX
400W
28A 33A 20A N/A 0.5A 1A 2A
ACE-850AP-RS
AC ATX
500W
27A 29A 18A 18A 0.3A 0.8A 2A
ACE-R4130AP-RS AC ATX
300W
18A 25A 16A N/A 0.5A 0.5A 2A
Table 2: Compatible IEI PSUs
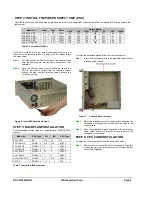
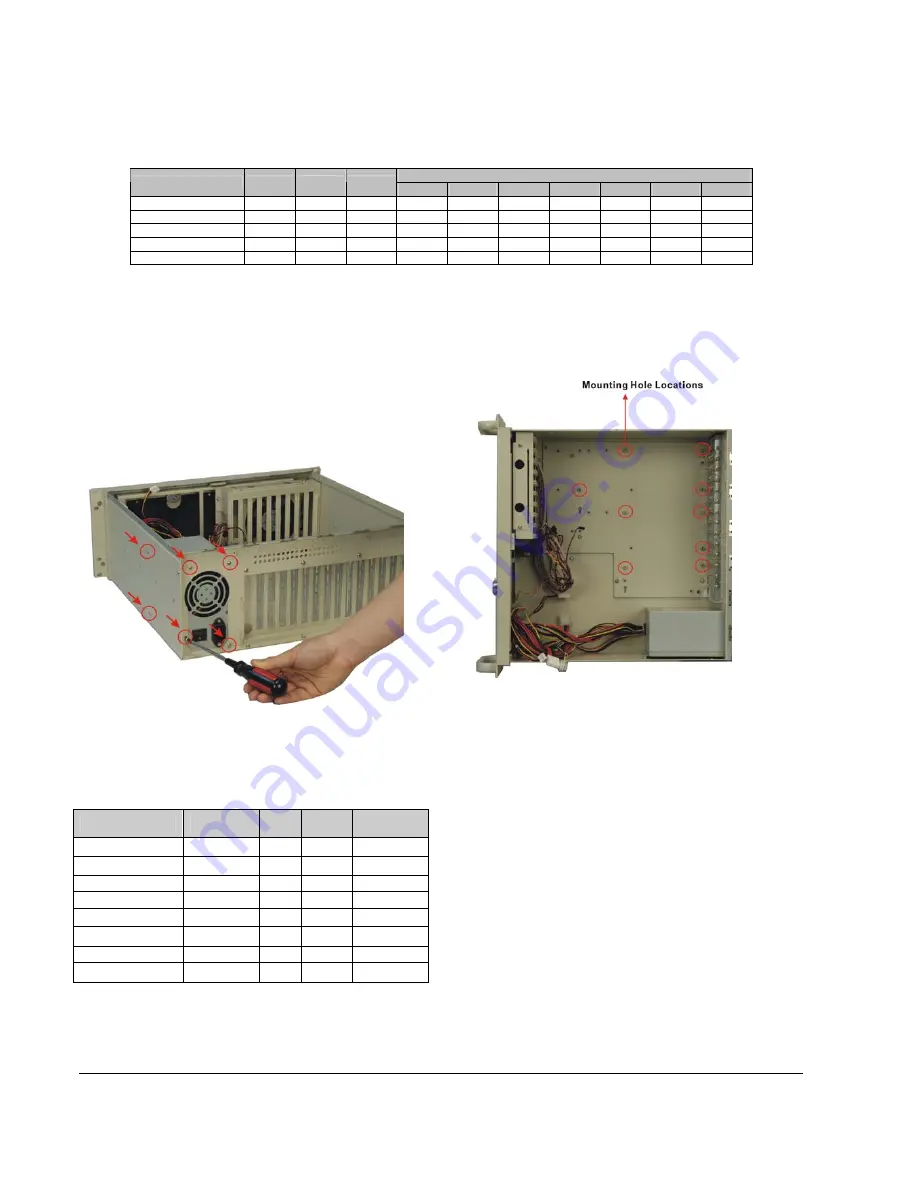
The PSU is installed at the rear of the chassis and secured to the
chassis with six retention screws. To install the PSU, please follow
the steps below.
Step 1:
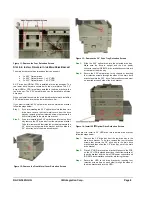
Correctly position the PSU at the rear of the chassis. Make
sure the power switch and the cable socket both face
outwards.
Step 2:
Once the PSU has been correctly positioned, secure the
PSU to the chassis by inserting two retention screws
through the side, and four retention screws through the
rear of the chassis.
Step 0:
Figure 6: Insert PSU Retention Screws
STEP 5: BACKPLANE INSTALLATION
The IEI backplanes listed below are compatible with the RACK-360G
chassis.
Model No.
SBC Type
PCI
ISA
PSU Type
BP-14S-RS ISA N/A
14
AT
PCI-13SD-RS PCIMG
1.0
3+4
3+3
AT/ATX
PCI-14S2-RS PCIMG
1.0
4
8 AT/ATX
PCI-14S3-RS PCIMG
1.0
4
9 AT/ATX
PX-14S3-RS PCIMG
1.0
12
2 AT/ATX
PX-14S5-RS PCIMG
1.0
7
5 AT/ATX
PXAGP-13S3-RS PCIAGP
11 N/A
AT/ATX
PE-10S PICMG
1.3
4
0
ATX
Table 3: Compatible IEI Backplanes
To install the backplane please follow the instructions below.
Step 1:
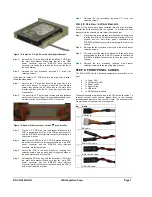
Insert the nine copper pillars in the predrilled screw holes in
the base of the chassis.
Figure 7:
Copper Pillars Locations
Step 2:
Mount the backplane onto the copper pillars and align the
backplane mounting holes with the nine screw holes in the
copper pillars.
Step 3:
Once the backplane is properly aligned with the retention
screw holes, insert nine retention screws to secure the
backplane to the chassis.
Step 0:
STEP 6: CPU CARD INSTALLATION
To install the CPU card please follow the instructions below.
Step 1:
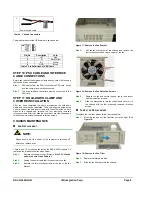
Remove the slot cover at the back of the chassis. To do this,
remove the slot cover retention screw at the top of the slot
cover. (See
Figure 8
)


