RPC-6010G Rackmount LCD Workstation
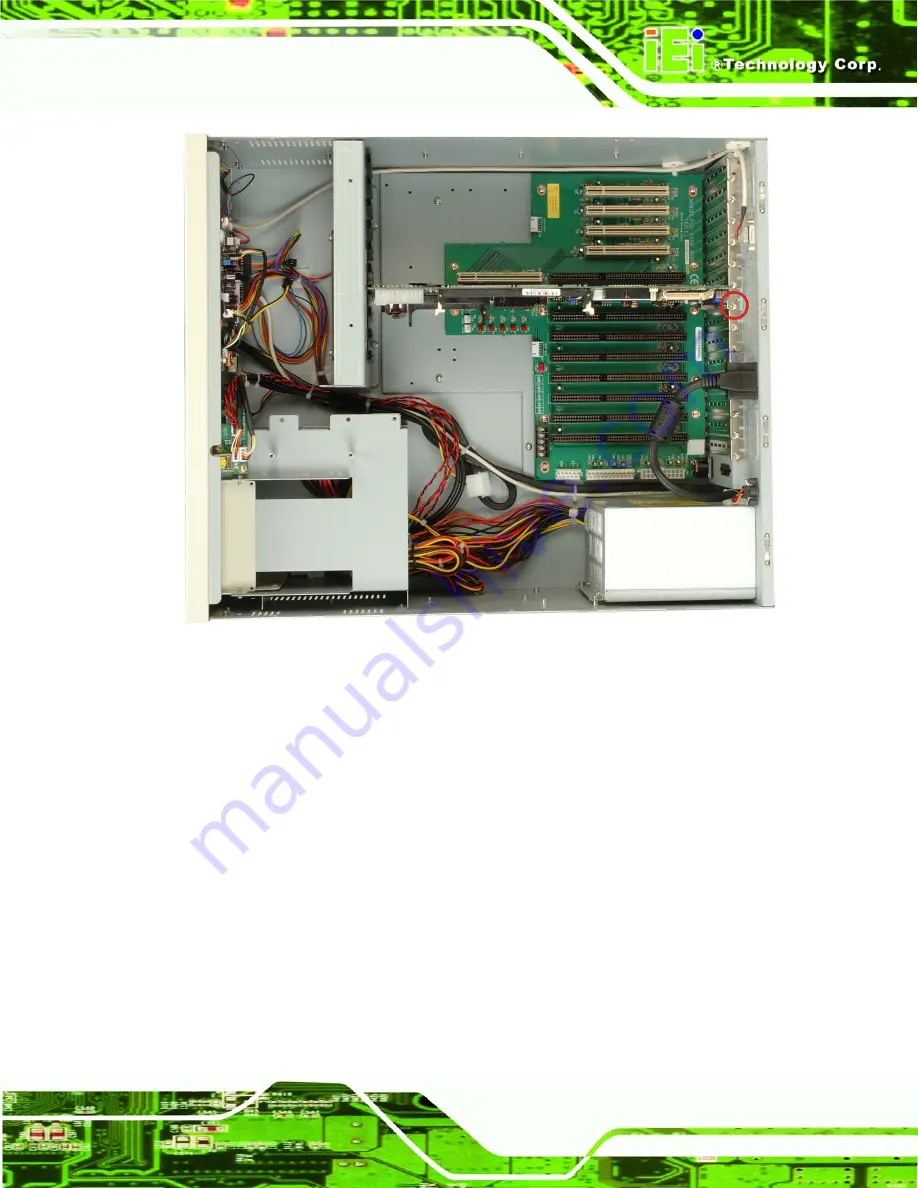
Figure 4-14: Install the CPU Card
Step 5:
Step 6:
Step 1:
To secure the CPU card, reinsert the previously removed slot cover retention
screw.
If a PCI/ISA expansion card is not being installed, reinstall the dual CPU card
clamp and drive bay stabilizer bracket and the CPU card clamp. If a PCI/ISA
expansion card is being installed, proceed to the next section.
Step 0:
4.5.10 Install the PCI/ISA Expansion Card
To install a PCI expansion card or an ISA expansion card please follow the instructions
below.
Remove the slot cover retention screw to remove the slot bracket from the
chassis rear panel (
Page 37
Summary of Contents for RPC-6010G
Page 1: ...RPC 6010G Rackmount LCD Workstation Page i ...
Page 11: ...RPC 6010G Rackmount LCD Workstation 1 Introduction Chapter 1 Page 1 ...
Page 14: ...RPC 6010G Rackmount LCD Workstation THIS PAGE IS INTENTIONALLY LEFT BLANK Page 4 ...
Page 15: ...RPC 6010G Rackmount LCD Workstation 2 Mechanical Overview Chapter 2 Page 5 ...
Page 22: ...RPC 6010G Rackmount LCD Workstation THIS PAGE IS INTENTIONALLY LEFT BLANK Page 12 ...
Page 23: ...RPC 6010G Rackmount LCD Workstation 3 Detailed Specifications Chapter 3 Page 13 ...
Page 27: ...RPC 6010G Rackmount LCD Workstation 4 Installation Chapter 4 Page 17 ...
Page 57: ...RPC 6010G Rackmount LCD Workstation 5 Maintenance Chapter 5 Page 47 ...
Page 69: ...RPC 6010G Rackmount LCD Workstation 6 On Screen Display OSD Controls Chapter 6 Page 59 ...
Page 79: ...RPC 6010G Rackmount LCD Workstation Chapter 7 7 Software Driver Page 69 ...
Page 90: ...RPC 6010G Rackmount LCD Workstation THIS PAGE IS INTENTIONALLY LEFT BLANK Page 80 ...
Page 91: ...RPC 6010G Rackmount LCD Workstation A Certifications Appendix A Page 81 ...
Page 96: ...RPC 6010G Rackmount LCD Workstation THIS PAGE IS INTENTIONALLY LEFT BLANK Page 86 ...
Page 97: ...RPC 6010G Rackmount LCD Workstation C Index Page 87 ...


