TRN-TABLET3
Page 10
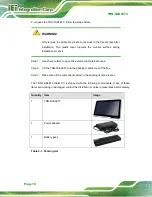
To unpack the TRN-TABLET3, follow the steps below:
WARNING!
Only remove the protective plastic cover stuck to the front screen after
installation. The plastic layer protects the monitor surface during
installation process.
Step 1:
Use sharp cutters to open the external and internal boxes.
Step 2:
Lift the TRN-TABLET3 and the packing material out of the box.
Step 3:
Make sure all the components listed in the packing list are present.
Step 0:
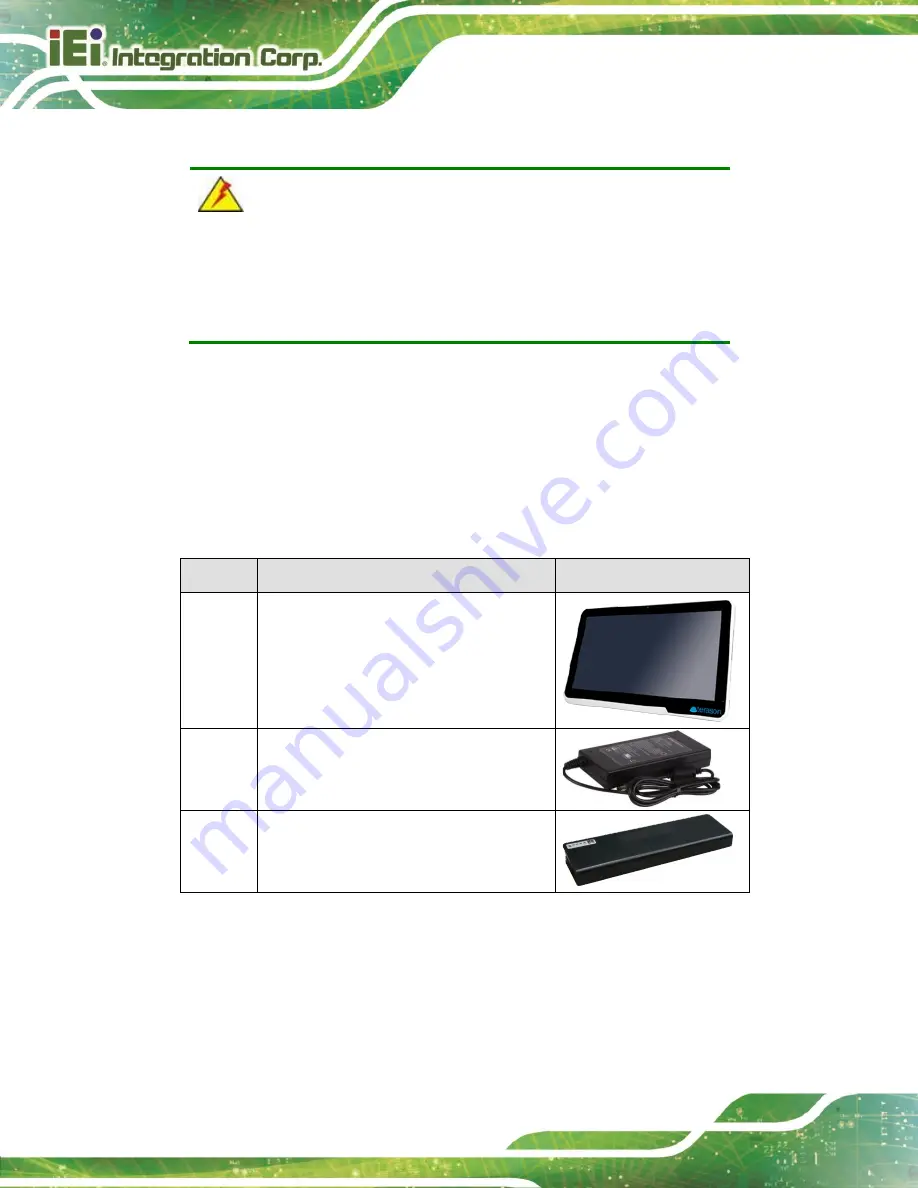
The TRN-TABLET3 tablet PC is shipped with the following components. If any of these
items are missing or damaged, contact the distributor or sales representative immediately.
Quantity Item
Image
1
TRN-TABLET3
1
Power adapter
1
Battery pack
Table 2-1: Packing List
Summary of Contents for TRN-TABLET3
Page 10: ......
Page 11: ...TRN TABLET3 Page 1 Chapter 1 1 Introduction...
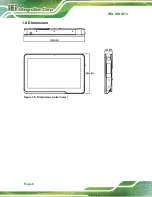
Page 18: ...TRN TABLET3 Page 8 1 8 Dimensions Figure 1 6 Dimensions units in mm...
Page 19: ...TRN TABLET3 Page 9 Chapter 2 2 Unpacking...
Page 21: ...TRN TABLET3 Page 11 Chapter 3 3 Installation...
Page 29: ...TRN TABLET3 Page 19 Chapter 4 4 BIOS Setup...
Page 53: ...TRN TABLET3 Page 43 Appendix A A Regulatory Compliance...
Page 59: ...TRN TABLET3 Page 49 B Product Disposal Appendix B...
Page 61: ...TRN TABLET3 Page 51 C Maintenance and Cleaning Precautions Appendix C...
Page 64: ...TRN TABLET3 Page 54 Appendix D D Symbol Definitions...
Page 66: ...TRN TABLET3 Page 56 Appendix E E BIOS Options...
Page 69: ...TRN TABLET3 Page 59 Appendix F F Hazardous Materials Disclosure...





![Lenovo 90B6 [H50-50 ES] User Manual preview](http://thumbs.mh-extra.com/thumbs/lenovo/90b6-h50-50-es/90b6-h50-50-es_user-manual_201023-01.webp)


