UPC-12A/GM45 Panel PC
Page 50
Step 5:
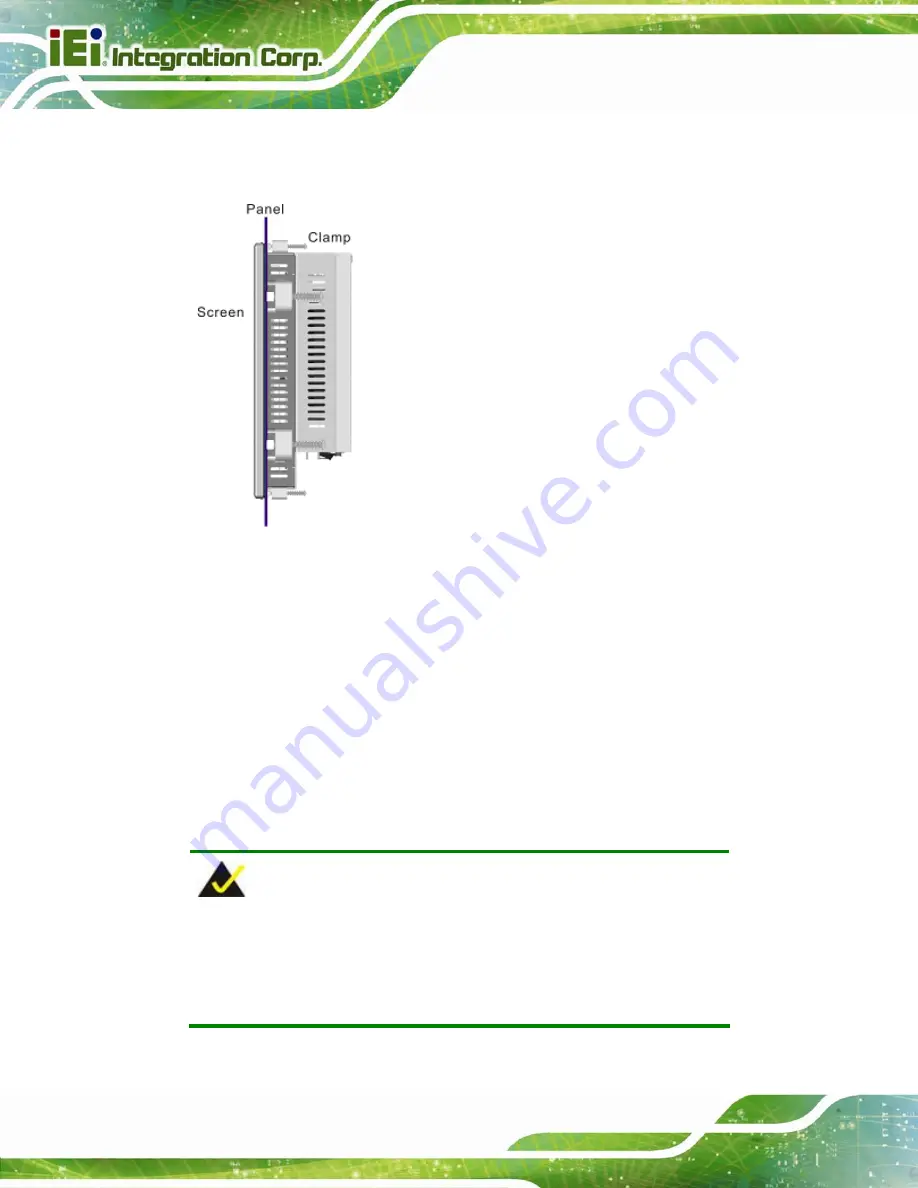
Tighten the screws that pass through the panel mounting clamps until the plastic
caps at the front of all the screws are firmly secured to the panel (
566H566H566H566H566H566H566H568H
Figure 4-19
).
Figure 4-19: Tighten the Panel Mounting Clamp Screws
4.10.3 Arm Mounting
The flat panel PC is VESA (Video Electronics Standards Association) compliant and can
be mounted on an arm with a 100 mm interface pad. To mount the flat panel PC on an arm,
please follow the steps below.
Step 1:
The arm is a separately purchased item. Please correctly mount the arm onto
the surface it uses as a base. To do this, refer to the installation documentation
that came with the mounting arm.
NOTE:
When purchasing the arm please ensure that it is VESA compliant and
that the arm has a 100 mm interface pad. If the mounting arm is not
VESA compliant it cannot be used to support the flat panel PC.
Summary of Contents for UPC-12A/GM45
Page 13: ...UPC 12A GM45 Panel PC Page 1 1 Introduction Chapter 1 ...
Page 24: ...UPC 12A GM45 Panel PC Page 12 2 Detailed Specifications Chapter 2 ...
Page 39: ...UPC 12A GM45 Panel PC Page 27 3 Unpacking Chapter 3 ...
Page 43: ...UPC 12A GM45 Panel PC Page 31 4 Installation Chapter 4 ...
Page 68: ...UPC 12A GM45 Panel PC Page 56 5 System Maintenance Chapter 5 ...
Page 76: ...UPC 12A GM45 Panel PC Page 64 6 AMI BIOS Setup Chapter 6 ...
Page 111: ...UPC 12A GM45 Panel PC Page 99 7 Battery Monitoring and Remote Control Chapter 7 ...
Page 127: ...UPC 12A GM45 Panel PC Page 115 A External Connector Pinouts Appendix A ...
Page 131: ...UPC 12A GM45 Panel PC Page 119 B Safety Precautions Appendix B ...
Page 136: ...UPC 12A GM45 Panel PC Page 124 C BIOS Configuration Options Appendix C ...
Page 139: ...UPC 12A GM45 Panel PC Page 127 D Watchdog Timer Appendix D ...
Page 142: ...UPC 12A GM45 Panel PC Page 130 E Hazardous Materials Disclosure Appendix E ...


