WAFER-ULT3/ULT4 3.5" SBC
Page 66
Step 6:
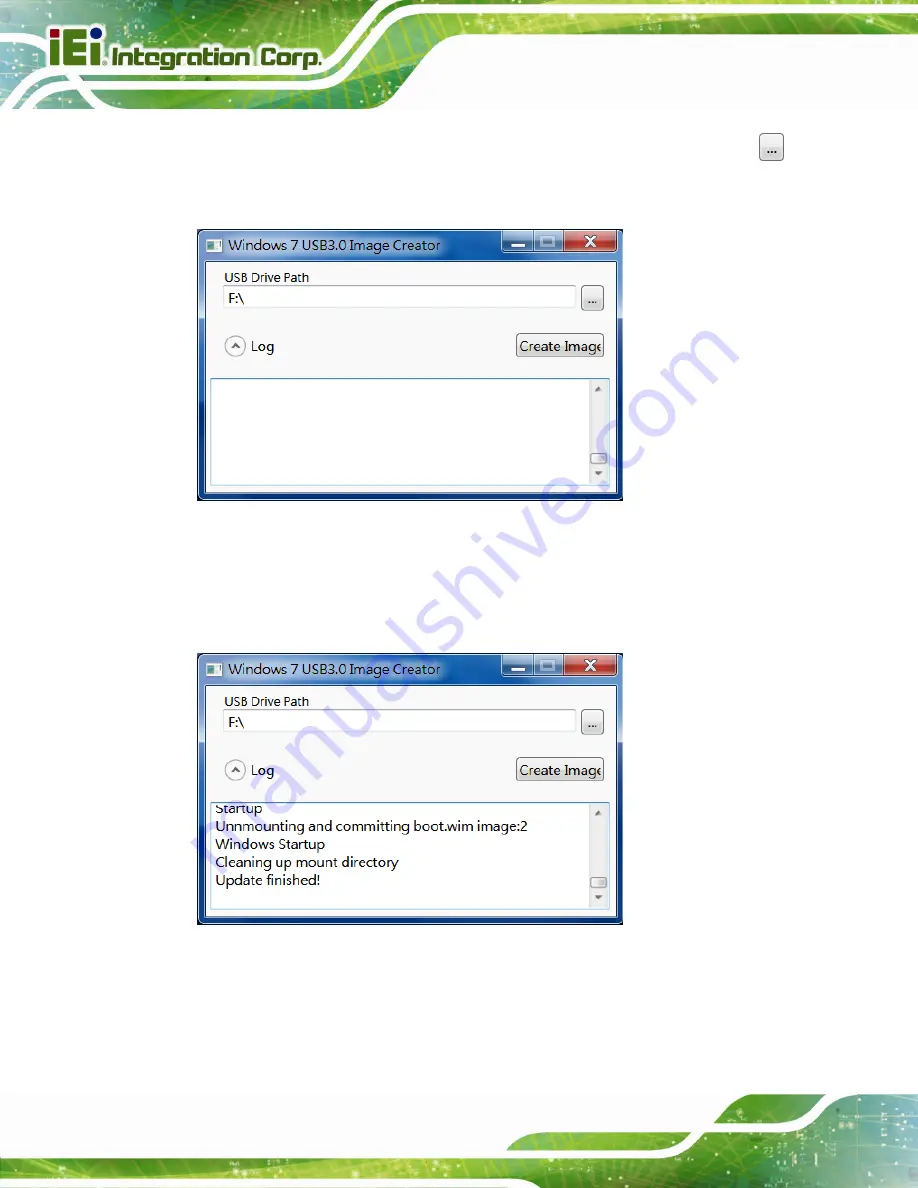
The Windows 7 USB 3.0 Creator Utility screen appears (
). Click
to browse to the root of the USB drive containing the Windows 7 image.
Figure 4-20: Windows 7 USB 3.0 Creator Utility
Step 7:
Click
Create Image
to start the update process.
Step 8:
Wait for the process to finish. It may take up to 15 minutes.
Figure 4-21: Update Process is Complete
Step 9:
Now the user can proceed with the Windows 7 installation using the updated
installer.
Step 0:
Summary of Contents for WAFER-UTL3
Page 14: ...WAFER ULT3 ULT4 3 5 SBC Page 1 Chapter 1 1 Introduction...
Page 18: ...WAFER ULT3 ULT4 3 5 SBC Page 5 Figure 1 3 Connectors Solder Side...
Page 24: ...WAFER ULT3 ULT4 3 5 SBC Page 11 Chapter 2 2 Packing List...
Page 28: ...WAFER ULT3 ULT4 3 5 SBC Page 15 Chapter 3 3 Connectors...
Page 59: ...WAFER ULT3 ULT4 3 5 SBC Page 46 Chapter 4 4 Installation...
Page 82: ...WAFER ULT3 ULT4 3 5 SBC Page 69 Chapter 5 5 BIOS...
Page 117: ...WAFER ULT3 ULT4 3 5 SBC Page 104 Appendix A A Regulatory Compliance...
Page 119: ...WAFER ULT3 ULT4 3 5 SBC Page 106 Appendix B B BIOS Options...
Page 122: ...WAFER ULT3 ULT4 3 5 SBC Page 109 Appendix C C Terminology...
Page 126: ...WAFER ULT3 ULT4 3 5 SBC Page 113 Appendix D D Digital I O Interface...
Page 129: ...WAFER ULT3 ULT4 3 5 SBC Page 116 Appendix E E Watchdog Timer...
Page 132: ...WAFER ULT3 ULT4 3 5 SBC Page 119 Appendix F F Hazardous Materials Disclosure...


