PNG3XX INSTALLATION MANUAL
NAM-PNG3xx-TM-EN-C.doc
The info rmation contained in this d ocu ment is the p roperty of Auto matic
Syste ms and is co nfidentia l. The re cipient shall refrain fro m using it fo r a ny
purpose other than the use of the pro ducts or the execu tion of the pro ject to
which it refers and fro m co mmunicating it to third partie s without written p rio r
agree ment of Auto matic Syste ms. Do cu ment sub ject to change without notice.
22
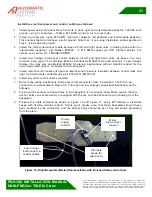
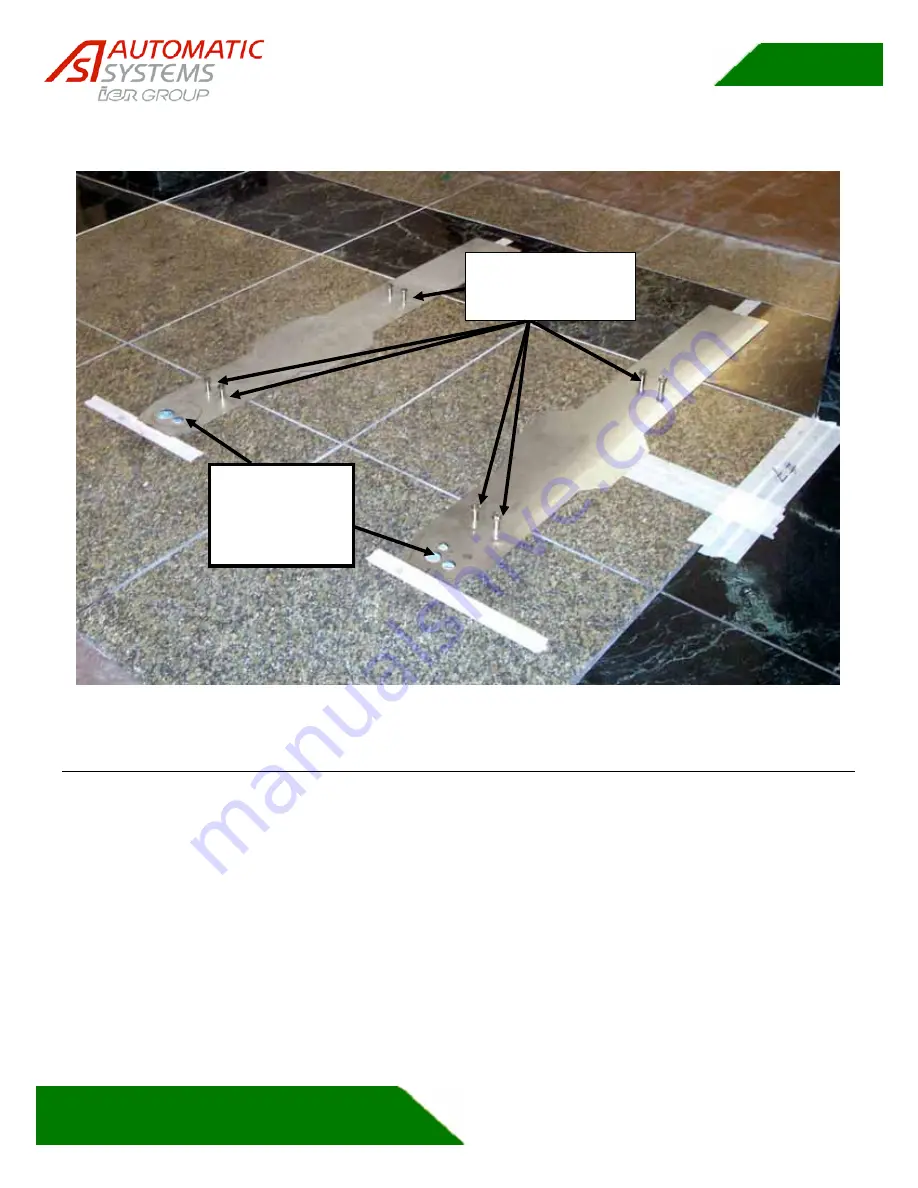
Figure 17 - Baseplate Installation with Anchors Set and Conduit Cutout
2.4 Installing the Unit
•
Make sure that the baseplates have been placed on the floor, and that they are straight and flat on
the ground. All anchor bolts, conduits and cabling should have been properly passed trough the
floor at this point.
•
Check that the floor is perfectly leveled (the base of the unit must be flushed with the floor). Small
level defect can be adjusted with shim later on. However, the floor must be nearly leveled for the
PNG to operate properly.
•
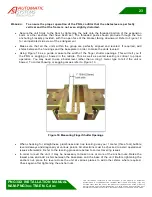
Position the PNG on site precisely with the help of the forklift. Final positioning may require the
help of several people to lift and lower the unit in the proper location. Do not twist the unit! Make
sure you have enough help so that the unit does not get bended or pried. If the unit get bended or
pried the frame will require rework to make it straight again.
Conduits and
cables enter
through hole
cut by
contractor –
Contractor has set
the anchors
through baseplate

