PNG3XX INSTALLATION MANUAL
NAM-PNG3xx-TM-EN-C.doc
The info rmation contained in this d ocu ment is the p roperty of Auto matic
Syste ms and is co nfidentia l. The re cipient shall refrain fro m using it fo r a ny
purpose other than the use of the pro ducts or the execu tion of the pro ject to
which it refers and fro m co mmunicating it to third partie s without written p rio r
agree ment of Auto matic Syste ms. Do cu ment sub ject to change without notice.
38
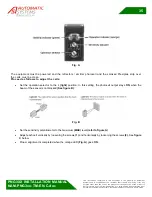
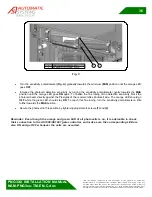
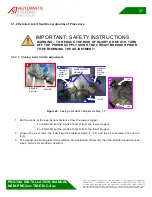
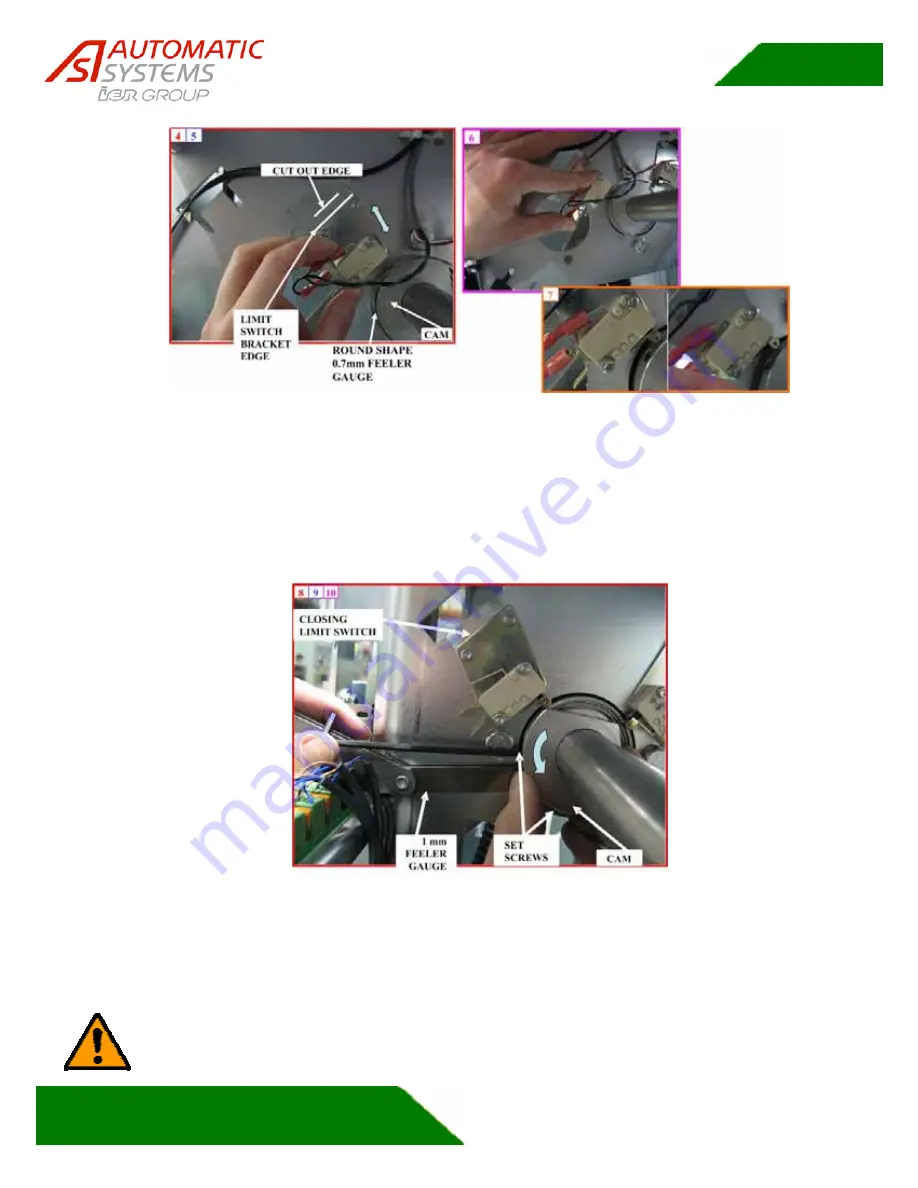
Figure 30 :
Closing Limit Switch Adjustment Step 4-7
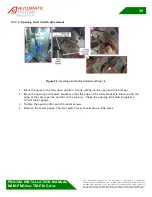
4. Block the glass in the fully open position. Crank resting on the open position bumper.
5. Move the opening limit switch bracket so that the edge of the roller bracket is lined up with the
edge of the cam (see line and dot on the picture). Press the opening limit switch against a 0.7mm
feeler gauge.
6. Tighten the opening limit switch bracket screws.
7. Remove the feeler gauge. The limit switch lever should have a little slack.
Figure 31 :
Closing Limit Switch Adjustment Step 8-10
8. To avoid friction put a feeler gauge of 1mm between the bearing and the cam.
9. Turn the cam in the arrow direction until the closing limit switch disengages (clicking sound).
10. Tighten the cam set screws in this position.
•
For a more detailed instruction please see your local representative to get the detailed
procedure.
•
To ease the adjustment, you can purchase the ASA toolkit.


