©
2014
IFLIGHT-RC
. All Rights Reserved.
5
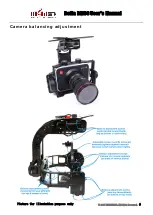
Mounting Came ra
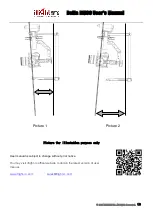
Place the camera on the camera tray with lens placed through openning in the front panel, and attach the camera
to the mounting plate with the screw provided, allowing adequate space around camera/lens. With the locking screw
slightly loose, adjust the camera position from front to rear, while keeping the lens and lens mounting hole concentric.
Make sure the camera and the front panel can rotate freely when hands are removed from the camera.
Notice the center of gravity (CoG) changing while moving the camera from front to rear. If lens sinks down, it
means the center of gravity is too far forward, so camera needs to be moved backwards, then tighten lock screw. If
lens tilts upward, then camera needs to be moved forwards, then tighten lock screw. First adjust the camera forward
and backward to get a sense of the approximate (CoG). Then make finer adjustments gradually to achieve the exact
CoG position.
When camera lens can be tilted up and down with the hands in a variety of attitudes, and the camera remains
stable and motionless when your hands are removed, then the camera balancing adjustment on the camera tray is
completed. Then tighten the locking screw to secure the camera firmly.
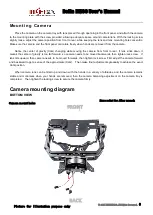
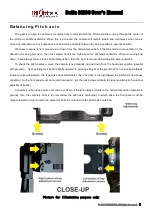
Camera mounting diagram
BOTTOM VIEW
FRONT
BACK
Hex-socket
for
Allen
wrench
Camera mount holes
Picture for illustation purpose only
Dolla BMCC
User's Manual


