10
Tipping Trailers
Operator Manual
HYDRAULIC SYSTEM MAINTENANCE
1.
Wipe all external surfaces of the pump and reservoir tank to
remove dirt, dust and oil residue.
2.
Inspect unit for leaks and rectify as necessary.
3.
Clean reservoir filler cap, remove and renew if cap and / or seal
is damaged. Check oil level and replenish with clean hydraulic
oil.* This should preferably be carried out with actuator (and
thus the body ram) at minimum stroke, i.e. with the trailer body
down. The oil should be approximately 25mm (1”) from the top
of the reservoir tank when full.
4.
Fully replace the hydraulic oil at intervals depending upon the
severity of the duty and environment conditions:
Very dirty, dusty and damp:
6 months to 1 year.
Otherwise, in more favourable conditions: Approx. 2 yearly.
Draining the Tank
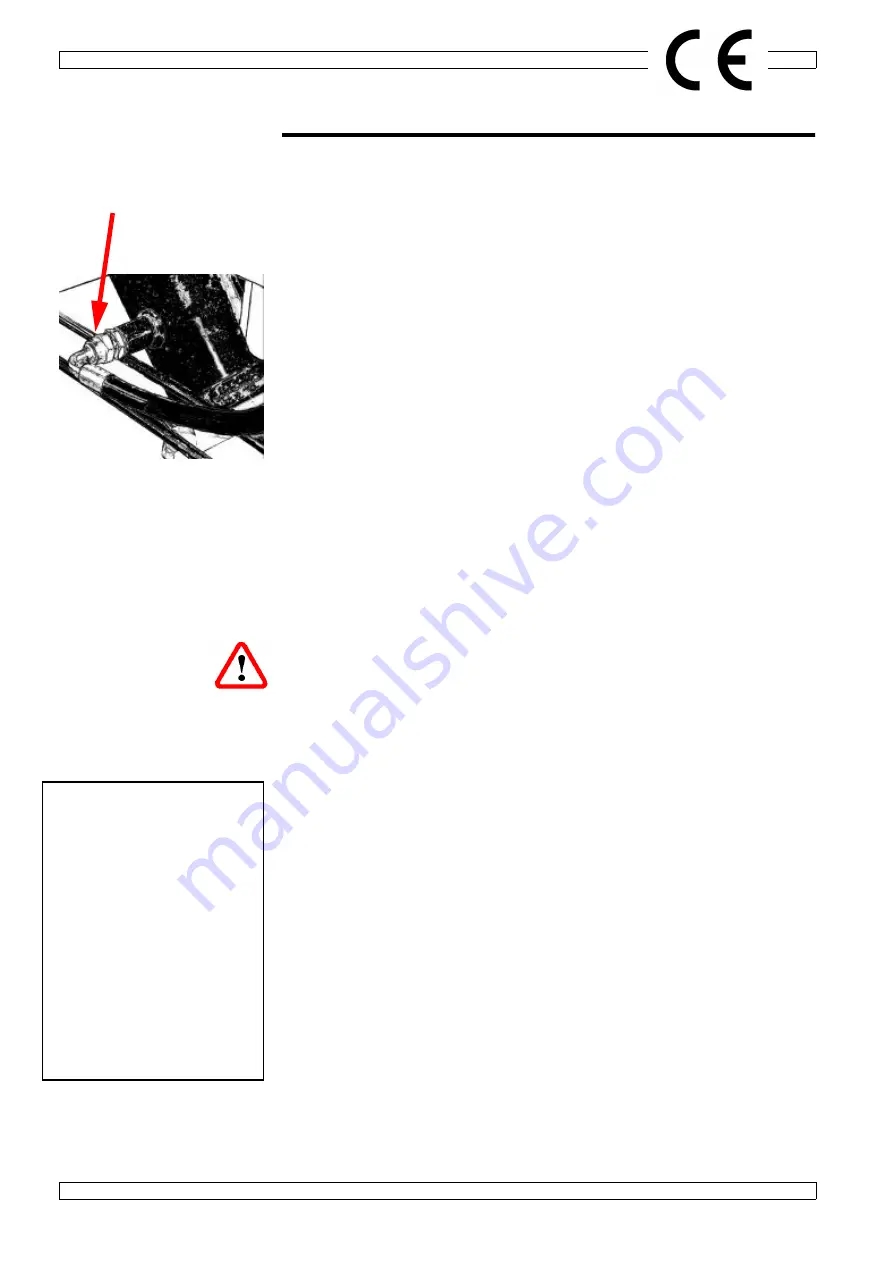
With the body fully lowered, remove the main pressure supply hose
from the ram (fig 15) and dip into a suitably sized and positioned
container or oil drum. Switch on the electrical operating system (or
operate the manual pump) to pump the oil into the container.
Continue until the oil flow virtually ceases.
DO NOT RUN THE PUMP FOR LONGER
THAN IS NECESSARY WHEN THE TANK
IS APPROACHING EMPTY
Filling the Tank
Use clean, filtered oil of the correct grade. Use a filter unit with a
filtration level of 25 microns (25 µm) or better.
Use only clean jugs and funnels.
CONTAMINATION OF HYDRAULIC OIL ACCOUNTS FOR THE
VAST MAJORITY OF HYDRAULIC SYSTEM FAILURES
Connect the hose to the ram but do not tighten.
Fill the tank to the level mark.
Bleed the system by operating the motor briefly (or operate the
manual pump) whilst observing the release of air from the hose
connection on the ram. As soon as there is no sign of air escaping,
tighten the connector. Check the oil level and top up if necessary.
Main hydraulic
pressure supply
hose connector
* Oil Specification for the
Fenner / SPX Power Pack
Fenner recommend
SHELL TELLUS 37
or it’s equivalent for
temperatures between -
18
o
C
and +70
o
C
. This
should cover most normal
applications.
See pages 11 & 12 for
appropriate graphs
Fig.15


