en
16
User manual Samos, Samos Deep
www.igloo.pl
1
2
3
4
When using the display cabinet, as well as during maintenance works, pay attention not to destroy the
temperature sensor in the evaporator screen!
It is recommended to make a break in the exploitation of the device once a month in order to clean its interior,
naturally defrost the evaporator, clean the condenser and verify the condition of door seals.
If the device is not equipped with automatic condensate evaporation, it is essential to remove the condensate from the
container when filling the container Fig.4 (p.14). The number (frequency) of condensate removal depends on device
exploitation conditions (f. ex. air humidity, door opening frequency, the amount and temperature of products entered for
storage).
Do not use mechanical agents in order to fasten the defrosting process!
It is essential to keep the
condenser of the device
clean. Dirt may
hinder the heat exchange, causing mainly increase in electric energy
consumption and may cause damage of aggregate compressor.
In order to clean the condenser it is necessary to unscrew the fixing
sheet metal screws and pull the wind brace out. Clean condenser
lamellas with help of soft brush or paint brush. If the condenser is ex
-
tremely dirty (blocked lamellas) it is indicated to use vacuum cleaner
or compressed nitrogen to suck / blow the dirt from between lamellas.
The producer shall not be held responsible for damages of the condenser aggregate resulting from non-ob
-
servance of condenser cleanliness!
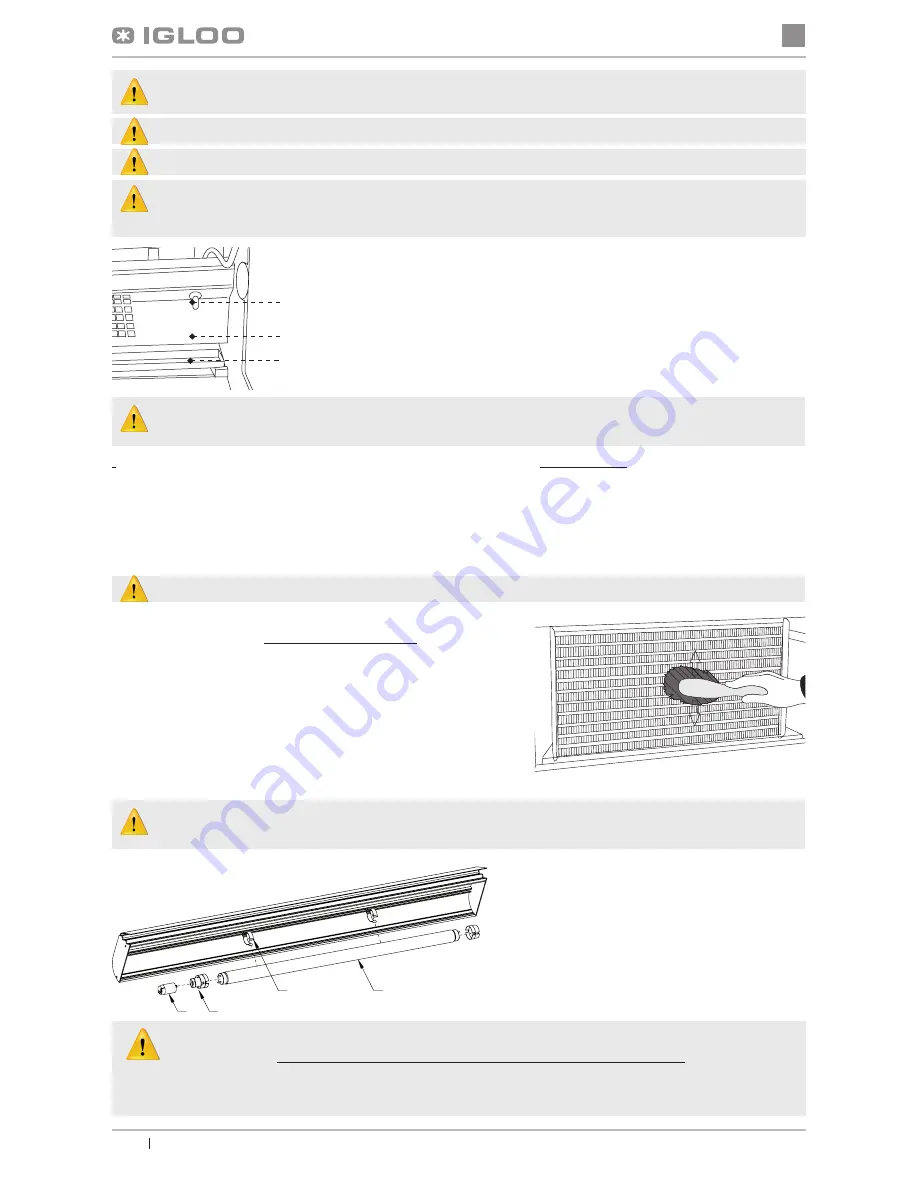
Fig.8 Cleaning the condenser
3
2
1
Fig.7 Temperature sensor inside the device
1 – Temperature sensor
2 – Evaporator screen
3 – Evaporator drip rail
Door seal should be cleaned solely with clean water without any cleansing agents and it should be
thoroughly dried.
The seal cannot get into contact with oily substances or grease!
Control whether door close properly during maintenance procedures.
Test: place a sheet of paper between the seal and the casing and close the door. The paper
should pose a tangible resistance during an attempt to pull it out.
Fig.9 Changing the fluorescent lamp
1 – Fluorescent lamp handle
2 – Fluorescent lamp
3 – Casing of fluorescent lamp and starting switch
4 – Starting switch of fluorescent lamp
Do not use water stream to clean the device, only a wet cloth
Do not use any sharp objects to remove dirt!
Devices with wheels cannot be used on uneven surfaces!
During cleaning the inside of the device do not leave the front glass freely lifted in the aluminium profile. This may
cause the damage of the glass and is not covered by warranty. Please remove the glass with profile for the time
of cleaning.


