-11-
www.igmtools.com
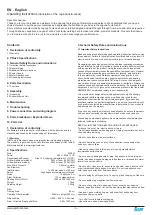
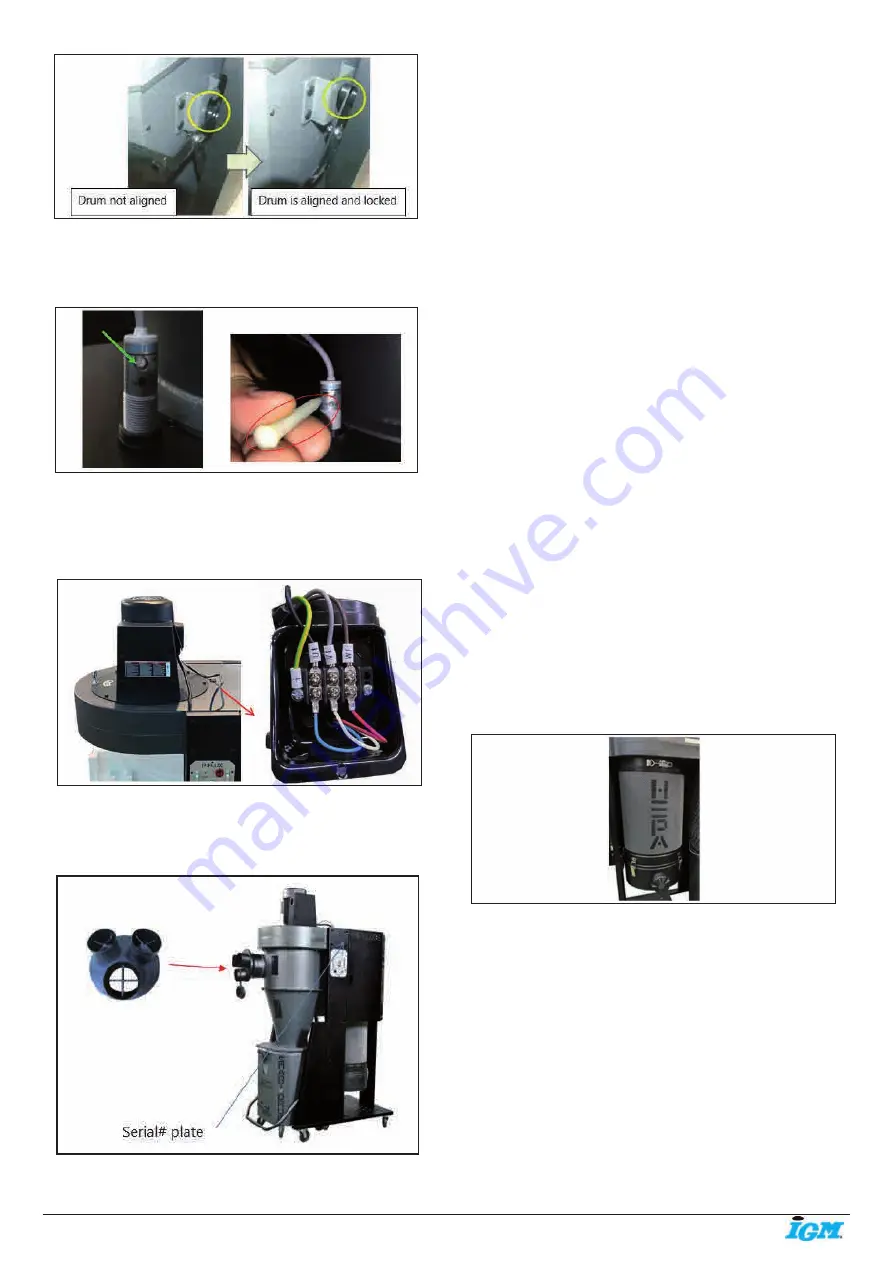
Step 42. Using the white plastic pin, insert the sharp point into the top end
of the proximity sensor that is on top of the drum lid. You will find a small
hole to on top where you can turn clockwise or anti-clockwise.
• Clockwise: Lower dust waste level in drum (Less full drum)
• Anti-clockwise: Higher dust waste level in drum (Fuller drum)
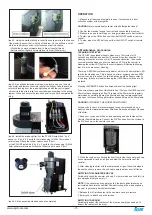
Step 43. A qualified electrician must open the junction box on the auto
clean motor and remove the strain relief at the bottom. Take the second
motor cord leading from the top upright support with the control panel
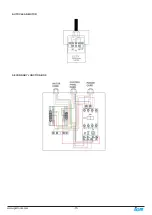
and insert into the strain relief, connect the wires according to the wiring
diagram. Close and secure the junction box after you have completed the
wiring.
Step 44. Install the intake splitter. For the PFLUX2 install the 8” by 6”
reducer or 8” by 4” x 2 ports to the intake using (3) M4 x 12mm sheet
metal screws. Attach the rubber caps to each 4” port.
For the PFLUX3 install the 8” by 4” x 3 ports to the intake using (3) M4 x
12mm sheet metal screws. Attach the rubber caps to each 4” port.
Step 45. All the assembly steps have been completed.
.
OPERATION
1. Make sure at least one blast gate is open, if connected to a dust
collection system with blast gates.
CAUTION
Never operate dust collector with all blast gates closed!
2. Confirm the electrical supply is correct and connected to machine.
3. Make sure no one is working on or doing maintenance to dust collector.
4. To start, press the ON button on either the ON/OFF switch or remote
control.
5. To stop, press the OFF button on either the ON/OFF switch or remote
control.
6. Maintenance procedures
CLEANING THE FILTER
This PFLUX3 is equipped with auto clean every 10 minutes for 10
seconds one direction and another 10 seconds the other direction. The
cleaning will continue for one cycle (10 seconds clockwise, 10 seconds
counterclockwise when you shut the machine off. While the canister is
cleaning the yellow LED light on the control panel will illuminate showing
that it is in the process of cleaning.
There is a HEPA filter replacement indicator, which is the same yellow LED
light as the cleaning one. This is based on a timer system and when 2000
hours of running is reached, the light indication would be flash constantly
in one long, two short intervals meaning the HEPA filter would need to be
replaced.
Pressing the REMOTE button five times will reset the flashing light.
To ensure proper operation of this Mobile Dust Cyclone, the HEPA canister
filter must have adequate air flow. This means the filter must be regularly
maintained by carefully blowing the filter clean using compressed air and
an air gun to release built-up particulates trapped between the filter pleats.
CAUTION
DISCONNECT MACHINE FROM POWER!
For heavy duty users, it is recommended to use compressed air on a
weekly basis to maintain maximum filtration efficiency and longer life span
of the filter.
1. Keep your cyclone switched on and operating; open both sides of the
Canister filter shield doors. Connect the Ø4” flex hose from the cyclone to
the Ø4” hook up on the canister end cap.
2. While the cyclone is collecting the dust from inside the canister end cap;
use compressed air and an air gun and blow the outer surface of the
canister.
3. After cleaning the filter with the compressed air gun, follow the steps in
the next section to remove the end cap to empty out any dust left inside.
EMPTYING THE CANISTER END CAP
Periodically check the canister end cap, if it is more than one third full, it is
recommended that you empty it.
NOTE
: If the canister end cap gets too full, the dust particulates may be
recirculated back into the canister filter obstructing air flow and exposing
the user to potentially harmful particulates.
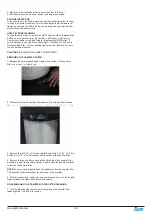
1. Release the (4) latches around the canister end cap to remove.
2. Empty and re-attach using the latches.
EMPTYING THE DRUM
Periodically inspect the contents of the drum and empty as needed. To
inspect the contents of the drum:


