36
Figure 54
C222045a
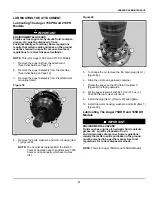
11. Remove the rear cover (Item 1) [Figure 54].
Figure 55
C222046a
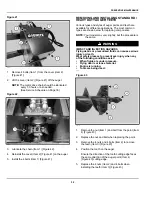
12. Insert the drive chain (Item 1) and place it around the
larger drive sprocket (Item 2) [Figure 55].
NOTE:
Keep the chain ends as even as possible.
Figure 56
C221897b
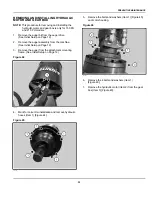
13. Bring the two ends of the chain toward the front of
the box [Figure 56].
Figure 57
C221896b
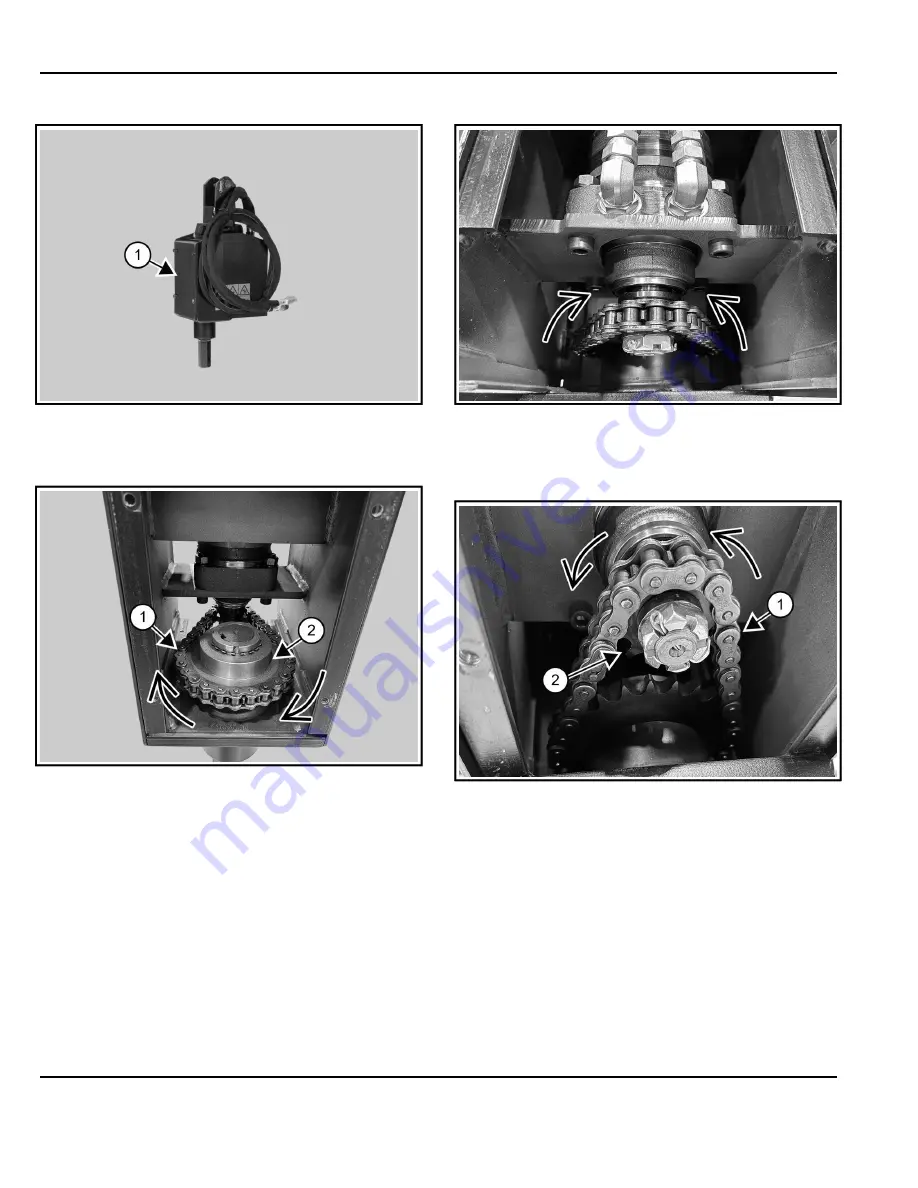
14. Place the chain (Item 1) around the drive sprocket
(Item 2) [Figure 57].
Summary of Contents for Auger 75 DDH
Page 2: ......
Page 12: ...10 Figure 4 C221899a SAFETY AND TRAINING RESOURCES ...
Page 29: ......
Page 52: ...50 troubleshooting 29 W warranty 48 welding safety 7 ALPHABETICAL INDEX ...
Page 53: ......

