15
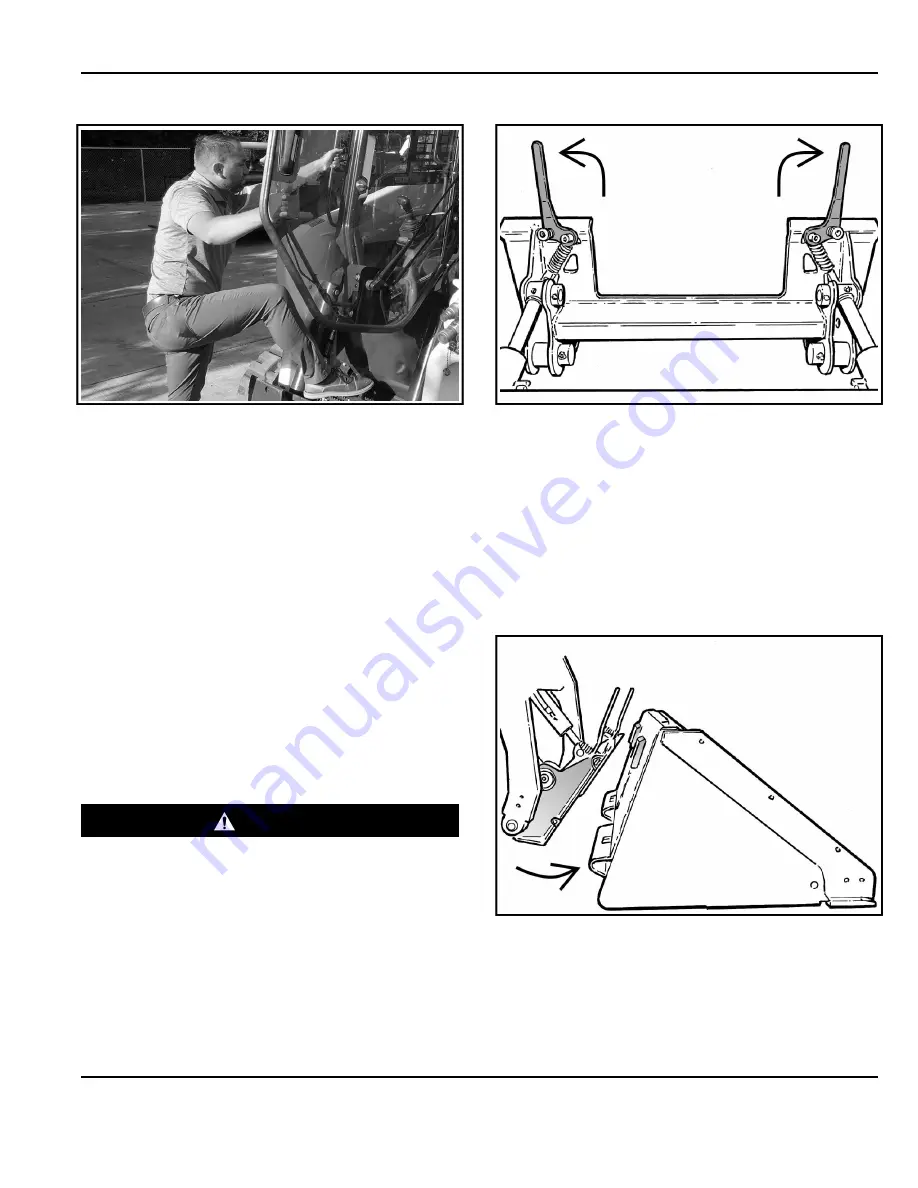
Figure 16
C216077a
•
Use the attachment / implement steps (if equipped),
grab handles, and safety treads (on the machine and
frame) to get in and out of the machine, maintaining
a three-point contact at all times [Figure 16]. Do not
jump.
•
See the machine’s Operation & Maintenance Manual
for detailed instructions on entering and exiting the
machine.
Installing The Attachment
Installing With Non-powered Machine Quick Coupler
The illustrations and instructions provided explain how to
install a bucket attachment onto a machine. Follow these
same instructions if you are installing different
attachments such as a grapple, snow pusher, sweeper,
etc.
The attachment mounting frame for the attachment has a
top flange that is designed to receive the top edge of the
machine quick coupler and the lower part of the frame is
designed to receive the quick coupler wedges.
WARNING
GENERAL HAZARD
Failure to obey warnings can cause serious injury or
death.
Obey all warnings on the machine and in the
manuals.
◂
W-2744
Always inspect the machine’s quick coupler and the
attachment mounting frame before installation. (See the
machine’s Operation & Maintenance Manual.)
(See Daily Inspection on Page 11)
Figure 17
NA3445A
1.
Pull the quick coupler levers up until they are fully
raised (wedges fully raised) [Figure 17].
2.
Enter the machine.
3.
Turn the machine on.
4.
Release the parking brake.
5.
Lower the lift arms and tilt the machine quick coupler
forward.
Figure 18
NA3446a
6.
Drive the machine slowly forward until the top edge
of the quick coupler is completely under the top
flange of the attachment [Figure 18].
NOTE:
Be sure the quick coupler levers do not hit
the attachment.


