This document is property of NIIGATA POWER SYSTEMS CO., LTD. It must be neither reproduced nor communicated nor published without permission.
SECTION
4
- DISASSEMBLY AND REASSEMBLY
4.4 FUEL INJECTION VALVES AND FUEL INJECTION
PUMPS
4-4-02
Checking injection valve performance
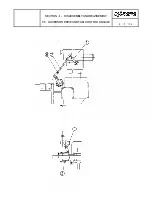
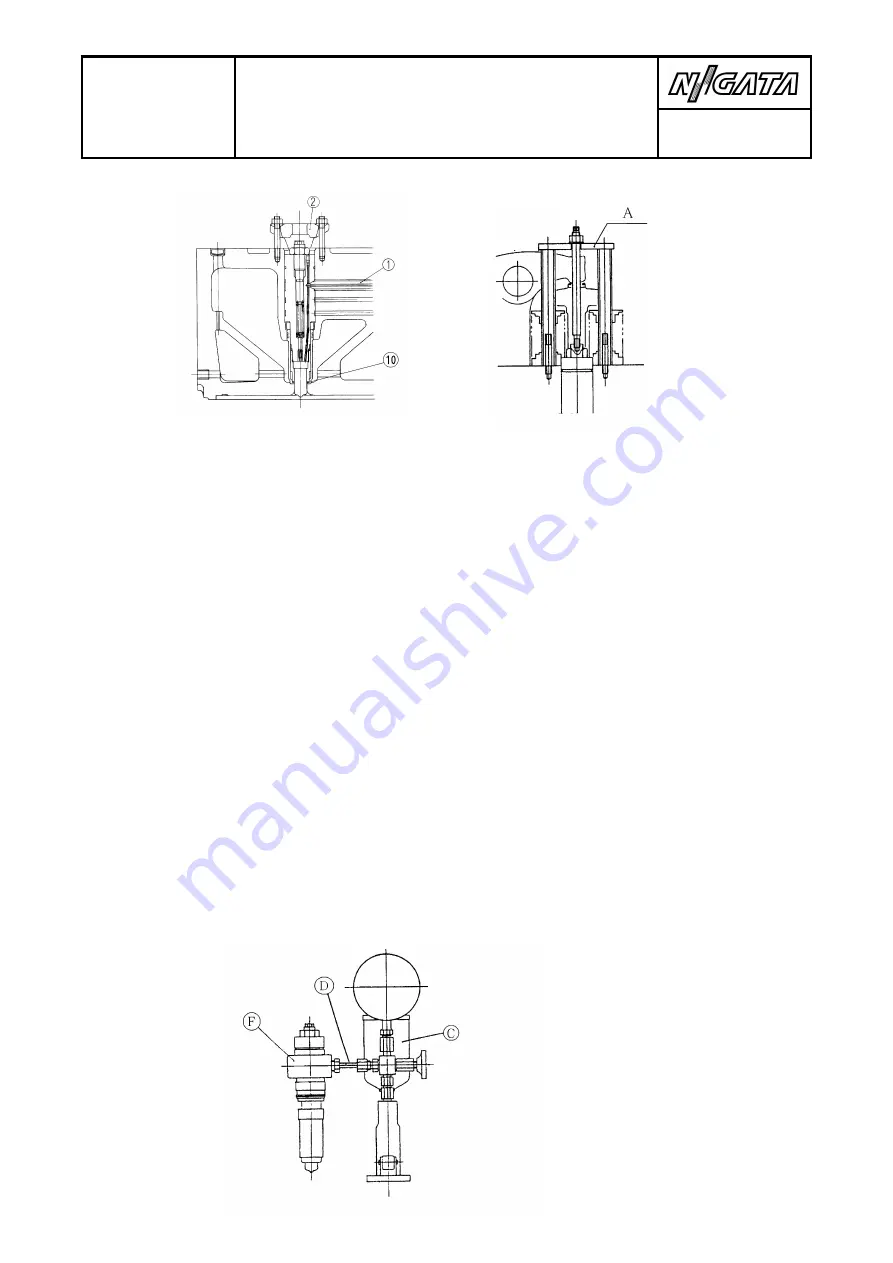
- Insert the fuel injection valve into the sleeve (F) that was provided with the special tools.
- Connect the calibration pump (C) to the injection valve with the test line
(D) that was supplied with the special tools.
- Actuate the pump with several short strokes to bleed the air from the lines
and valve. (Make certain that only clean, filtered fuel is used for the testing).
- Once the air has been bled from the system, the valve opening pressure can
be checked. Increase the pressure to 27.0 MPa - the nozzle should
remain dry valve should not open). Increase the pressure further to
30.0 MPa release the lever and observe the time required for pressure to leak down.
If the pressure drops below 13.0 MPa in less than 10 seconds,
the injection valve should be disassembled and inspected, then reset to the
- correct opening pressure as outlined below.
If the opening pressures are satisfactory, continue pumping and observe the
spray pattern from each of the holes in the nozzle. The patterns should be
uniform - if not, clean the nozzle using the needles supplied with the special tools.
- Finally adjust the correct opening pressure 33.0 MPa.
Summary of Contents for NIIGATA MG(L)26HLX
Page 2: ......
Page 34: ......
Page 38: ......
Page 40: ......
Page 60: ......
Page 66: ......
Page 68: ......
Page 80: ......
Page 82: ......
Page 86: ......
Page 88: ......
Page 94: ......
Page 107: ......
Page 108: ......
Page 110: ......
Page 130: ......
Page 132: ......
Page 170: ......
Page 174: ......
Page 186: ......
Page 188: ......
Page 192: ......


