background image

Using the iH19

3

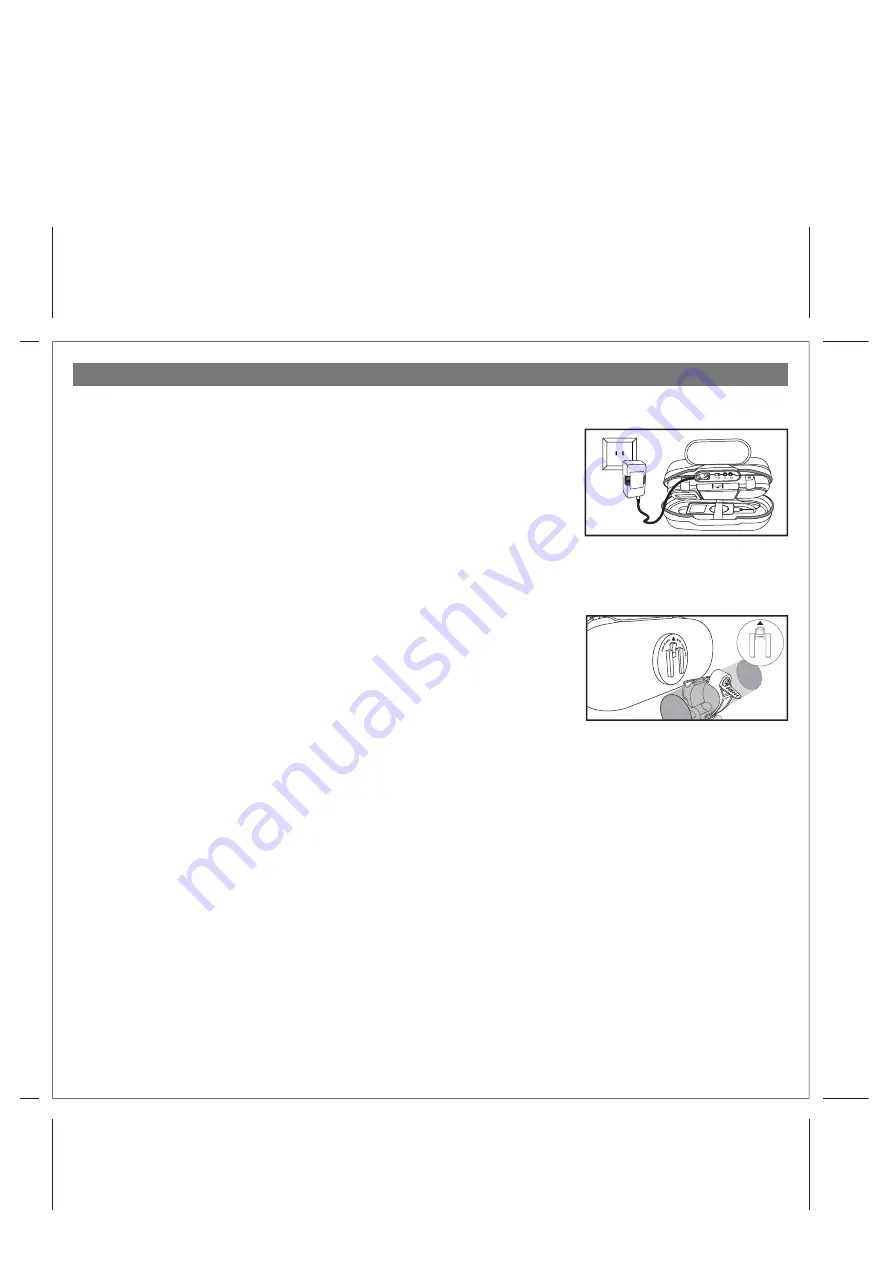
Connecting iH19 to Power Source 

a) Plug the AC adaptor cable into the 


AC Adaptor Jack and the other end into a 

standard 120 VAC wall socket.  If an iPod is properly connected, it will begin 
charging, indicated by a flashing blue 

 LED. The iH19 also operates on 4 “AA” 

batteries (see page 4 for information on installing/replacing batteries) for portable 
playing. The AC adaptor charges the iPod with or without batteries installed. The 
unit will not charge your iPod while operating just on batteries.

NOTE:

  To save battery life, when running off Batteries, unit will automatically power 

OFF after 2 hours of NON-use (no button activation). Press any button to 
re-activate the unit.

Using the Clamps

Attaching the Clamps  

The iH19 comes with two sets of clamps so you can leave a clamp in place and 

simply clip and unclip your iH19 to it. Four adhesive-backed spacer strips are provided 
to ensure a snug clamp fit. The thinner ones  (with channelled center) attach directly 
to the mounting surface, the thicker ones (with raised center and edges) fit around 
the thin strip if needed.

a) Use a Philips screw driver to unfasten a clamp.

b) Cut spacer strips to the desired size, remove adhesive from  thin spacer strip and place sticky side on desired mounting 

area. Fit thicker strip in place around already mounted thin strip if needed.

c) Wrap clamp over spacer strip and use Phillips screw driver to tighten.

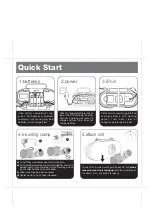
d) To attach the iH19,  make sure the arrow on the mounting clip (on back of unit) is facing UP, then clip onto the square 

mounting piece of clamp. DO NOT MOUNT FROM THE BOTTOM. To release, press clip release button above clip.

        Periodically adjust mounting clamps to ensure that your unit is securely fastened.

iPod 

Playing and charging your iPod   

a) Gently place iPod in iPod docking pocket behind retaining band.

b) Gently insert connector plug into bottom of your iPod. Make sure there is a power source, either batteries or AC power. 

Close zipper on case. The LED on the front panel will blink if unit is off and iPod is charging. 

iH19 won’t overcharge 

your iPod

NOTE: If you dock an iPod with a drained battery, it may take up to 6 minutes of charging before the 

iPod will respond.

c) Press the 


iPod Play/Pause Button to play iPod, and again to pause.

d) Press 


+ or - buttom to increase or decrease volume

e) Press 


Forward or 


Reverse buttons to go to the next or previous track. Hold 


Forward or 


Reverse while track 

is  playing to scan to a given music passage. 


Forward and 


Reverse do not affect components connected to the 


line-in jack. 


  a

tt

ac

un

it              with  a

rro

w

 u

p

Summary of Contents for iH19

Page 1: ...del iH19 The Portable System For Your iPod Questions Visit www ihomeaudio com THIS UNIT WILL NOT CONTROL OR CHARGE 3G iPod iH19 IB in USB version Print color Black Size of manual 178mmW x 178mmH Aug 8 06 ...

Page 2: ...r materials can damage the surface of the unit 1 2 3 4 4 5 6 7 8 Quick Start Controls and Indicators Using the iH19 Installing Replacing iH19 Batteries A Consumer Guide to Product Safety Trouble Shooting Solución De Problemas Warranty Information Table of Contents A Consumer Guide to Product Safety IMPORTANT SAFETY INFORMATION IT IS THE USER S RESPONSIBILITY TO USE THIS PRODUCT PRUDENTLY RESPONSIB...

Page 3: ...nd insert 4 AA batteries as indicated on diagram Unit can now play iPod Batteries will not charge iPod a t t a c h unit with a r r o w u p A B C D a Using Philips screw driver open mounting clamp b Put two rubber mounting spacer strips together and cut to desired length Place mounting strip on mounting surface bar handle Add thick strip as needed c Wrap mounting clamp around spacer d Tighten clamp...

Page 4: ...s and Indicators Top Panel Front Panel 2 Line in Jack Hold Switch Headphone Jack AC Adaptor Jack Reverse Button Volume Decrease Volume Increase Forward Button Play Pause Button Hold 3 seconds for OFF LED Light ...

Page 5: ...e adhesive from thin spacer strip and place sticky side on desired mounting area Fit thicker strip in place around already mounted thin strip if needed c Wrap clamp over spacer strip and use Phillips screw driver to tighten d To attach the iH19 make sure the arrow on the mounting clip on back of unit is facing UP then clip onto the square mounting piece of clamp DO NOT MOUNT FROM THE BOTTOM To rel...

Page 6: ...dmium batteries Using the Line in and Headphone Jacks a An audio patch cord comes with the iH19 Use it to play nondocking iPod models or other audio devices through the iH19 Line in Jack one end in the device s line out or headphones jack the other in the iH19 line in jack Make sure there is no iPod connected to the iH19 when using the line in jack Press the PLAY button to mute or unmute line in s...

Page 7: ...nto an AC socket 6 Cleaning The unit should be cleaned only as recommended See the Maintenance section of this manual for cleaning instructions 7 Objects and Liquid Entry Care should be taken so that objects do not fall and liquids are not spilled into any openings or vents located on the product 8 Attachments Do not use attachments not recommended by the product manufacturer 9 Lightning and Power...

Page 8: ...Pod is working properly before docking into the unit Please refer to your iPod manual for details Solution Symptom Possible Problem No sound from iH19 Volume is set too low on iH19 Make sure volume is turned up Make sure nothing is connected to the headphone jack Make sure iPod is properly and securely connected see below iH19 doesn t respond Sound is distorted Volume level is set too high Decreas...

Page 9: ...forma adecuada Retire su iPod del conector y verifique que no haya obstrucciones entre el conector y su iPod después vuelva a conectar el iPod La pila del iPod tiene algún problema Por favor asegúrese de que su iPod esté funcionando adecuadamente antes de acoplarlo en la unidad Para más detalles consulte el manual de su iPod El iPod está bloqueado congelado El iH19 sólo carga su iPod al conectarlo...

Page 10: ... the unit prepaid and insured to the Factory Service Center listed below Consumer Repair Department SDI Technologies Inc 1330 Goodyear Drive El Paso TX 79936 6420 Disclaimer of Warranty NOTE This warranty is valid only if the product is used for the purpose for which it was designed It does not cover i products which have been damaged by negligence or willful actions misuse or accident or which ha...

Reviews: