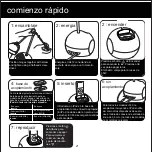
maintenance
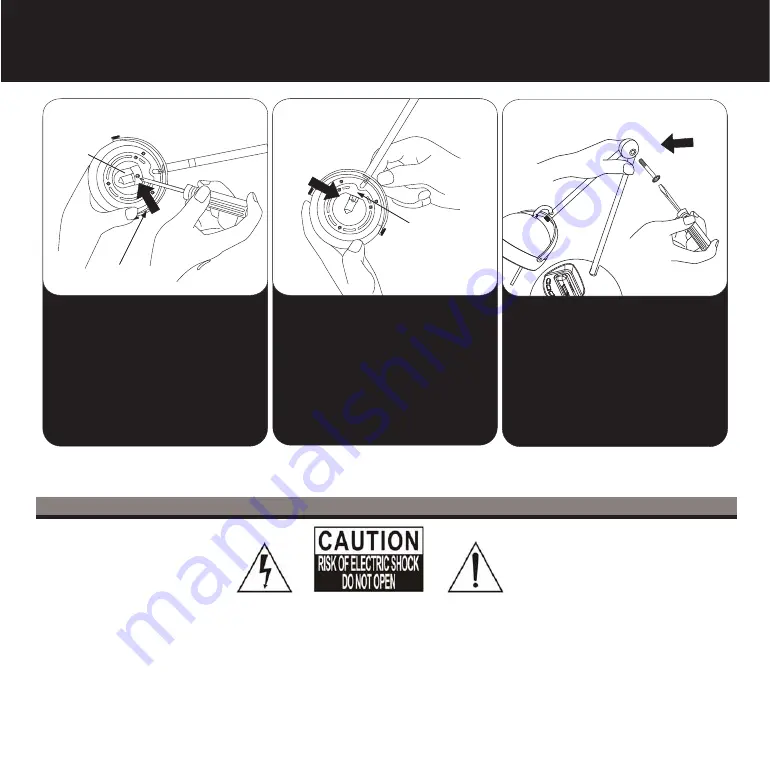
1: unscrew
Using a phillip’s head screwdriver,
loosen center screw of the lense and
release the lense.
2: replace
Remove the halogen bulb from the
two-pronged slot and replace with a
new bulb. Place the lens back in its
original location and tighten the center
screw to ensure a firm hold.
NOTE: When replacing the bulb do not touch with bare hands as
touching the bulb will significantly reduce its life span.
3: adjust
To adjust the angle of the iHL12, use a
flat head screwdriver to loosen the
oversized screw at the base of the
lamp. Hold the ball joint arm firmly in
place and loosen the screw to change
the angle of the arm. Once the angle
is right, secure the screw to ensure a
tight fit.
6
A Consumer Guide to Product Safety
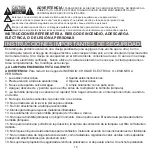
This lightning flash with arrowhead symbol within an equilateral triangle is intended to alert the user to the presence of non-insulated
“dangerous voltage”within the product’s enclosure that may be of sufficient magnitude to constitute a risk of electric shock.
WARNING: To reduce the risk of electric shock, do not remove cover (or back) as there are no user-serviceable
parts inside. Refer servicing to qualified personnel.
The exclamation point within an equilateral triangle is intended to alert the user to the presence of important operating and
maintenance instructions in the literature accompanying the appliance.
lens
enclosure
lamp
containment
barrier


