background image

6

using your iStand notebook 

media center

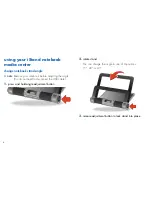
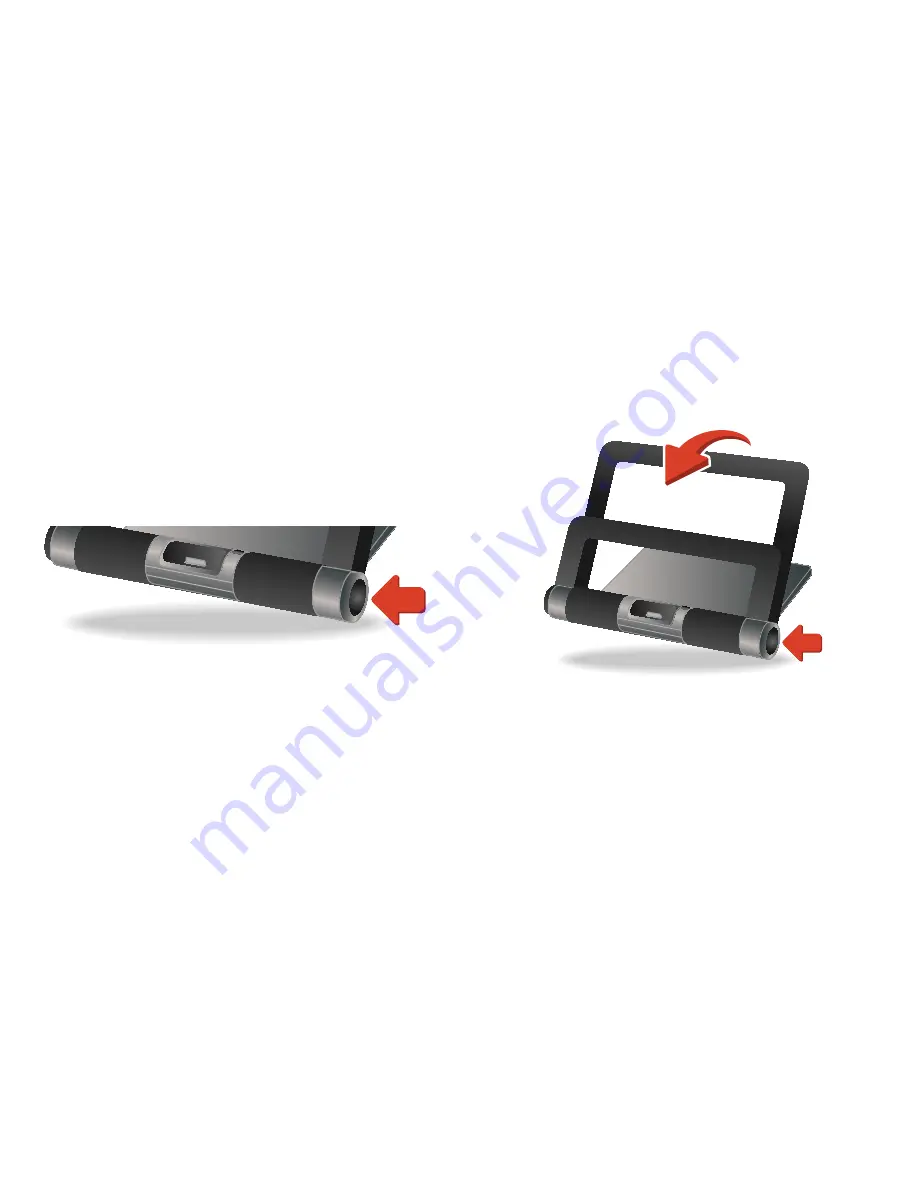
change notebook stand angle

Remove your notebook before adjusting the angle. 

  note

f

(You do not need to disconnect the USB cable.)

press and hold angle adjustment button

1.  

rotate stand 

2.  

You can change the angle to one of 3 positions:  

15°,  30° or 45°.

release adjustment button to lock stand into place

3.  

Summary of Contents for iStand

Page 1: ...user manual ...

Page 2: ...ack page for other support options For more about our products visit www life works com Model IH A710SB contents features 3 get started 3 your new iStand notebook media center 5 using your iStand notebook media center 6 product operating tips 10 troubleshooting 10 system requirements Windows XP or Windows Vista or Mac OS X v10 5 x or later USB port notebook size limits 13 to 15 5 in maximum notebo...

Page 3: ... touch sensitive volume control high performance speakers 2 high speed USB 2 0 ports 3 adjustable positions fits all 13 to 15 5 notebooks get started If you have not done so already follow the steps in the get started guide to connect your new hardware ...

Page 4: ...4 Please see your get started guide for instructions on how to connect your new hardware to your notebook ...

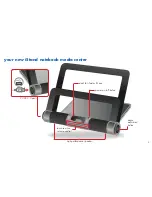
Page 5: ...5 your new iStand notebook media center touch sensitive volume control 2 USB 2 0 ports angle adjustment button power on off button dock for iPod or iPhone high performance speakers ...

Page 6: ...e Remove your notebook before adjusting the angle f note f You do not need to disconnect the USB cable press and hold angle adjustment button 1 rotate stand 2 You can change the angle to one of 3 positions 15 30 or 45 release adjustment button to lock stand into place 3 ...

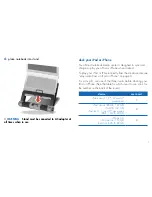
Page 7: ...od or iPhone directly from the media center see play audio from an iPod or iPhone on page 9 For a snug fit use one of the three inserts before docking your iPod or iPhone See the table for which insert to use Look for the number on the back of the insert device use insert iPod nano 1st 2nd 3rd and 4th generation 1 iPod classic 80GB 120GB iPod 5G 30 GB iPod touch 1st and 2nd generation 8GB 16GB 32G...

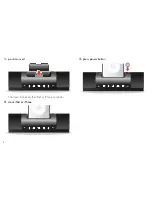
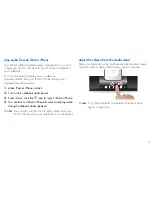
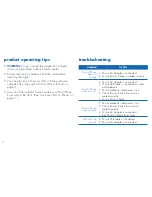
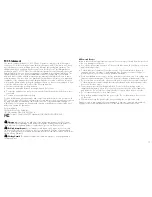
Page 8: ...8 position insert 1 The insert fits behind the iPod or iPhone connector dock iPod or iPhone 2 press power button 3 ...

Page 9: ... Turn on the notebook stand power 2 From iTunes click the 3 icon to eject iPod or iPhone Use controls on iPod or iPhone to select and play audio 4 through notebook stand speakers You can also use the stand to play content from your f note f iPod or iPhone when your notebook is not connected adjust the volume from the media stand Slide your finger across the touch sensitive illuminated volume contr...

Page 10: ...oubleshooting situation try this iPod or iPhone does not charge Ensure AC adapter is connected Ensure iPod or iPhone is seated correctly iPod or iPhone does not sync Ensure AC adapter is connected Ensure USB cable is connected to stand and notebook Ensure notebook stand power is on Check iPod or iPhone to ensure it is seated correctly Ensure iTunes is open iPod or iPhone does not play Ensure noteb...

Page 11: ... of this product can increase the risk of serious injury death or device damage Read and keep this guide and all other printed guides for future reference For updated guides or replacements go to www life works com Do Not Attempt Repairs Do not attempt to take apart open repair service or modify the device s Doing so may risk electric shock or other hazard Evidence of any attempt to open or modify...

Page 12: ...SDI Technologies Inc used under license Windows Vista is a registered trademark or trademark of Microsoft Corporation in the United States and or other countries Mac iPod and iTunes are trademarks of Apple Inc registered in the U S and other countries iPhone is a trademark of Apple Inc registered in the U S All other brands and logos are trademarks of their respective companies Printed in China do...

Reviews: