ELECTRONIC SPARK SYSTEM CHECK
Slide the 3-position button on the remote receiver to the
•
ON
position. The spark electrode should begin sparking to
ignite the pilot. After the pilot flame is lit, the main gas valve should open and the main gas flame should ignite.
Slide the button to
•
OFF
. The main gas flame and pilot flame should both extinguish.
Slide the button to
•
REMOTE
, then press the
ON
button on the transmitter to change the system to ON. The spark
electrode should begin sparking to ignite the pilot. After the pilot is lit, the main gas valve should open and the main
gas flame should ignite.
IHP: RC-S-TOUCH
RECEIVER
Install the (4) AA-size batteries supplied with the unit. It is recommended that ALKALINE batteries always be used for this
product.
Be sure the batteries are installed with the (+) and (-) ends facing the correct direction.
ON
•
: will manually turn ON the appliance.
REMOTE
•
: will allow use of handheld transmitter. If the system does not
respond to the transmitter on initial use, check the battery positions in
the remote. If that does not work, see LEARNING TRANSMITTER TO
RECEIVER section.
OFF
•
: will disable the remote receiver.
It is suggested that the slide switch be placed in the OFF position if
•
you will be away from your home for an extended period of time.
The remote receiver has a 3-position slide switch for selecting the mode of
operation
ON/REMOTE/OFF
REMOTE
ON
OFF
LEARN
Requires 4-AA 1.5V
alkaline batteries
Learning
button
Batt
ery c
over
slide
s on
/off
Slide
Switch
ON
REMOTE
OFF
FIG. 14
REV. 3-18-14 Page 5
LEARNING TRANSMITTER TO RECEIVER
Each transmitter uses a unique security code. It will be necessary to press the LEARN button on the receiver to accept
the transmitter security code upon initial use, if batteries are replaced, or if a replacement transmitter is purchased from
your dealer or the factory. In order for the receiver to accept the transmitter security code, be sure the slide button on
the receiver is in the REMOTE position; the receiver will not LEARN if the slide switch is in the ON or OFF position. The
LEARN button in located on the front face of the receiver; inside the small hole labeled LEARN. Using a small screwdriver
or end of a paperclip gently Press and Release the black LEARN button inside the hole. When you release the LEARN
button the receiver will emit an audible “beep”. After the receiver emits the beep press the transmitter MODE button and
release. The receiver will emit several beeps indicating that the transmitter’s code has been accepted into the receiver.
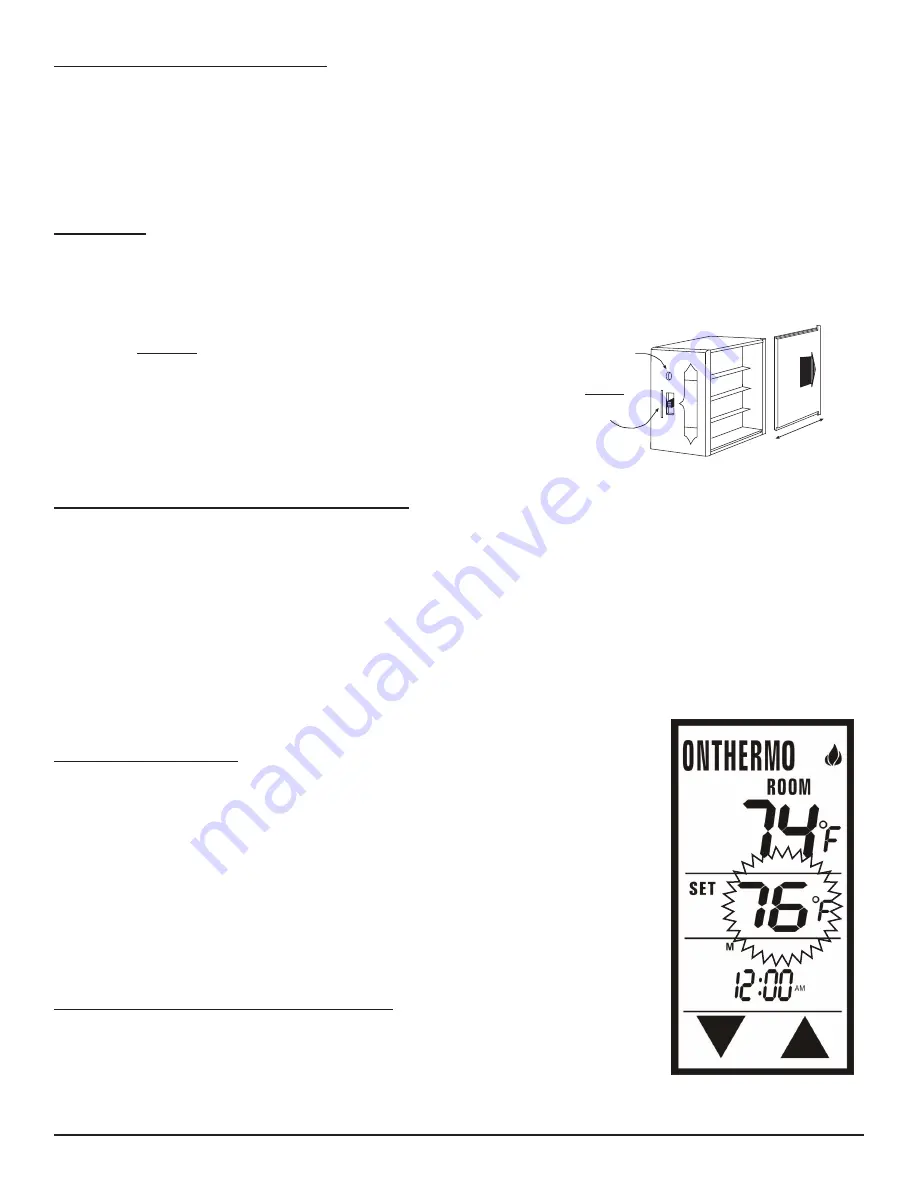
THERMOSTAT FUNCTION
This remote control system can be thermostatically controlled when the transmitter is in
the THERMO mode (THERMO must be displayed on the screen). To set the desired room
temperature, press the
MODE
button to place the transmitter into thermo mode, then press
the
UP
or
DOWN
touch buttons to select the desired room temperature. The highest set
temperature is 99º F (32º C).
NOTE
: The thermo feature operates the appliance whenever the room temperature varies a
certain number of degrees from the set temperature. This variation is called the “swing” or
temperature differential. This feature lets the appliance turn off and on 2º F (1º C) above or
below the set temperature of the room. This is to cushion the number of times the appliance
is turned ON and OFF.
THERMO UPDATING FEATURE - TRANSMITTER
When in thermo mode, the transmitter reads the ROOM temperature every 2 minutes,
checks the room temperature against the SET temperature then sends a signal to the
receiver.
Fig. 15
P/N 900259-00 Rev. A


