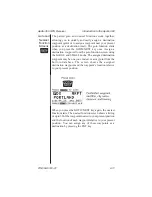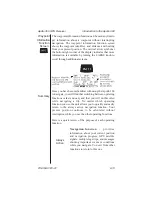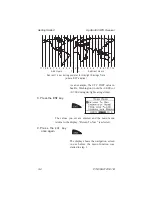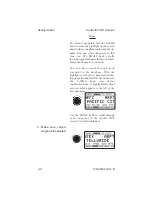
4. Press the ENT key.
The selected waypoint is set as the
destination. The display shows the
navigation screen in use before the Goto
function was started in step 1.
Summary
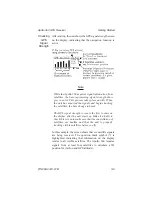
With the seed position and current time entered, and the
destination waypoint showing on the display, the Apollo
360 is ready to use to help you navigate. Before you fly,
remember to check GPS satellite signal strength and verify
the type of position fix the unit is providing based on visible
satellites above you. This operation is quick and easy, as
the satellite signal strength screen is the first to show on
the display after the unit starts up.
The next section contains information about how to use the
navigation function while you fly. A built-in simulator is
included with the Apollo 360 to help you become better
acquainted with using it. Appendix C at the back of this
manual contains a tutorial on how to start the simulator and
practice navigating without actually flying.
Apollo 360 GPS Receiver
Getting Started
P/N 560-0123-01 B
3-9
Summary of Contents for Apollo 360
Page 37: ...Notes Getting Started Apollo 360 GPS Receiver 3 10 P N 560 0123 01 B ...
Page 87: ...Notes Glossary of Navigation Terms Apollo 360 GPS Receiver A 6 P N 560 0123 01 ...
Page 91: ...Map Datums Apollo 360 GPS Receiver B 4 P N 560 0123 01 ...
Page 92: ...Apollo 360 GPS Receiver Map Datums P N 560 0123 01 B 5 ...
Page 93: ...Map Datums Apollo 360 GPS Receiver B 6 P N 560 0123 01 ...
Page 94: ...Notes Apollo 360 GPS Receiver Map Datums P N 560 0123 01 B 7 ...
Page 122: ...Notes Tutorial Apollo 360 GPS Receiver C 28 P N 560 0123 01 ...
Page 123: ...Apollo 360 GPS Receiver Tutorial P N 560 0123 01 C 29 ...
Page 127: ...Notes Troubleshooting Apollo 360 GPS Receiver D 4 P N 560 0123 01 ...


