


9
Usage
Final Check
Once the housing is closed, check the o-ring seal. Check the gap
between the housing back and the housing. It should be even all the
way around the housing.
Look through the clear plastic back at the o-ring. You should see a
darkened area where the o-ring is compressed against the housing
back. If you do not see an even black compression seal all the way
around the back, open the lid snaps, reseat the housing back and close
the lid snaps. Visually check the seal again.
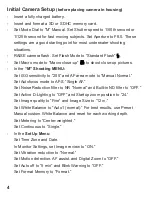
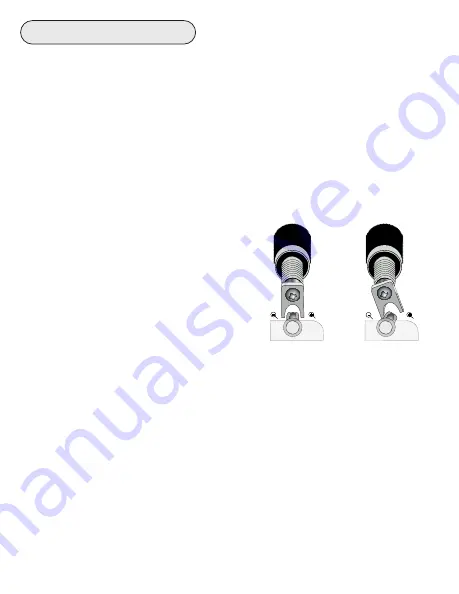
Zoom Control
(lever type only)
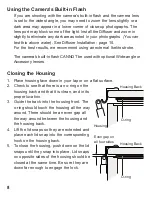
After you have used the housing's
zoom control, it must be returned to the
center position to disengage. If the
housing zoom control is pushing the
zoom lever in either direction, you may
not be able to take a picture or access
other functions. This is because the
camera is receiving a signal from the
engaged zoom control.
+
-
+
-
Zoom Control
“Engaged”
Zoom Control
“Disengaged”
(Center Position)
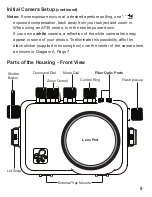
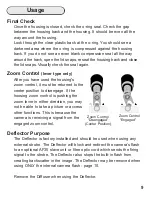
Deflector Purpose
The Deflector is factory installed and should be used when using any
external strobe. The Deflector will block and redirect the camera’s flash
to an optional AF35 slave unit or fiber optic cord which sends the firing
signal to the strobe. The Deflector also stops the built-in flash from
creating backscatter in the image. The Deflector may be removed when
using ONLY the internal camera flash - page 10.
Remove the Diffuser when using the Deflector.


