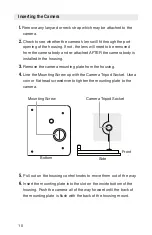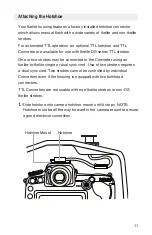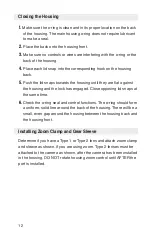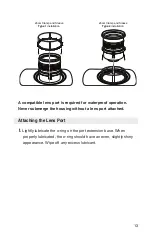
14
2.
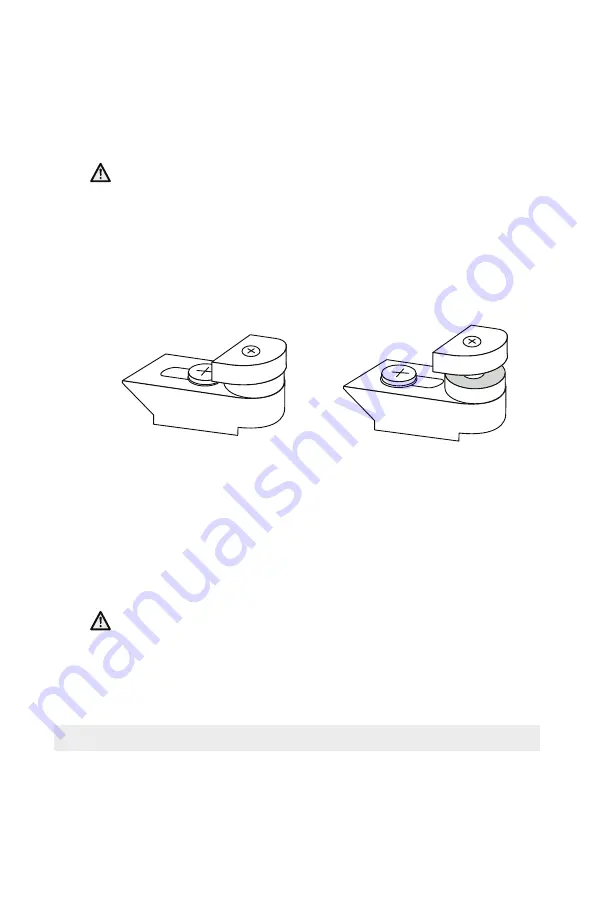
Slide the port over the lens and secure to the front of the housing
using the four installed Port Locks. Push each Port Lock in toward
the port until you hear or feel a click. The Port Lock Release Button
is spring-loaded and will drop into the locked position when properly
engaged.
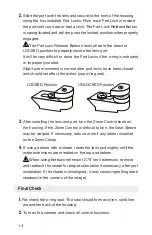
The Port Lock Release Buttons must all be in the down or
LOCKED position to properly secure the lens port.
It will be very difficult to close the Port Locks if the o-ring is extruded
or improperly seated.
Slight port movement is normal after port locks have been closed
and should not affect the piston-type o-ring seal.
LOCKED Position
UNLOCKED Position
3.
After installing the lens and port, turn the Zoom Control knob on
the housing. If the Zoom Control is difficult to turn, the Gear Sleeve
may be warped. If necessary, reduce or omit any rubber installed
on the
Zoom Clamp.
4.
If using a dome with a shade, rotate the lens port slightly until the
wider extensions are oriented on the top and bottom.
When using the bayonet mount 2.75” lens extension, remove
and reattach the shade for proper orientation if necessary, after port
installation. If the shade is misaligned, it may cause vignetting (dark
shadows in the corners of the image).
Final Check
1.
Re-check the o-ring seal. The seal should form an even, solid line
around the back of the housing.
2.
Turn on the camera and check all control functions.

