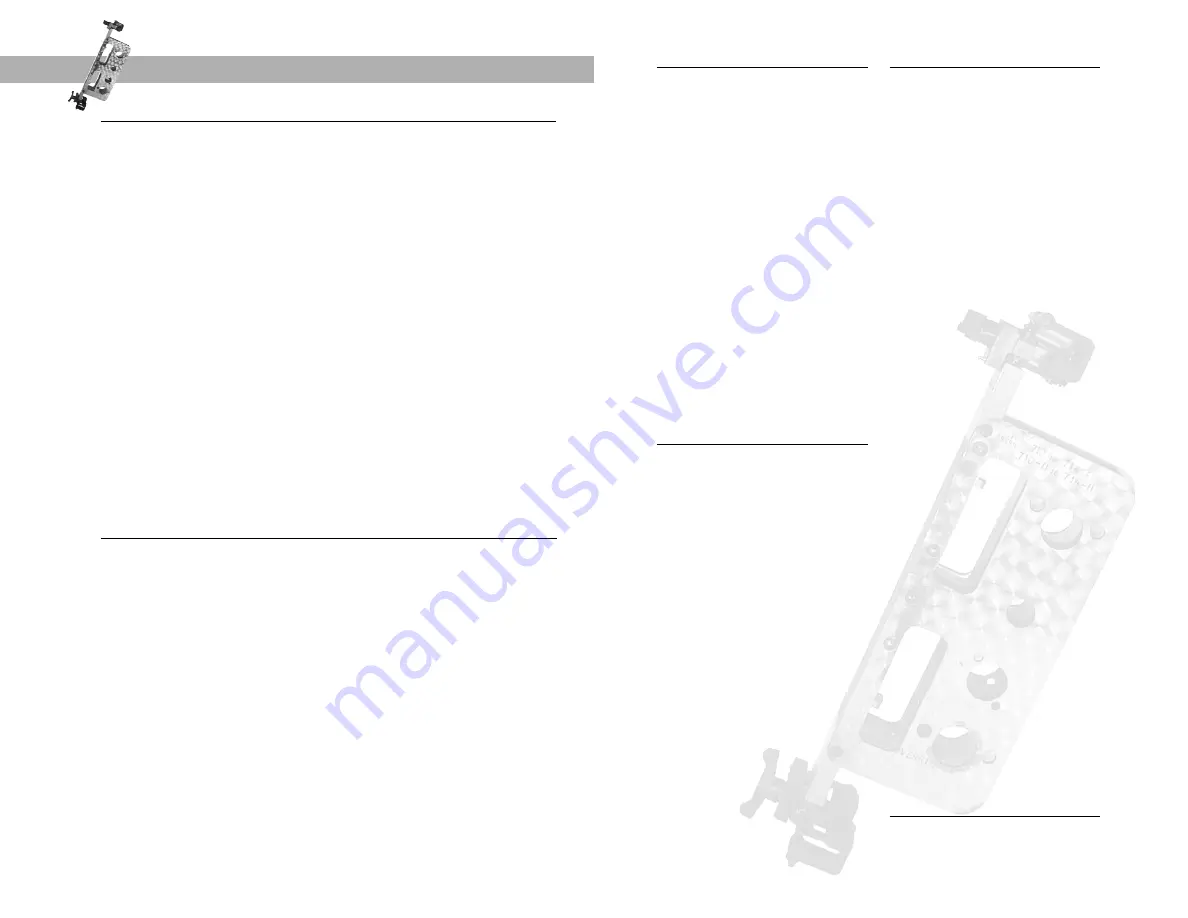
Installation Jig Door Preparation Instructions
Solitaire 710, 710-II and SMART Series
•
5
⁄
64
” hex (Allen) key (supplied in lock spare parts box)
•
1
⁄
8
” hex (Allen) key (supplied in lock spare parts box)
•
1
⁄
2
” (13 mm) chisel
•
1
⁄
8
” (3 mm) drill bit
;
1
⁄
4
” (6.5 mm) drill bit
;
7
⁄
16
” (11 mm) drill bit
•
7
⁄
8
” (22 mm) hole saw
; 1
1
⁄
4
” (32 mm) hole saw
; 1
3
⁄
8
” (35 mm) hole saw
• Hand drill, Hammer, Rubber mallet
• Flat-head screwdriver, #2 Phillips screwdriver
• Two pliers (mechanical-core & removable-core override models only)
• Fine steel file, Rotary tools, Router, Mortising machine, Mortise faceplate
router template, Adjustable square, Tape measure, Pencil, Tape, Safety glasses
• Cleaning supplies (such as a vacuum or drop cloth)
Checklist
1 Installing the strike
Use the paper template to mark
the cutouts for the strike box and
plate in the door-frame.
For the American mortise versions,
ensure that the bottom of the ASA
strike lip lines up with the axis of
rotation of the lock lever handle.
For the slim mortise versions,
ensure that the strike centerline is
1
3
⁄
8
” (35 mm) above the axis of
rotation of the lock lever handle.
Make the cutouts in the
door-frame and install the
strike box.
Select the appropriate strike plate
for the
handing
of the door.
For further details, see paper
template.
Position the strike
plate
in the cutout
and secure
it using two or three screws
(as appropriate).
2 Drilling the mortise hole
Locate and mark the centerline
for the mortise cutout.
See paper template.
Note:
For the American mortise
versions, the centerline of the
mortise cutout is
11
⁄
64
” (4.5 mm)
below the centerline of the strike.
For the slim mortise versions,
the centerline of the mortise
cutout and the strike are identical.
Mark the total length of the cut
out for the mortise case, one mark
for the top, one for the bottom,
both being equally spread from
the center line, as per the
paper template.
Cut out the mortise case hole to
the width and depth specified
on the paper template, using the
mortising machine. Mark and make
the mortise front plate cut out
as per the paper template.
3 Drilling the holes
Drill from both sides of the door.
Do not drill from one side of the
door through to the other. Mount
the jig
on
the door right side up
(see printing on jig)
by fully
inserting the two tabs into the
mortise front plate cutout.
Tighten the clamps to
hold the
jig firmly
on the door.
Drill the two mounting holes for
the mortise into the edge of the
door using a
1
⁄
8
” (3 mm) drill bit,
according to the depth indicated
on the paper template.
Drill the appropriate hole cutouts
through the door as specified on
the paper template
(from one
side of the door and then
the other).
• For Solitaire 710, the bottom
hole for override must be pierced
1
3
⁄
8
” (35 mm) diameter by 1
1
⁄
4
”
(32 mm) deep from the exterior
side only. The interior side must
be pierced
7
⁄
8
” (22 mm) diameter.
• For Solitaire 710-II and SMART,
the bottom hole for override
must be pierced 1
3
⁄
8
” (35 mm)
diameter from both sides, as per
the paper template. The steel
tube provided with the lock must
be installed in the hole.
Loosen the jig clamps and remove
the jig from the door.
Chisel out clearance for the anti-
friction latch in the mortise cavity
as shown on the paper template.
Clean the holes and cavities in the
door. If the holes are made thro-
ugh steel, brass or other metal,
remove the burrs on the edge that
could cut the wires and cable.
4 Installing the mortise latch
mechanism and the lock
Install the mortise latch mechanism
and the lock as described in the
Installation Instructions Part #
PK2710.
Caution:
Wear safety glasses when making holes.
Note:
The lever handle must be located the proper distance from the floor
as per codes for the country where the lock is being installed.
Tools required for complete lock installation
Each Jig Kit below includes:
1- Drill jig with attached trim plates
2- Two black clamps
3- Drilling Paper Template:
For Solitaire 710-II or SolitaireSMART Series
with American Mortise (part # 138-509876)
• DT-509275 AMM, with 1
1
⁄
4
” (32 mm) mortise face plate
• DT-509274 AMM, with 1” (25.4 mm) mortise face plate
For Solitaire 710 Series with American Mortise (part # 138-508999)
• DT-509681 ASM, with 1
1
⁄
4
” (32 mm) mortise face plate
• DT-509682 ASM, with 1” (25.4 mm) mortise face plate
For Solitaire 710-II or SolitaireSMART Series
with Slim Mortise (part # 138-509877)
• DT-509273 SMM, with 23 mm mortise face plate
For Solitaire 710 Series with Slim Mortise (part # 135-509000)
• DT-509684 ESM, with 23 mm mortise face plate
Others templates available for order:
• DT-509272 SMM, with 20 mm mortise face plate
• DT-509683 ESM, with 20 mm mortise face plate
• DT-508661, with cylindrical unit


