INSTALLATION
2
2. ELECTRICAL CONNECTIONS
This equipment must be connected to a grounding plant.
Two types of electrical connection can be used:
1. Using a standard plug to be connected to the power
cable and inserted in a mains socket which must be
accessible (so that the plug can be disconnected when
servicing is carried out). Make sure that the plug is
accessible also after the complete installation of the
equipment.
2. By means of a fixed mains connection, fitting a
bipolar switch, which ensures the disconnection, with an
opening distance of the contacts allowing a complete
disconnection on the conditions of the over voltage III
category, according to installation regulations. The ground
connection (yellow-green wire) must not be interrupted.
Refer to the plate inside the hood for the mains voltage
and frequency ratings.
If the power cable is damaged, it must be replaced by the
manufacturer or by its service agent or a qualified person
in order to avoid any risk.
For stationary appliances permanently connected to
the fixed wiring, compliance with this requirement is
considered to be met if the instruction concerning
disconnection incorporated in the fixed wiring is in
accordance with AS/NZS 3000
Refer to the plate inside the hood for the mains voltage
and frequency ratings.
3. OPERATION
The hood is supplied with a multi speed motor.
The hood should be run at low speed under normal
conditions and at higher speeds only when there is a
heavy build-up of fumes or odour. Ideally, the hood should
be switched on as soon as cooking is started and then
kept on until all odour have been eliminated.
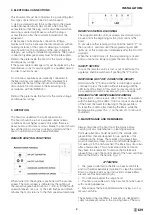
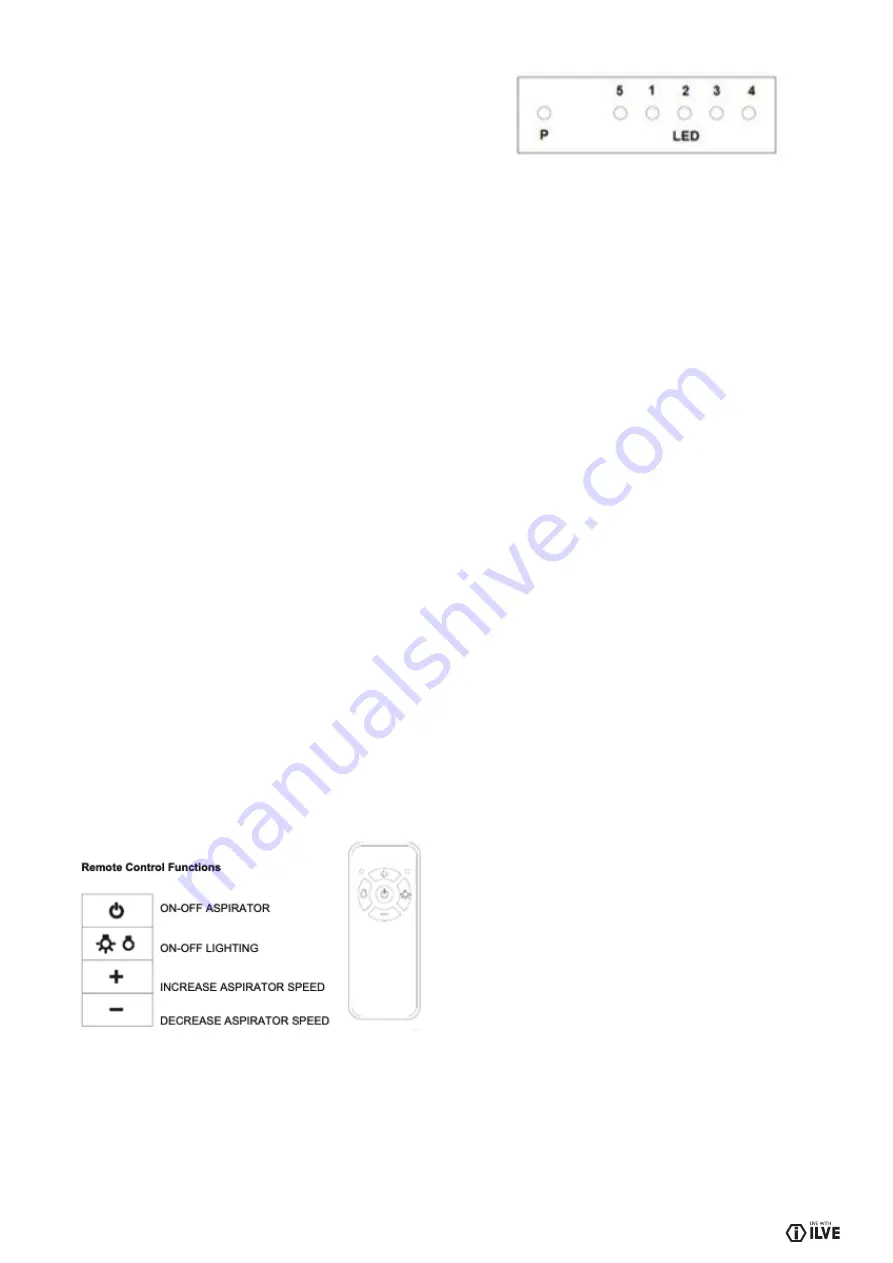
REMOTE CONTROL FUNCTIONS
When turned on, the engine is positioned at the second
speed. The motor speed is indicated by the lighting of
the respective green LED (ref. pos. 1-2-3-4). At the fourth
speed (intensive, ref. pos. 4), the LED flashes and after 5
minutes the motor returns to the third speed automatically.
REMOTE CONTROL ENCODING
The supplied remote control is already encoded and can
be used from the beginning for the total control of the
hood.
To encode another remote control, hold the button “P” on
the hood for 4 seconds until the programming red LED
lights up, at this point press immediately after the On / Off
aspirator.
When the red LED turns off, the programming is closed
and you cannot no longer program the remote control.
SAFETY SWITCH
In case the remote control is lost or out of batteries, the
appliance shall be switched off pushing the “P” button.
RESTORING FACTORY CONDITIONS (RESET)
Hold down the “P” button until the red LED lights up and
continue to press the button without releasing until the
LED turns off by itself. At this point no remote control will
be coupled and it will be necessary to pair one again.
GREASE FILTER MAINTENANCE WARNING
The electronic control report, after 100 hours of operation,
with the flashing of the LEDs, for 30 seconds at shutdown
of the hood, the need for cleaning of the grease filters.
To reset the counter, after cleaning the filters, while the
flashing warning press the “+” on the remote control until
shutdown.
5. MAINTENANCE AND REMINDERS
Always disconnect the hood from the mains before
carrying out any maintenance or cleaning operation.
Particular attention should be paid to the metallic anti-
grease filters that are designed to trap particles of fat
contained in the fumes. The metallic anti-grease filters
must be washed at least once a month with detergent in
hot water (or in the dish-washer). The filters may dis-colour
after a few washes. This is normal and does not mean
they have to be replaced. To remove the metallic anti-
grease filters, open the bottom panel of the hood and then
remove the filter by the handle. Fig. 17.
ATTENTION:
• the grease collected in the filter can easily catch fire
and it is therefore extremely important to clean the metallic
filter on a regular basis as per instructions. Grease filters
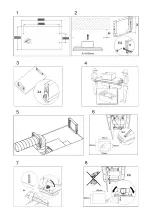
are removed as illustrated (Fig. 5).
• Do not flambé under the range hood
• Caution; accessible parts may become hot when used
with cooking appliances.
• Never leave the hob unattended when frying, as oil or
fat can catch fire.
The activated charcoal filters, if present, are designed to
collect unpleasant odour in the cooking fumes. The air is
Summary of Contents for CH900X
Page 1: ...INSTRUCTION MANUAL INSTRUCTION MANUAL CH900X CEILING HOOD CH900X CEILING HOOD ...
Page 2: ......
Page 7: ......
Page 8: ......
Page 12: ......


