background image

Copyright©2005 ILY Enterprise, Inc.  All rights reserved. 


12 


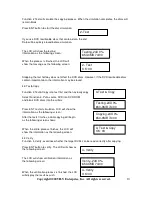
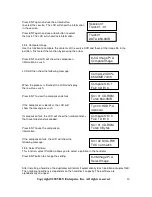
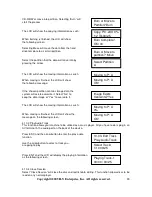
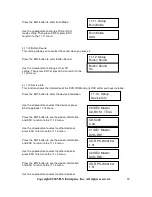
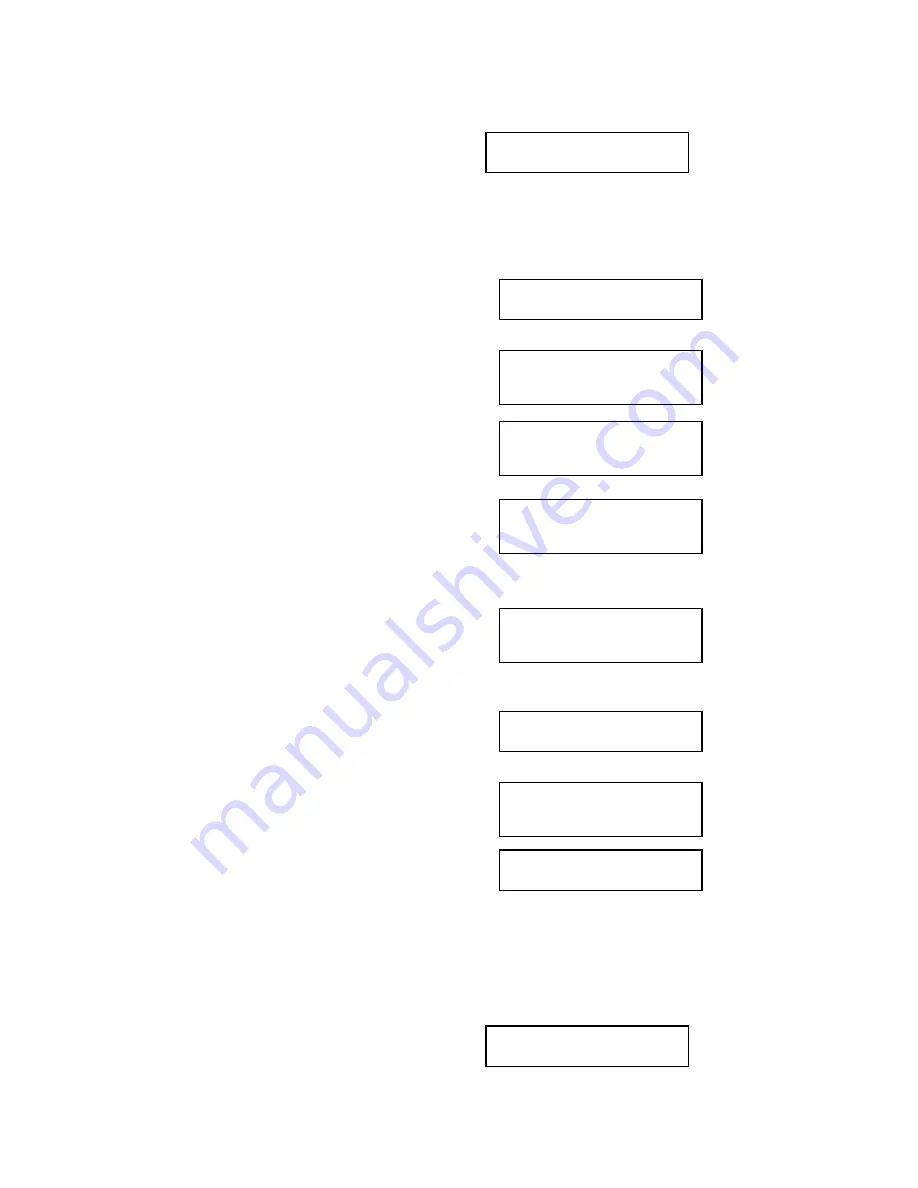
If the master disc cannot be read correctly, 

the LCD will show the following screen: 


4.7 Disc Info 

Function 7, Disc Info, shows the basic information of the source DVD.  


Select Function 7. Place source DVD into DVD-ROM. 


Press the ENT button to show the disc information. 

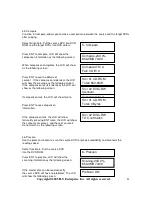
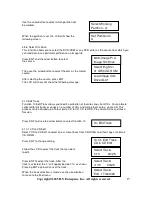
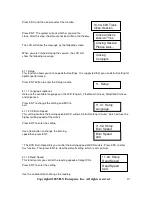
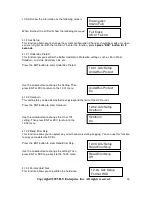
The LCD will show the total sessions and 

tracks on the master disc. 


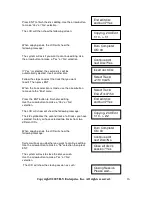
Press the ENT button again, the LCD will show 

the total time and capacity on the master disc as such: 


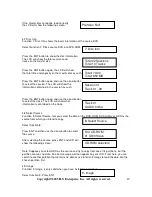
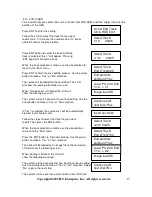
Press the ENT button again and use the arrow button 

to select the session. The LCD will show the 

information contained in the session as such: 


Press the ENT button again and use the arrow button 

to select the track. The LCD will show what 

information is contained on the track. 


4.8 Select Source 

Function 8, Select Source, lets you select the data on the DVD-ROM, DVD writers or HDD as the 

source from which you intend to copy.  


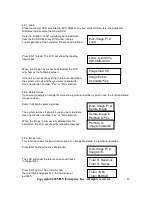
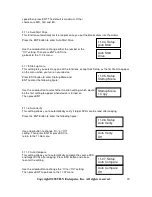
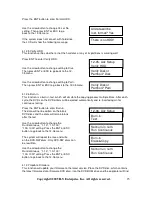
Select function 8. 


Press ENT and then use the arrow button to select  

the source. 


After selecting the source, press ENT and LCD will  

show the following screen:  


Note: Suppose you select HDD as the source and try to copy from one of its partitions, but the 

partition contains no data. An error message will then appear on your LCD. From here, you can 

switch to another partition that contains no data or use function 9 Image to load the data into the 

chosen partition first. 


4.9 Image 

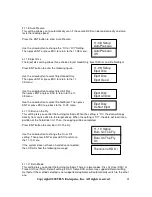
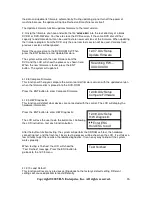
Function 9, Image, is only valid when you have installed a hard drive. 


Select function 9. Press ENT. 

PreScan Fail! 


7

.

 Disc Info


Total 02 Sessions 

Total 10 Tracks 


Total

74:00 

Total

650 MB


Session 01 

Track 01 - 09 


Track 01 

AUDIO 03:54


8

.

 Select Source


Src

CD-ROM 

01 IDE0 Slave 


CD-ROM selected! 


9

.

 Image


Summary of Contents for CoolCopy 3

Page 1: ...User s Manual CoolCopyD1AL DVD Backup CoolCopyD 3 CoolCopyD 7...

Page 2: ...4 Function 9 4 1 Copy 9 4 2 Test 9 4 3 Test Copy 10 4 4 Verify 10 4 5 Compare 11 4 6 Prescan 11 4 7 Disc Info 12 4 8 Select Source 12 4 9 Image 12 4 9 1 Load 13 4 9 2 Delete Image 13 4 9 3 Image Info...

Page 3: ...Sound 22 4 11 13 Device Info 22 4 11 14 System Info 23 4 11 15 Quick Erase 23 4 11 16 Full Erase 23 4 12 Adv Setup 24 4 12 1 UnderRun Protect 24 4 12 2 Overburn 24 4 12 3 Read Error Skip 24 4 12 4 For...

Page 4: ...tions The simple control panel is designed to provide copy mode selection and copy operation 1 2 Features Standalone IDE to IDE DVD Copy controller 2 CoolCopyD1AL DVD Backup 4 CoolCopyD3 8 CoolCopyD7...

Page 5: ...k IDE bus hard drive Option Switching power supply 300W suggested 2 After the preparation as above and make sure All IDE devices must be in master mode 2 2 Whole duplicator without writer installed Un...

Page 6: ...connects with the hard drive the hard drive must connect on the IDE 0 port with the Master setting and the DVD ROM must set at Slave Hardware Connection without Hard Drive for CoolCopyD3 Coolcopy 3 ID...

Page 7: ...ust connect on IDE 0 port with Master setting and the DVD ROM must set at Slave Hardware Connection without Hard Drive for CoolCopyD7 Coolcopy 7 Coolcopy 7 IDE 4 DVD RW IDE 3 DVD RW IDE 2 DVD RW IDE 1...

Page 8: ...tects a hard disc it will ask if you want to format or not A 10GB hard disc can be divided into 10 partitions Use the Select Source to set the hard drive as the target source Then select which partiti...

Page 9: ...d DVDs in the writers but you can change it You need to press the eject buttons on the writers to take the failed DVDs ATA 66 Cable Layout Please identify the two different kinds of cable before the h...

Page 10: ...nd then actually copy Select Function 3 Put a source DVD into DVD ROM and blank DVD discs into the writers Press ENT to start simulation LCD will show the information as the following screen After the...

Page 11: ...ll show failure Press ENT to see comparison information If the comparison fails the LCD will show failure By pressing ENT twice the LCD will show the contents of source 1 and those of source 2 do not...

Page 12: ...is contained on the track 4 8 Select Source Function 8 Select Source lets you select the data on the DVD ROM DVD writers or HDD as the source from which you intend to copy Select function 8 Press ENT...

Page 13: ...ge file stored in a particular partition you can use the function Delete Image to do so Select function by pressing arrow The system will ask if you are sure you want to delete Use arrow button to mak...

Page 14: ...the LCD will show the message as such If comparison fails the LCD will show the number of discs that have failed and succeeded Press ENT to see the comparison information If the comparison fails the...

Page 15: ...tracks or songs on a number of CDs and merge them onto a single CD This process can be divided up into four parts CD to CD CD to HDD Play Audio Track and Close Session Press ENT and use the arrow butt...

Page 16: ...to make a Yes or No selection The LCD will show will show the following message The 2 2 symbolizes the second track of all tracks you have selected So far you have selected two tracks from two differ...

Page 17: ...Yes or No selection If Yes is selected the source disc will be automatically ejected Insert another disc Follow the steps to select the track that you want to edit Then press the ENT button When the...

Page 18: ...is finished the LCD will show the message on the following screen 4 10 3 Play Audio Track This function allows your machine to be utilized as a music player All you have to do is plug in an AV termina...

Page 19: ...d Japanese Press ENT to change the setting and ESC to exit 4 11 2 CD Burn Speed This setting controls the burning speed of CD writers Default setting is Auto which will use the highest writing speed o...

Page 20: ...ng figure Use the arrow button to select other function setting which would be the first setting to appear when device is turned on Then press ENT 4 11 6 Auto Verify This setting allows you to automat...

Page 21: ...Burn on the Fly This setting lets you control the burning methods When the setting is On the data will copy directly from source drive to the target drives When the setting is Off the data will load i...

Page 22: ...rmation Use the arrow button to select the device or press ESC to go back 11 13 menu Press the ENT button to see the device information and ESC to return to the 11 13 menu Use the arrow button to sele...

Page 23: ...ther you want to erase the data Select either the Yes or No setting Then press ENT or press ESC to return to the 11 15 menu LCD will show the information as such When the erasing disc function is fini...

Page 24: ...rn to the 12 01 menu 4 12 2 Overburn This setting lets you decide whether to copy beyond the limit of the DVD or not Press the ENT button to enter Overburn Use the arrow button to change the On or Off...

Page 25: ...serted again for continuous testing Press the ENT button to enter Burn in The data will not be written on the blank DVD discs and the discs will remain blank after the test Use the arrow button to cha...

Page 26: ...help you compare the current control firmware version with the updated version when the firmware disc is placed into the DVD ROM Press the ENT button to enter Compare Firmware 4 12 9 H W Diagnostic T...

Page 27: ...function properly A failed reading may cause an error message to show on the LCD display Change the master DVD and try again During the operation if message shows error read buffer under run or writin...

Page 28: ...nd to download the wrong program or simply write the zipped file to the CD You should unzip the file before writing it onto the CD A failed upgrade might cause a failed boot up This can only be solved...

Reviews: