Imacon Flextight Progression UserÕs Guide
Hardware ReferenceÑFlextight Progression
Changing the Light Tubes
35
English
5.
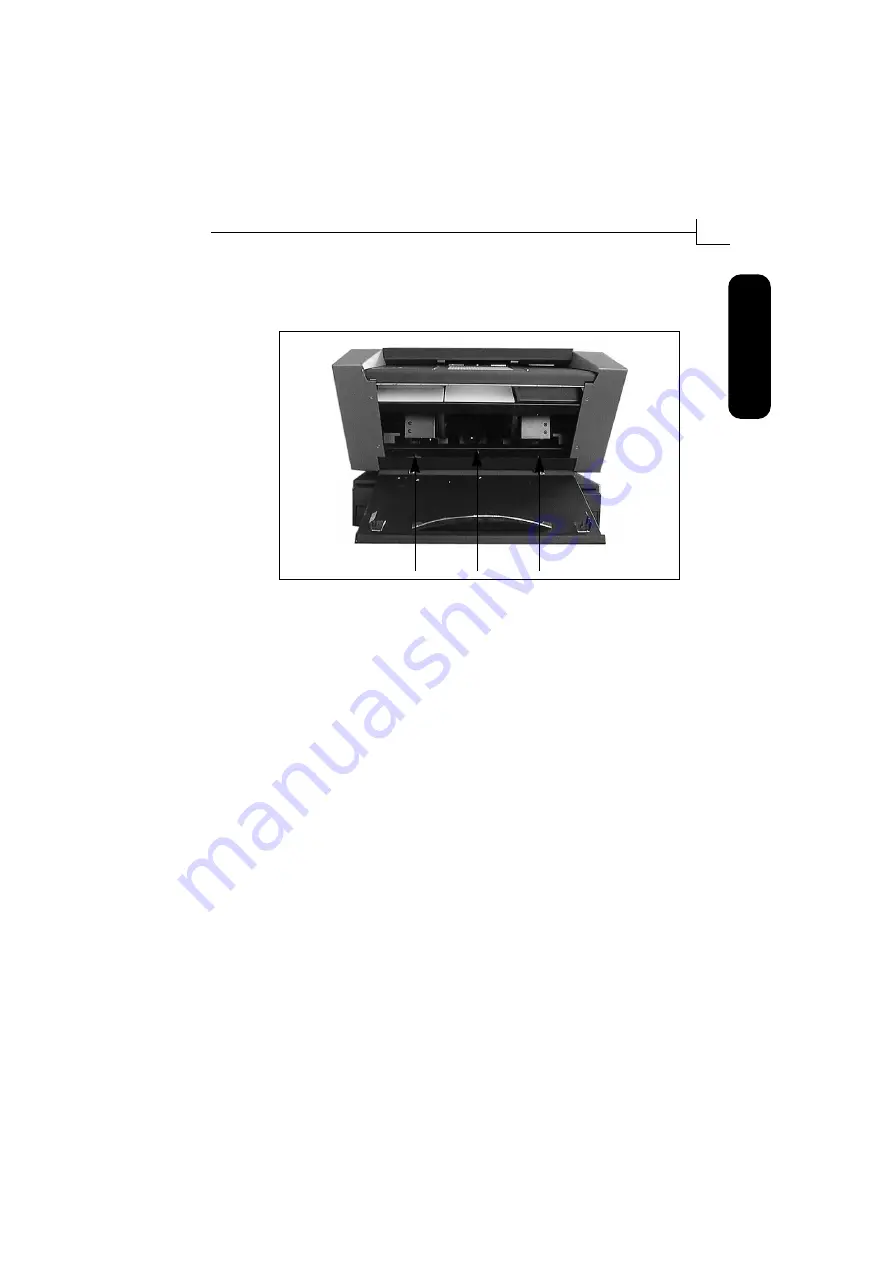
Remove the three allen screws indicated in Figure 12. This will
release the reßector panel. Remove the reßector panel. Be careful
not to scratch or leave Þngerprints on the reßector.
6.
You should now be able to see a long thin light tube, which is
located behind the reßector panel. It is held in place by two sock-
etsÑone at each end of the tube. Grab this tube by each end and
pull it forward out of its sockets.
7.
Mount a new tube into the sockets inside the scanner. Press the
new tube into the sockets by applying pressure at each end of the
tube, never at the middle.
8.
Inspect the reßector for Þngerprints and/or dust. Clean it if neces-
sary.
9.
Replace the reßector panel and its three securing screws.
10. Replace the side panels and their eight securing screws.
11. Close the lower-front panel.
Figure 12: Front screws for securing the reßector panel.
1.
2.
3.
Summary of Contents for Flextight Progression
Page 1: ...Italiano Fran ais Espa ol Deutsch English Flextight Progression by imacon...
Page 2: ...English Deutsch Espa ol Fran ais Italiano...
Page 3: ...English User s Guide Imacon Flextight Progression...
Page 47: ...Deutsch Anwenderhandbuch Imacon Flextight Progression...
Page 93: ...Espa ol Manual de instrucciones Imacon Flextight Progression...
Page 137: ...Fran ais Manuel de l utili sateur Imacon Flextight Progression...
Page 181: ...Italiano Manuale Utenti Imacon Flextight Progression...


