A.2.3
Assembling the Glass Plate
Insert the book cradle plates into the driving elements and place the foam rubber mats on
the plates.
Connect the scanner to the mains power and switch it on with the main power switch. The
main power switch is found on the rear side of the scanner, next to the power connector.
The green
START
LED on the keyboard lights up. This signalizes that the scanner is in
stand-by mode.
Press the green
START
button to start the scanner. When the start sequence is finished
after approximately 30 seconds, the display shows:
READY TO SCAN
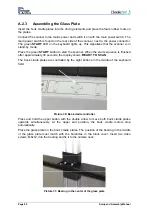
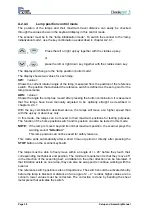
The book cradle plates are controlled by the eight buttons in the middle of the keyboard
field.
Picture 30: Book cradle controller
Press and hold the upper button with the double arrow to move both book cradle plates
upwards simultaneously. At the upper end position, the book cradle motors stop
automatically.
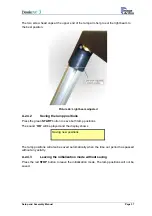
Place the glass plate on the book cradle plates. The position of the bearing in the middle
of the glass plate must match with the boreholes in the black cover. Insert two Allen
screws, M8x12, into the bearing and fix it to the camera neck.
Picture 31: Bearing in the center of the glass plate
Page 28
Setup and Assembly Manual

