A.9.1.2
Performing the White Balance Adjustment
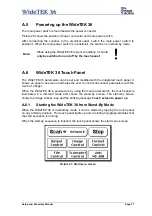
Start the scanner as described in chapter A.6.1. While the start sequence is running, tap
on the touch panel at least
three times successively
.
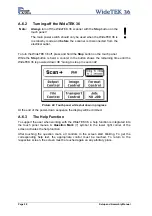
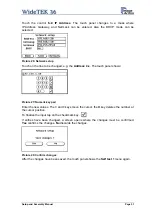
At the end of the start sequence the touch panel shows the menu
Self Test 1
(Picture 25).
Tap on the field
White Balance
to activate the adjustment process.
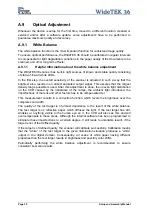
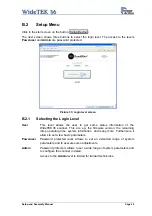
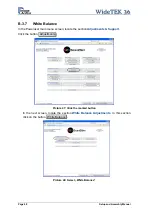
Picture 29: White Balance screen
< Back
Returns to the former screen.
> Cont.
Starts the measurement.
Abort
Stops the measurement and the
display returns to the former
screen.
Place the white balance test target WT36-Z-02-A in the document input. The test target
covers the complete width.
Now tap on
> Cont.
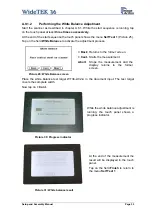
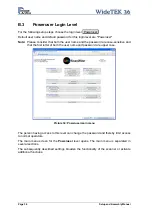
Picture 30: Progress indicator
While the white balance adjustment is
running, the touch panel shows a
progress indicator.
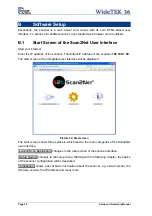
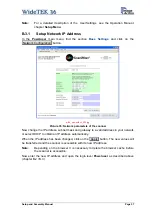
Picture 31: White balance result
At the end of the measurement the
result will be displayed in the touch
panel.
Tap on the field
Finish
to return to
the menu
Self Test 1
.
Setup and Assembly Manual
Page 33


