Selenio
TM
VMG-14+ Hardware Setup Guide
61
Handling Application Modules-Live System
Gen2 Release 1.4.0
Handling
Application
Modules
‐
Live
System
This section describes how to handle the NPM and application modules in a VMG system that is up
and running, in the following topics:
•
“Removing VMG Modules from a Live System” on page 61
.
•
“Replacing VMG Modules at a Live System” on page 62
.
To see instructions for a new (unpopulated and not initialized) system, refer to
Modules—New System” on page 41
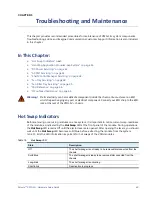
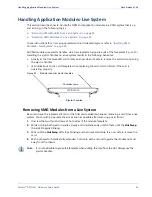
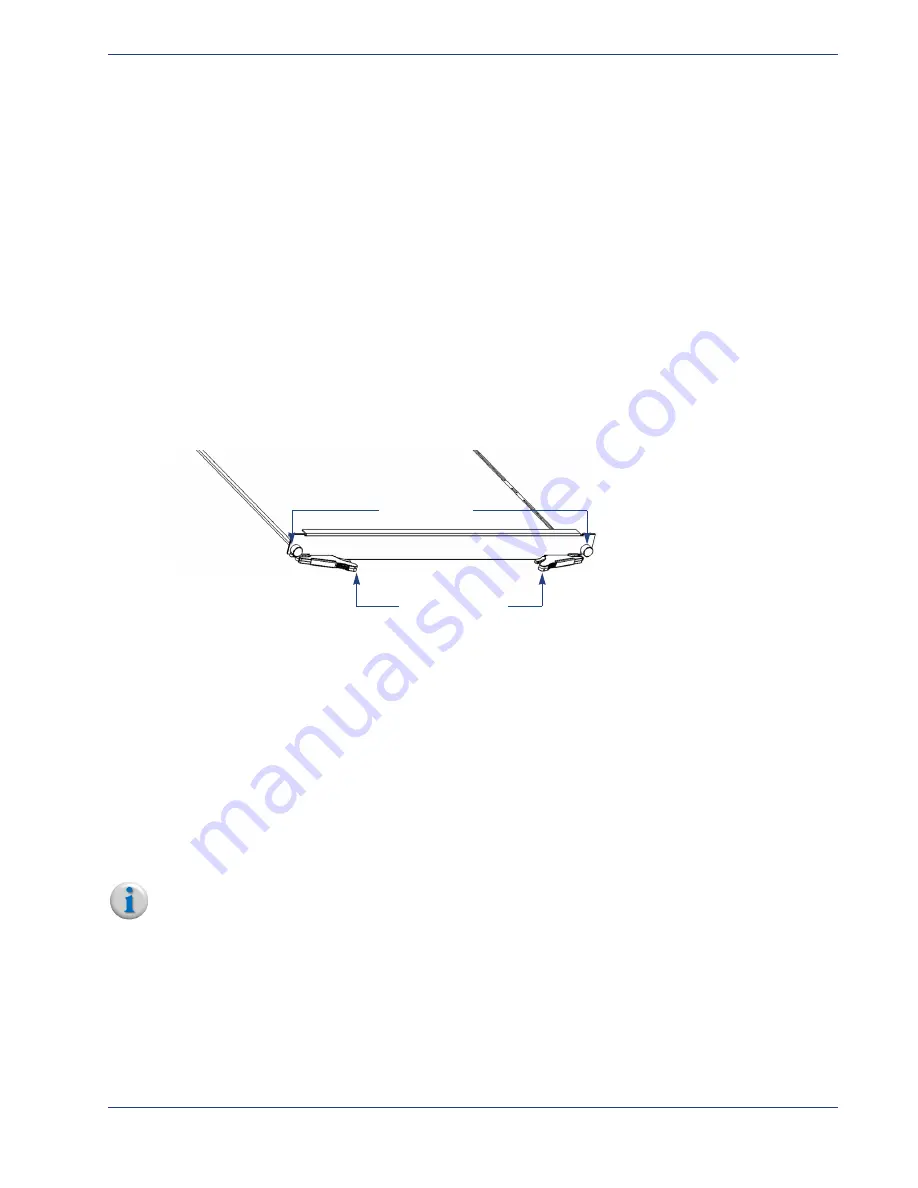
All VMG modules use ejector handles, which are located at opposite ends of the faceplates (
).
Handling the ejector handles on a live system results in the following behaviors:
•
Activity at the Hot Swap LED, which lets you know when it’s safe to remove the card, when opening
the ejector handles.
•
LED indications on the card faceplate when replacing the card, which informs if the card is
operating properly.
Figure 42.
Module (generic) ejector handles
Removing
VMG
Modules
from
a
Live
System
Be sure to have the replacement card or the filler card available whenever removing a card from a live
system. You should re-populate the slot as soon as possible after removing a card from it.
1.
Unscrew the two thumb screws at both sides of the module faceplate.
2.
While holding both ejector handles, slowly and simultaneously unlatch them until the
Hot Swap
(blue) LED begins blinking.
3.
Wait until the
Hot Swap
LED stops blinking and becomes solid blue. It is now safe to remove the
card.
4.
With both ejector handles fully extended, hold onto each and pull to guide the module out and
away from the chassis.
Note:
It is not advisable to grasp the faceplate when pulling the card from the slot. Always use the
ejector handles.
Ejector handles
FACEPLATE
Thumbscrews

