21
6. Inserting Slides
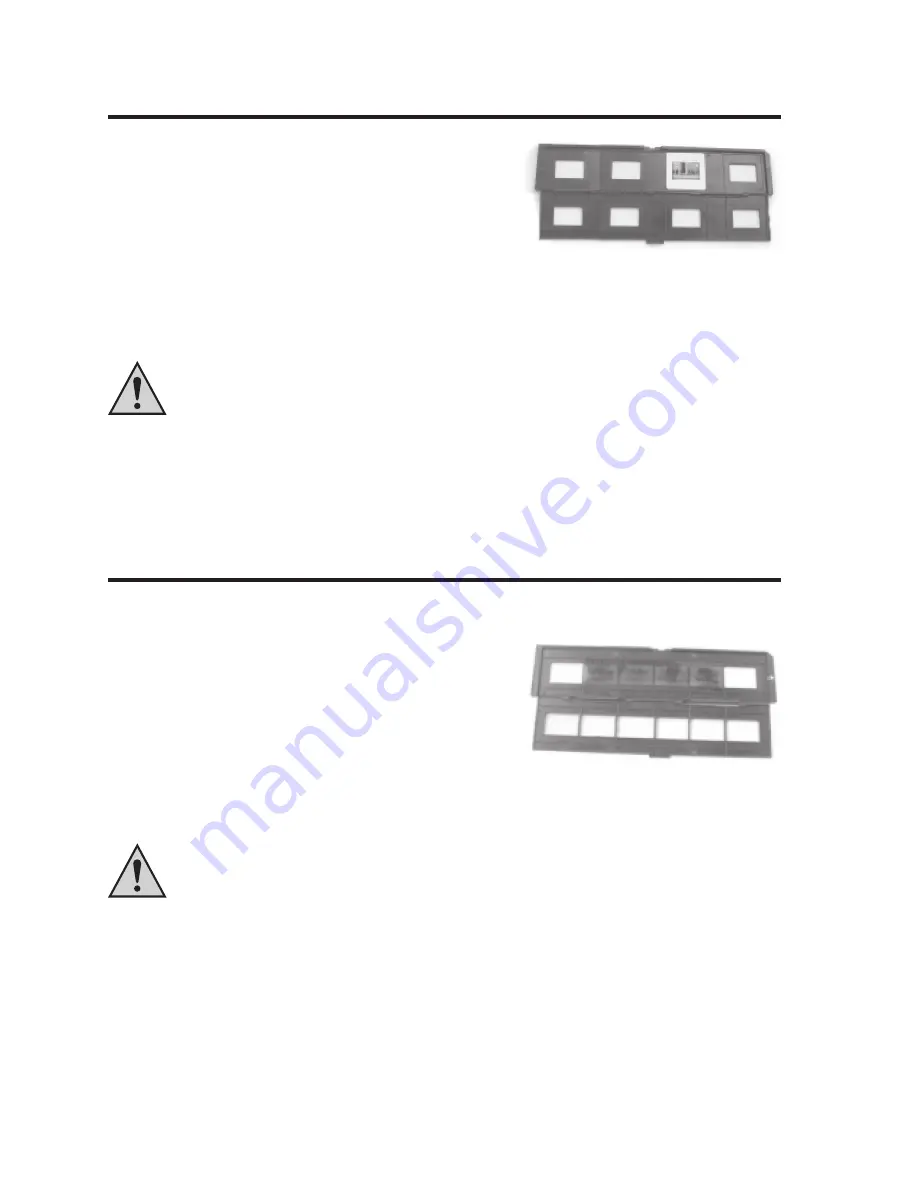
• Open the slide holder at the position marked "OPEN" and fold the
two halves apart.
• Look through the slide into a light source and turn it so that it is not
mirror-inverted.
• Putt he slide on its head (turn it to the left or right by 180°) and insert
it into the slide holder as shown on the right.
• Close the slide holder again.
• When inserting the slide holder in the film scanner, observe the white arrow on the holder.
This side must point forwards; push the slide holder into the film scanner (opening on the right) until the first image
locks.
Do not push the holder into the opening at the left and do not pull it out of the insert on the right again
either! The holder can only be pushed through the film scanner in one direction, from the right to the
left.
The holder must be moved manually; there is no transport mechanism in the film scanner.
• Move the two sliders to the left in the "Film Scanner" position.
Important: If there is still am image holder for a photo (see chapter 8) in the film scanner, remove it!
7. Inserting Negative
• Open the negative holder at the position marked "OPEN" and fold
the two halves apart.
• Look through the negative into a source of light. The numbers on the
negative film should not be mirror-inverted.
• Put the negative on its head (turn it to the left or right by 180°) and
insert it into the negative holder as shown on the right.
• Close the negative holder again.
• When inserting the negative holder in the film scanner, observe the
white arrow on the holder.
This side must point forwards; push the negative holder into the film scanner (opening on the right) until the first
image locks.
Do not push the holder into the opening at the left and do not pull it out of the insert on the right again
either! The holder can only be pushed through the film scanner in one direction, from the right to the
left.
The holder must be moved manually; there is no transport mechanism in the film scanner.
• Move the two sliders to the left in the "Film Scanner" position.
Important: If there is still am image holder for a photo (see chapter 8) in the film scanner, remove it!


