14
EN
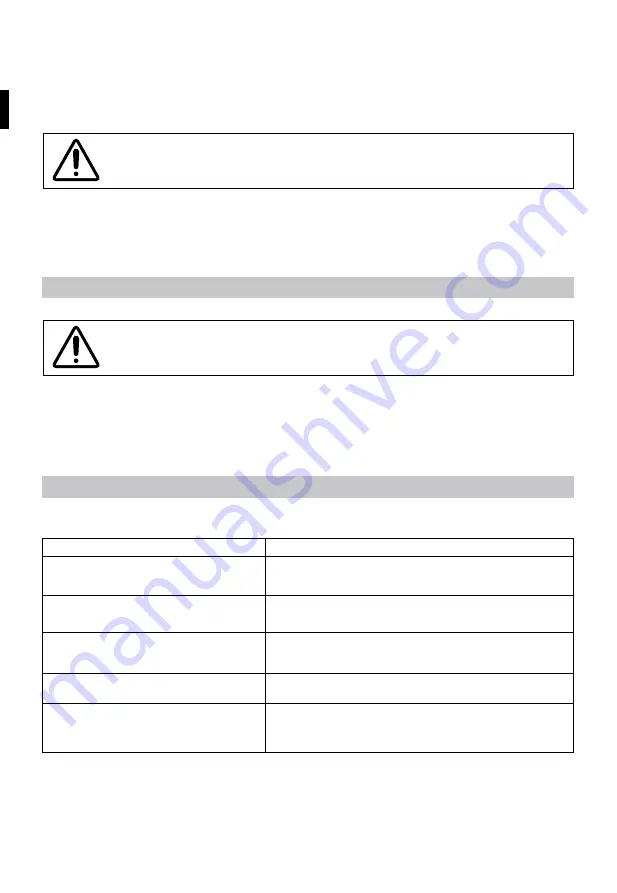
After having followed the assembly operations, operate as follows:
• Insert the plug (6) into the socket;
• Cut the foods to fit the feeding tube
• Insert the ingredients into the feeding tube (2) always using the pusher (1) [Fig. F]
WARNING! always use the pusher (1) for all cutting operations.
• set the O/I switch onto position I to turn on the product
• To turn off the product set the O/I switch (5) on to I position.
• remove the container.
CLEANING AND MAINTENANCE
WARNING! Always disconnect the appliance from the mains
supply before cleaning or performing maintenance.
•
Wash the pusher with vegetable stopper, the cutting cones, the support and the container with warm
water and detergent or in the dishwasher at a temperature below 55°C.
•
Wipe the exterior of the bowl with a damp and well-wrung sponge.
•
dry with a dry cloth.
TROUBLESHOOTING
should one of the problems indicated occur, adopt the proposed solution:
Problem
Solution
The appliance does not work
Make sure that the plug (6) is correctly inserted in to the socket.
Make sure that the feeding tube (2) is correctly mounted on to the main
body.
The feeding tube (2) does not mount on to the main
body (7)
Make sure the support (4) and the cutting cone (3) are correctly mounted.
Poor results
use fruit and vegetables without seeds or stones.
Use firm fruits and vegetables.
The spirals are too thin or brake during the cutting
process
Make sure that the diameter of food is of at least 5 cm
Food brownes quickly after cutting it
use food straight after processing or store in water.
Add lemon juice to fruit to prevent browning


