12
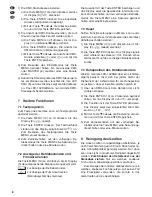
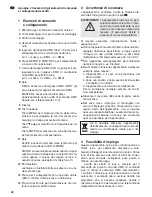
Display on or off
Press the button
or
to select:
The display is always on.
The display is switched off approximately
60 seconds after you press the last button.
It is switched on again when you press the
next button.
To memorize, press the button ENTER.
Display mode
Press the button ENTER to select and to memorize
at the same time:
normal display
display turned by 180°
To exit the setting mode, keep the button MENU
pressed until the unit starts the operating mode
adjusted or wait for one minute.
5
Operation without DMX controller
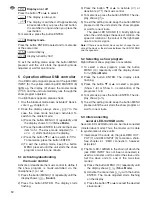
If no DMX control signal is present at the jack DMX
INPUT (5), the yellow indicating LED MASTER (8)
lights up, the display (9) shows the master mode
(
) and the unit automatically runs through the
show program adjusted.
If no light beam appears, please check:
1. Has the blackout mode been activated? Deacti-
vate it,
chapter 4.3.
2. Does the display always show
? In this
case, the slave mode has been activated. To
switch to the master mode:
a) Press the button MENU (10) repeatedly until
the display shows
(
Sl
ave
M
o
d
e).
b) Press the button ENTER to activate the menu
item
. The slave mode adjusted (
or
) starts flashing on the display.
c) Press the button
or
to switch to
.
To memorize, press the button ENTER.
d) To exit the setting mode, keep the button
MENU pressed until the unit starts the show
program or wait for one minute.
5.1 Activating / deactivating
the music control
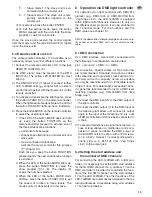
Activate or deactivate the music control to define if
the show program is music-controlled via the
microphone (1) or not:
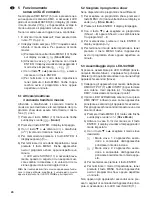
1) Press the button MENU (10) repeatedly until the
display shows
(
Soun
d).
2) Press the button ENTER. The display starts
flashing.
3) Press the button
or
to activate (
) or
deactivate (
) the music control.
4) To memorize, press the button ENTER. The dis-
play shows
.
5) To exit the setting mode, keep the button MENU
pressed until the units starts the show program
or wait for one minute.
The green LED SOUND (11) briefly lights up
when the unit changes the sense of rotation, the
speed of rotation or the colour of the light beam
due to a music signal.
Note:
If there is no optimum music control, change the vol-
ume of the music or the distance between the LED-142RGB
and the speakers.
5.2 Selecting a show program
Eight different show programs are available.
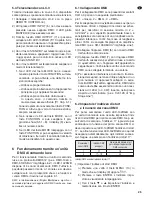
1) To select a show program, press the button
MENU (10) repeatedly until the display shows
(
Sh
ow
M
o
d
e).
2) Press the button ENTER. The display starts
flashing.
3) Press the button
or
to select a program
(Show 1 – 8) or Show 0, a combination of the
programs 1 to 8.
4) To memorize, press the button ENTER. The dis-
play shows
.
5) To exit the setting mode, keep the button MENU
pressed until the unit starts the show program or
wait for one minute.
5.3 Interconnecting
several LED-142RGB units
Several LED-142RGB units can be interconnected
(master / slave mode). Thus, the master unit is able
to synchronize all slave units.
1) Interconnect the units via the jacks DMX OUT-
PUT (7) and DMX INPUT (5) to create a chain.
See chapter 6.1 “DMX connection”, however,
skip step 1.
2) The first LED-142RGB in the chain (of which the
jack DMX INPUT has not been connected) is
used as a master unit to control the slave units.
Set the slave units to one of the two slave
modes:
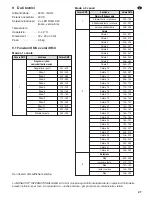
a) Press the button MENU (10) repeatedly until
the display shows
(
Sl
ave
M
o
d
e).
b) Activate the menu item
with the button
ENTER. The mode adjusted starts flashing
on the display:
c) Press the button
or
to select the desired
slave mode:
GB


