8.7 Managing access rights
8.7.1 Entering passwords
When the unit is switched on, the access
level “User” will usually be selected
(
chapter 6.1). To go to a higher access
level, call up the menu item “Hardware
±
Enter Password” and enter the password.
8.7.2 Changing passwords
To change the password in the current
access level, or, in the level “Develop-
ment”, to change the passwords for a lower
access level, call up the menu item “Hard-
ware
±
Configure
±
Change Password”
or “Hardware
±
Passwords
±
User/Admin/
Developer Password”.
To change the password of the current
level, first enter the current password, then
enter the new password, and finally re-
enter the new password to confirm it. Pass-
words for lower access levels can be
directly entered and will also be displayed.
In the level “Development”, individual
presets can be saved with separate pass-
words. Prior to saving a preset, make
the desired settings via the menus “Pre-
set
±
Passwords
±
Admin Password” and
“ …
±
Developer Password”.
Important:
Passwords saved with the pre-
set will take precedence over system pass-
words. When a preset is called up which
has been saved with individual passwords
for the access levels “Administrator” and
“Development”, the system passwords for
these levels will be invalid.
8.7.3 Changing access rights
Via the menu branch “Hardware
±
Config-
ure
±
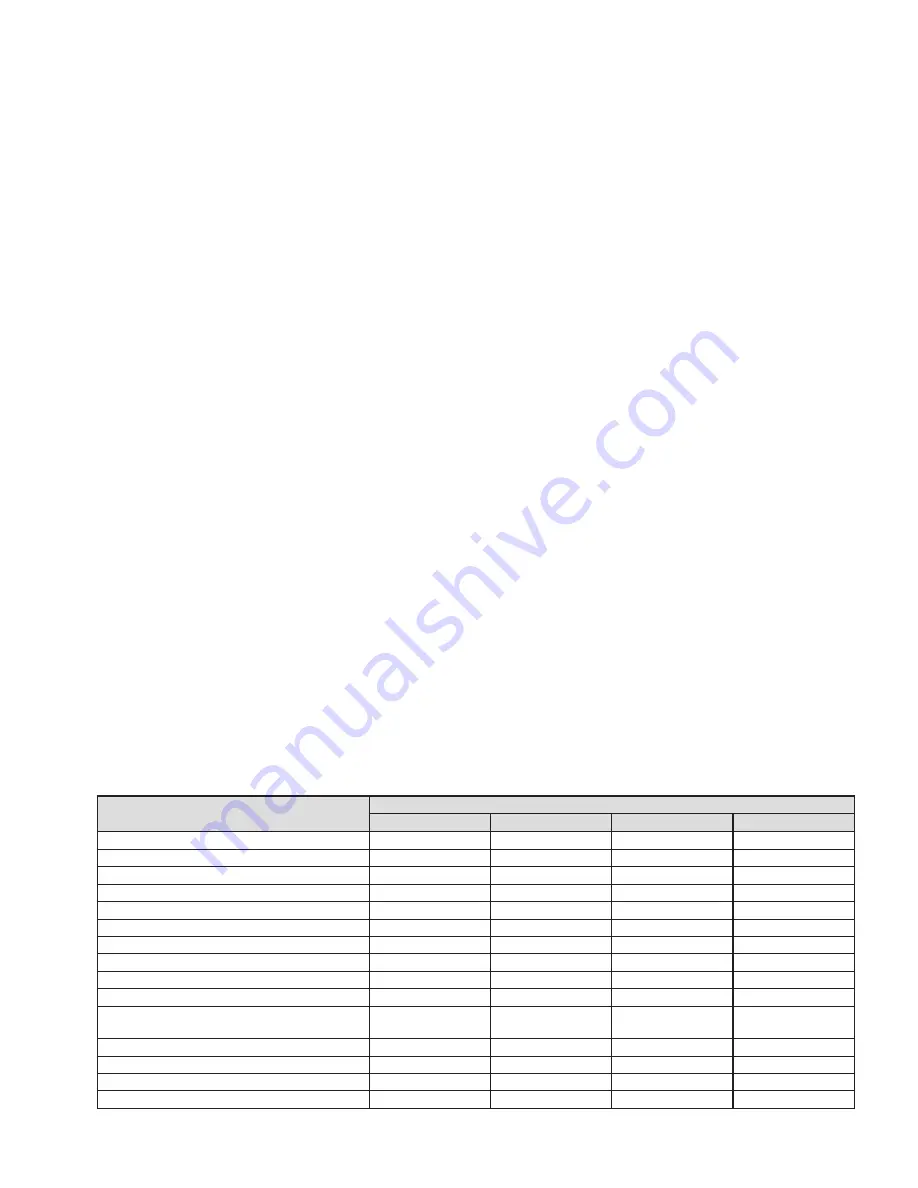
Access Rights”, the access rights for
lower access levels can be defined. The
table (fig. 12) shows the options and fac-
tory-set values for the individual levels.
Particular rules apply concerning the
access to the settings of the input parame-
ters and output parameters. The access
rights for these settings (Access Input/Out-
put Channel) are exclusively saved on the
level “Development” (together with the cor-
responding preset). Prior to saving a pre-
set, make the settings desired via the cor-
responding menu “Preset
±
Access Rights
±
Locked Access Rights”, “…
±
User
Access Rights” and “ …
±
Admin Access
Rights”.
8.8 Locked State
Call up the menu item “Hardware
±
Lock
Unit” to go to the lowest access level
“Locked State”. A message will appear to
inform you that you can exit this level
only by entering the valid password of a
higher level. Click “OK” to confirm this mes-
sage.
8.9 Standby
Call up the menu item “Hardware
±
Go to
Standby” to set the unit to the standby
mode. To return to the normal mode, call up
the menu item “Hardware
±
Exit Standby”
(see chapter 7.3).
8.10 Defining the switch-on preset
Call up the menu item “Hardware
±
Config-
ure
±
Power On Preset” to define the set-
tings that shall apply when the unit is
switched on.
In the list field of the window displayed,
select the preset that is to be automatically
loaded each time the unit is switched on, or
select the option “Last Setting” if the unit is
to use the settings most recently made
before the unit was switched off.
8.11 Saving/Restoring all presets
Call up the menu item “File
±
Backup Pre-
sets” to save all presets of the unit on the
computer, then select the storage location
(folder).
To restore the saved presets, call up
the menu item “File
±
Restore Presets”.
9 Control via a
Tablet Computer
In addition to the supplied control program
for PCs, a control program named “DSP-
CONTROL” for tablet computers is avail-
able in the “App Store” of Apple Inc.
22
E
n
g
li
sh
⑫
Available access rights and their factory-set values
Access Rights
Access Levels
Development
Administrator
User
Locked State
Load Presets
Save Presets
Load Factory File
Create Factory File
Enable Front Panel Access
Enable Display Lock Control
Change User Access Rights
Change Locked Access Rights
Change Unit Name
Lock Automatically After Power Cycle
Change Unit Configuration
(Network, AutoStandby, Startup Preset)
Load an Empty Preset
Upgrade the Unit Firmware
Access Input Channel
Access Output Channel


