20
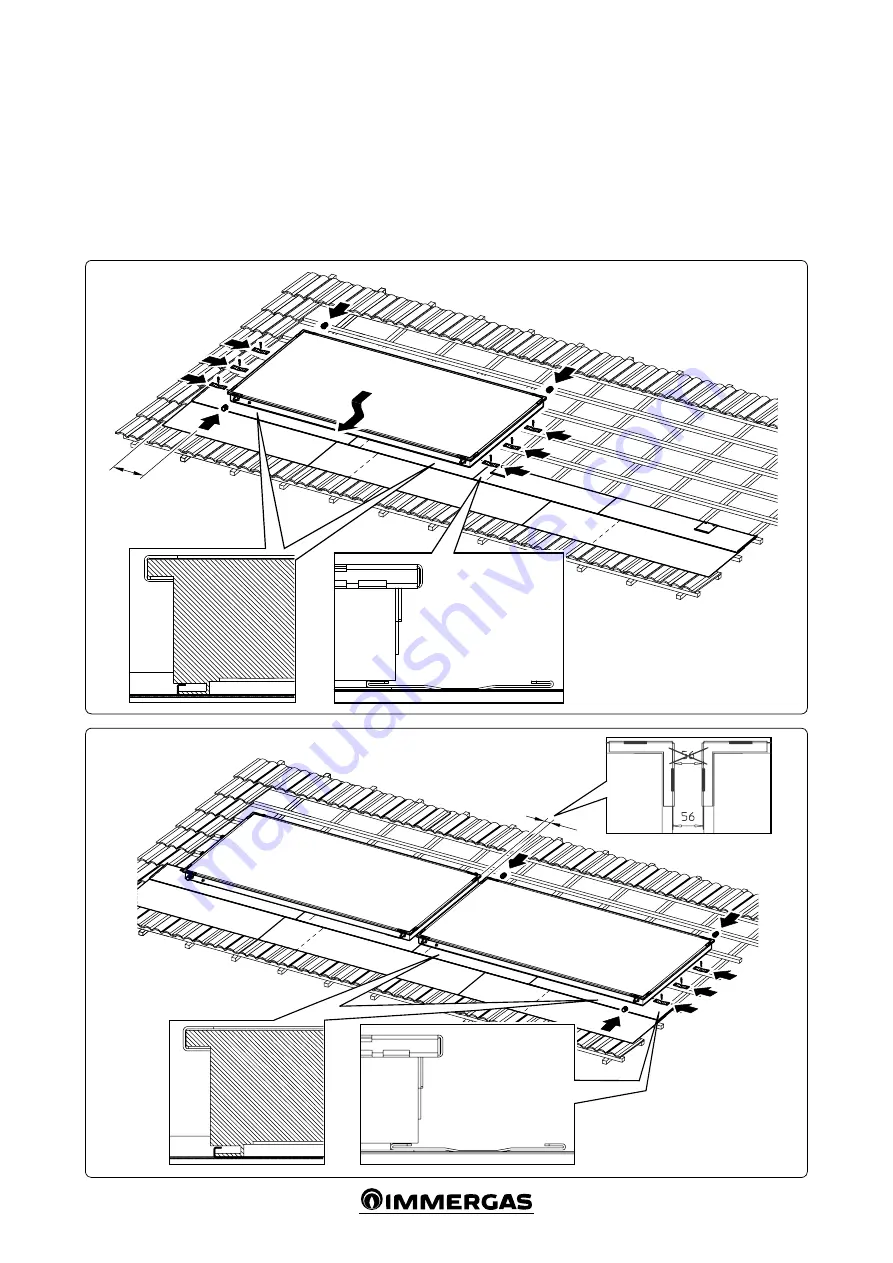
27
28
250
56
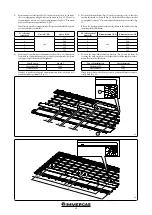
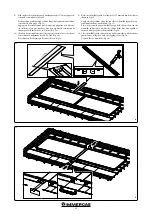
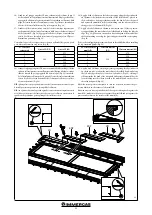
5) Posizionare il 1° collettore (Fig. 27) ad una distanza di 250 mm dal bordo
interno dello scolo SX; assicurarsi che sia appoggiato bene alle squadrette
posizionamento collettore e fissarlo tramite 6 staffe con viti 4x35 in corri-
spondenza dei fori già predisposti, ai traversini del tetto.
6) Inserire ogive e raccordi di collegamento sul primo collettore (Fig. 27).
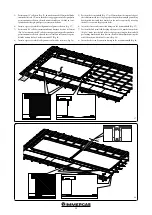
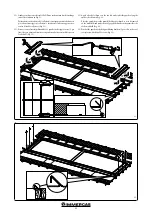
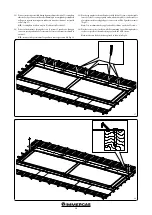
7) Posizionare il 2° collettore mantenendo una distanza fra i due di 56 mm
(Fig. 28); assicurarsi che il 2° collettore sia appoggiato bene alle squadrette
posizionamento collettore e fissarlo successivamente sul lato ancora privo
di staffe tramite le altre 3 staffe con viti 4x35 (Fig. 28).
8) Inserire ogive e raccordi di collegamento sul secondo collettore (Fig. 28).
5) Position the 1st manifold (Fig. 27) at 250 mm from the internal edge of
the left drain; make sure it is properly resting on the manifold positioning
brackets and fix it with the 6 brackets to the roof crosspieces by screwing
the 4x35 screws into the prepared holes.
6) Insert the sleeves and connection fittings on the first manifold (Fig. 27).
7) Position the 2nd manifold, keeping a distance of 56 mm between them
(Fig. 28); make sure the 2nd collector is properly resting on the manifold
positioning brackets and then fix it on the side without brackets using the
other 3 brackets with the 4x35 screws (Fig. 28).
8) Insert the sleeves and connection fittings on the second manifold (Fig. 28).


