25
3-3
1
4
3
2
INS
TALLER
US
ER
MAINTEN
AN
CE TECHNI
CI
AN
3.3 TROUBLESHOOTING
NOTE:
maintenance operations must be carried
out by an authorised company (e.g. After-Sales
Technical Assistance Service).
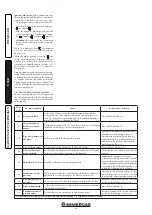
- Smell of gas. Caused by leakage from gas circuit
pipelines. Check sealing efficiency of gas intake
circuit.
- The fan works but ignition discharge does not
occur on the burner ramp. The fan may start but
the safety air pressure switch does not switch
the contact over. Make sure:
1) the intake-exhaust duct is not too long (over
allowed length).
2) the intake-exhaust pipe is not partially blo-
cked (on the exhaust or intake side).
3) the diaphragm of the fume exhaust is adequa-
te for the length of the intake-exhaust duct.
4) the sealed chamber is kept in good condi-
tions.
5) the fan power supply voltage is not less than
196 V.
- Irregular combustion (red or yellow flame).
Can be caused by: dirty burner, clogged lamel-
lar pack, intake - exhaust terminal not installed
properly. Clean the above components and
ensure correct installation of the terminal.
- Frequent activation of the temperature over-
load thermostat. It can depend on reduced
water pressure in the boiler, little circulation
in the heating system, the blocked pump or
an anomaly of the boiler P.C.B. Check on the
pressure gauge that the system pressure is
within established limits. Check that radiator
valves are not all closed.
- Presence of air in the system. Check opening of
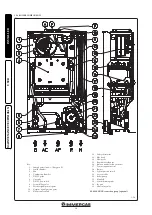
the special air vent valve cap (Fig. 1-28). Make
sure the system pressure and expansion vessel
factory-set pressure values are within the set
limits; the factory-set value for the expansion
vessel must be 1.0 bar, and system pressure
between 1 and 1.2 bar.
- Ignition block. (Par. 2.4).
- Low water flow: if, as a result of limescale
(calcium and magnesium), the domestic hot
water system does not work properly, contact
a qualified technician for descaling e.g. After-
Sales Technical Service. Descaling must be
carried out on the domestic hot water side of
the bithermal heat exchanger in accordance
with good practice. To preserve integrity and
efficiency of the heat exchanger, a non corro-
sive descaler must be used. Cleaning must be
carried out without the use of tools which can
damage the heat exchanger.
3.4 CONVERTING THE BOILER TO
OTHER TYPES OF GAS.
If the boiler has to be converted to a different
gas type to that specified on the data nameplate,
request the relative conversion kit for quick and
easy conversion.
The gas conversion operation must be carried
out by an authorised company (e.g. After-Sales
Technical Assistance).
To convert to another type of gas the following
operations are required:
- remove the voltage from the appliance;
- replace the main burner injectors, making sure
to insert the special seal rings supplied in the
kit, between the gas manifold and the injectors;
- apply voltage to the appliance;
- select, using the boiler key, the gas parameter
type (P01) and select (
nG
) in the case of me-
thane supply or (
LG
) in the case of LPG supply
and save it;
- Carry out complete calibration of the gas valve:
• adjust the boiler nominal heat output;
• adjust the boiler nominal heat output in
domestic hot water phase;
- adjust the boiler nominal heat output in heating
phase (para. 3.7 parameter “P5”);
- adjust (eventually) the maximum heating
power (para. 3.7 parameter “P6”);
- after completing conversion, apply the sticker,
present in the conversion kit, near the data-
plate. Using an indelible marker pen, delete
the data relative to the old type of gas.
These adjustments must be made with reference
to the type of gas used, following that given in
the table (Par. 3.15).
3.5 CHECKS FOLLOWING
CONVERSION TO ANOTHER TYPE
OF GAS.
After making sure that conversion was carried
out with a nozzle of suitable diameter for the
type of gas used and the settings are made at the
correct pressure, check that:
- there is no flame in the combustion chamber
- the burner flame is not too high or low and that
it is stable (does not detach from burner);
- the pressure testers used for calibration are
perfectly closed and there are no leaks from
the gas circuit.
NOTE:
all boiler adjustment operations must be
carried out by an authorised company (e.g. After-
Sales Technical Assistance). Burner adjustment
must be carried out using a differential "U" or
digital type pressure gauge connected to the
pressure socket located above the sealed cham-
ber (part. 9 Fig. 1-28) and the gas valve pressure
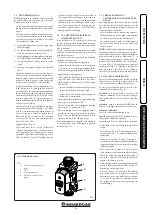
outlet (part. 1 Fig. 3-3), keeping to the pressure
value given in the table (Par. 3.15) according to
the type of gas for which the boiler is prepared.
3.6 GAS VALVE CALIBRATION.
The valve calibration must be carried out when
the gas valve or the P.C.B. is replaced or in the
case of conversion to a different type of gas.
To access the calibration phase, proceed as de-
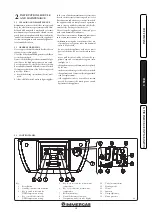
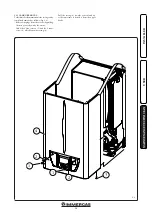
scribed below (references Fig. 2-1):
Attention:
it is not possible to carry out the
complete calibration or the correction of the gas
valve calibration in case of anti-freeze function
enabled.
Attention:
ensure a sufficient DHW flow, in
order to avoid high temperatures of the water.
Complete calibration.
Access the valve calibration function.
Note:
there must be no D.H.W. demand to access
the gas valve calibration function.
Set parameter P15 to 5 and exit from the menu.
• Adjustment of boiler nominal thermal heat
output.
- Press buttons (2) and (5) simultaneously for 5
seconds until "Au" + "to" appears alternately on
the display.
Note:
press buttons (2) and (5) again for 5
seconds or wait 2 minutes without implemen-
ting any adjustment to exit from the complete
calibration phase.
- Wait until the parameter b02 appears
(adjustment of the boiler nominal heat output).
Note:
the boiler starts up in heating mode; if
you wish to adjust the D.H.W., open a hot water
tap after the burner goes on.
- Adjust parameter b02, observing the maximum
pressure values stated in the tables (Para. 3.15)
depending on the type of gas.
- Press the button (5) to increase the thermal
power and button (6) to decrease it. After the
adjustment, press and hold the reset button
(1) to save the parameter. Confirmation that
the parameter has been saved is given by the
value flashing.
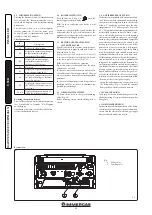
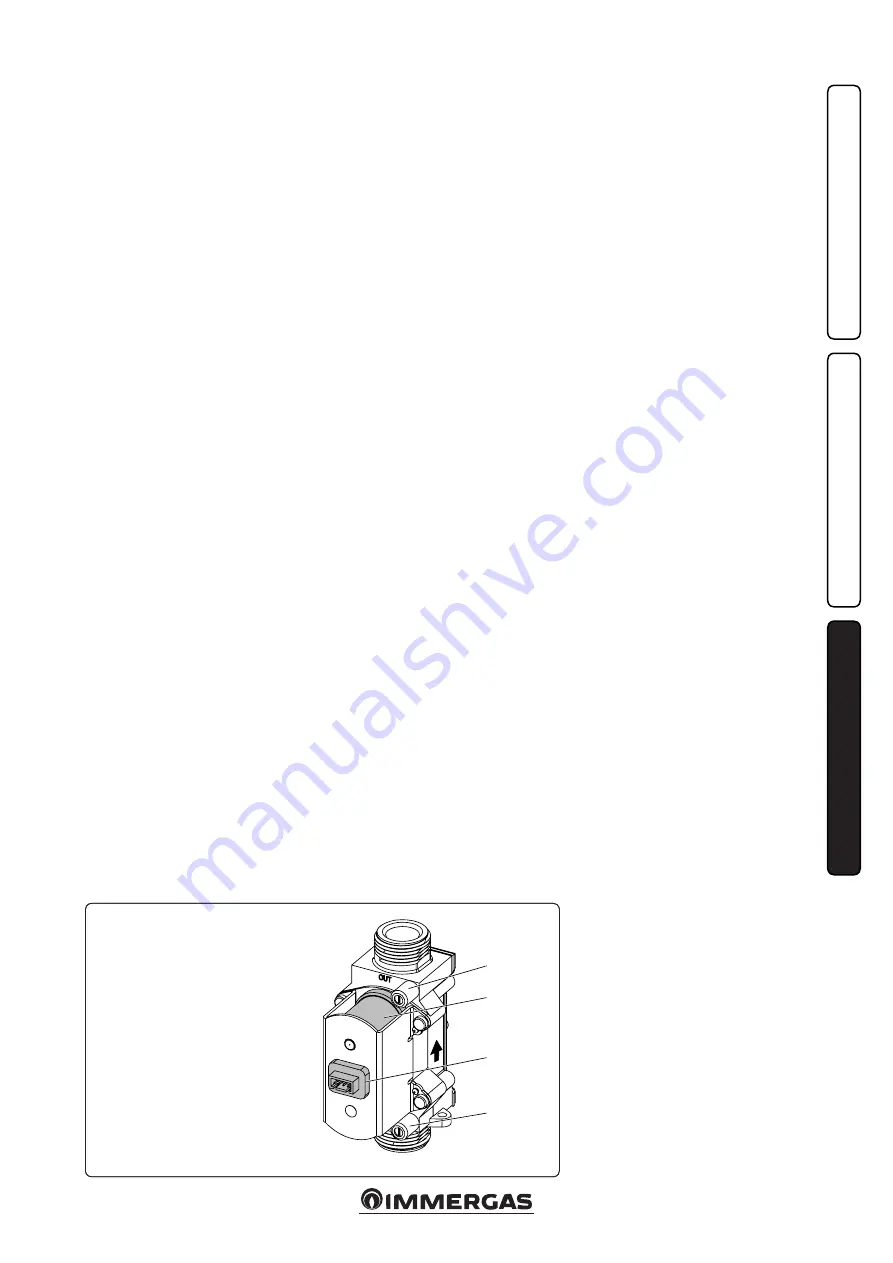
SGV 100 B&P GAS valve
Key:
1 - Gas valve outlet pressure
point
2 - Coil
3 - Wiring connector
4 - Gas valve inlet pressure
point
3-3
Summary of Contents for EOLO STAR 24 5E
Page 1: ...EOLO STAR 24 5E IE Instructions and warning book 1 040471ENG ...
Page 2: ......
Page 33: ......
Page 34: ......
Page 35: ......


