background image

  CIRCUIT BREAKERS

•  The ThermoTread GT is a very power-efficient device and should work perfectly well on standard 10A circuits (i.e. any power outlet 

in the home or office). A special high-amp circuit is not required as would often be the case with a running treadmill. As long as 

the ThermoTread GT is the only device on the circuit (recommended), it should never trip a 10A circuit breaker in normal use. 

Maintaining a proper lubrication schedule is essential to keeping friction at bay and power consumption minimized, extending the 

useful life of the equipment, and keeping the warranty intact.

•  If you find that your treadmill is tripping a circuit breaker then immediately stop using the treadmill and make sure it is properly 

cleaned, and lubricated with iMovR-brand, 100% silicone lubricant. If there is a lot of dirt under the belt follow the instructions in this 

manual for Cleaning The Tread-Belt. Depending on the age of the unit, it may need a new belt and/or walking deck if it continues to 

trip a 10A circuit breaker. Contact iMovR Customer Care for assistance with obtaining parts and scheduling a service call.

•  Some circuit breakers used in homes are not rated for high inrush currents that can sometimes occur when using a treadmill. In the 

highly unusual circumstance that your treadmill is tripping the house/office circuit breaker but the circuit breaker on the treadmill 

itself does not trip, you will need to replace the home/office breaker with a high inrush type. This is not considered a warranty defect. 

This is, unfortunately, a condition that we as a manufacturer have no ability to control. High inrush circuit breakers are available at 

most hardware stores.

SAFETY KEY

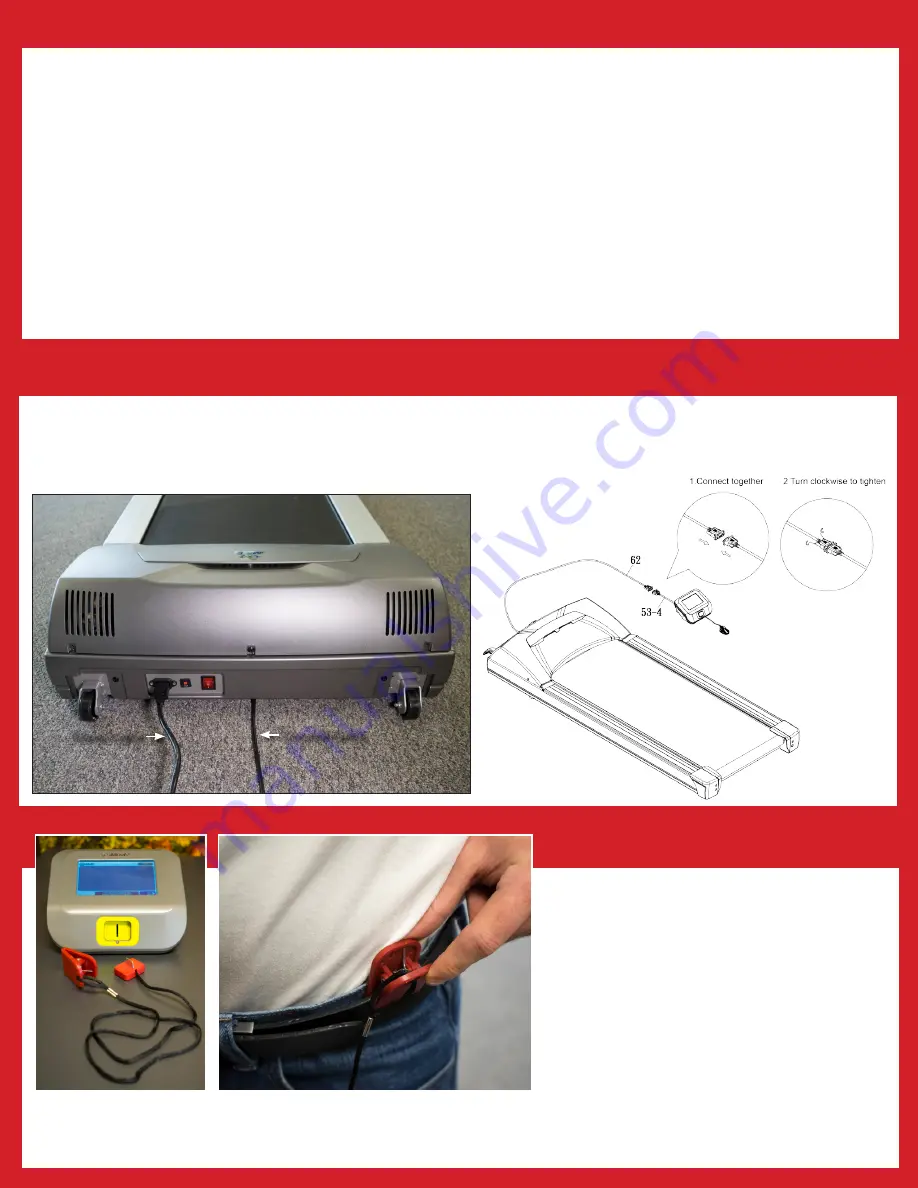
A Safety Key with Tether Cord and Clip is provided with 

this treadmill. Its intent is purely for user safety should 

you fall or move too far back on the treadmill belt. 

First fasten the plastic clip onto your clothing in a 

secure manner to ensure good holding power, while 

allowing enough slack in the cord to provide safe and 

unimpeded walking. Then insert the red safety key into 

the front of the control console. Your treadmill will NOT 

start or operate without this. Removing the safety key 

also secures the treadmill from unauthorized use.

Be familiar with its function and limitations. The treadmill will stop, depending on speed, with a one to two step coast anytime the safety 

key is pulled out of the console. Replace the safety key into the slot on the front of the console, and then use the STOP/RESUME/START 

button to return to normal operation.

CONNECTING THE CONSOLE

The console will become operational when you connect the 15-pin plug to the 15-pin socket on the rear of the treadmill. Be sure to 

tighten up the securing pins for a solid connection.
Once the connections are established and the treadmill is turned on (via the red “rocker” switch in the rear), the console will activate.

5

Connect Upper Computer Cable (53-4) 

for the console (53) with 15-PIN Lower 

Computer Cable (62) from the Main 

Frame (1) and tighten securely.

Back of Treadmill

Power Cable

Console Cable

Summary of Contents for TermoTread GT

Page 1: ...OWNER S MANUAL Office Walking Treadmill by iMovR ThermoTread GT...

Page 2: ...nment not a noisy gym It is intended to work together with a stable height adjustable desk at typical walking speeds of 1 0 to 2 0 mph with a maximum speed of 2 5 mph Being that walking on a treadmill...

Page 3: ...nd never block access to fire safety equipment Use a level to make sure that the treadmill is perfectly horizontal as most floors are slightly uneven Use the adjustable leveling feet on the treadmill...

Page 4: ...r prolonged use quality athletic shoes are recommended to avoid leg fatigue Keep children and animals away from an operating treadmill Keep hands and loose clothing e g scarves ties away from all movi...

Page 5: ...the home office breaker with a high inrush type This is not considered a warranty defect This is unfortunately a condition that we as a manufacturer have no ability to control High inrush circuit bre...

Page 6: ...ofile the next screen that appears is Caution Liability Waiver Screens CONSOLE SCREEN DISPLAY OPERATION CAUTION LIABILITY WAIVER SCREENS This liability waiver must be agreed to in order to use the The...

Page 7: ...Timer Presets Audio Settings and Screen Settings Press the SETTINGS button then the Work Mode screen will appear GET SET WORK MODE In WORK MODE the Walking Default setting appears Use the up and down...

Page 8: ...sult is your Average Stride Length For example Arthur sets his ThermoTread GT to 1 5 mph and finds a comfortable walking stride He uses the time on the treadmill console to measure out sixty seconds a...

Page 9: ...breaks These breaks are a great time to stretch These settings allow you to customize your timer breaks Use the arrow buttons to select your desired times for each break 2ND SCREEN AUDIO PRESETS Touch...

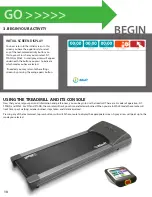
Page 10: ...the orange gears button USING THE TREADMILL AND ITS CONSOLE Now that you ve set your personal information and preferences you can begin to use the treadmill There are 3 modes of operation SIT STAND an...

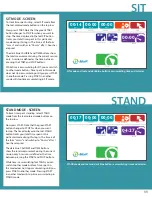
Page 11: ...00 MM SS MM SS MM SS MM SS MM SS SIT START CALORIES STAND SIT WALK 1 SETTINGS TIME EXIT TIMER 00 00 00 14 00 00 00 00 00 14 0000 MM SS MM SS MM SS MM SS MM SS SIT MODE SCREEN To track time spent sitti...

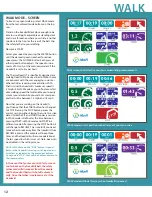
Page 12: ...the STOP button pauses the current session without losing the current session data Unlike the SIT and STAND modes a session in WALK mode is defined as the time between pressing START in WALK mode and...

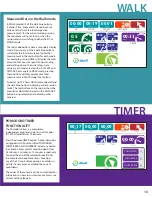
Page 13: ...d on the DISTANCE button being selected and indicating miles covered STEPS CALORIES STAND SIT WALK 1 MILES TIME DISTANCE 0 5 SPEED SLOWER FASTER TIMER 00 33 01 51 00 01 00 042 0004 SETTINGS EXIT MM SS...

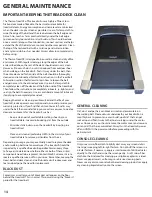
Page 14: ...ing some extra measures to create a cleaner environment for the treadmill such as Keep a clean pair of comfortable walking shoes by your treadmill desk to avoid introducing dirt from the outside Minim...

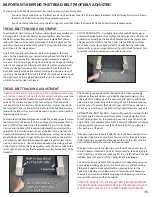
Page 15: ...osition after each turn of the bolt If the belt is too close to the left side then turn the bolt one quarter turn to the right clockwise and wait for a few minutes for the belt to adjust itself If nec...

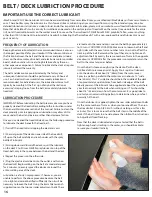
Page 16: ...f the deck on one side of the treadmill lift up on the belt carefully and reach under with the spray bottle of lubricant 3 Aiming downward toward the deck squirt the lubricant on the deck 2 to 4 times...

Page 17: ...caused by high belt deck friction First try lubricating the treadmill belt If it continues to trip try slightly loosening the treadmill belt Refer to General Maintenance section b Interference from ot...

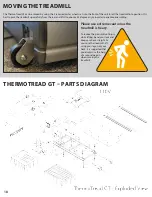
Page 18: ...he treadmill up carefully from the rear and lift it to about a 45 degree angle in order to enable easier rolling Please use extreme caution as the treadmill is heavy To reduce the possibility of injur...

Page 19: ...to the internet To download the most up to date software connect your USB cable to your computer and visit http www imovr com treadmill software download IMPORTANT Use this cord only while updating s...

Page 20: ...Version 1 0 7 2015 ThermoTread GT...

Reviews: