6
10. Adjust the speed of this function by using the
program "T-O-T" toggle switch (momentary - zero
- momentary). Push the toggle switch toward "+"
to increase speed, toward "-" to decrease speed.
Adjust the function speed to move as slowly as
possible. This helps to achieve a smooth start
when this function is activated.
11. To set maximum speed - Deflect the joystick to its
maximum position. Push the program toggle
switch toward "+" to increase speed, toward "-" to
decrease speed.
The receiver can program only one function at a time.
Make sure that only one axis is deflected at a time.
When function adjustment is complete in one direction,
repeat the procedure above for the other directions and
functions. Remember to set values for both high and
low ranges.
After all adjustments are complete, wait at least 10
seconds before turning the transmitter off. The new
values will be automatically stored into the system’s
memory.
If problems occur during the adjustment procedure,
you can revert to the default values of the system.
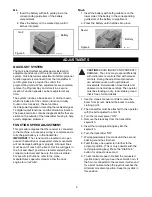
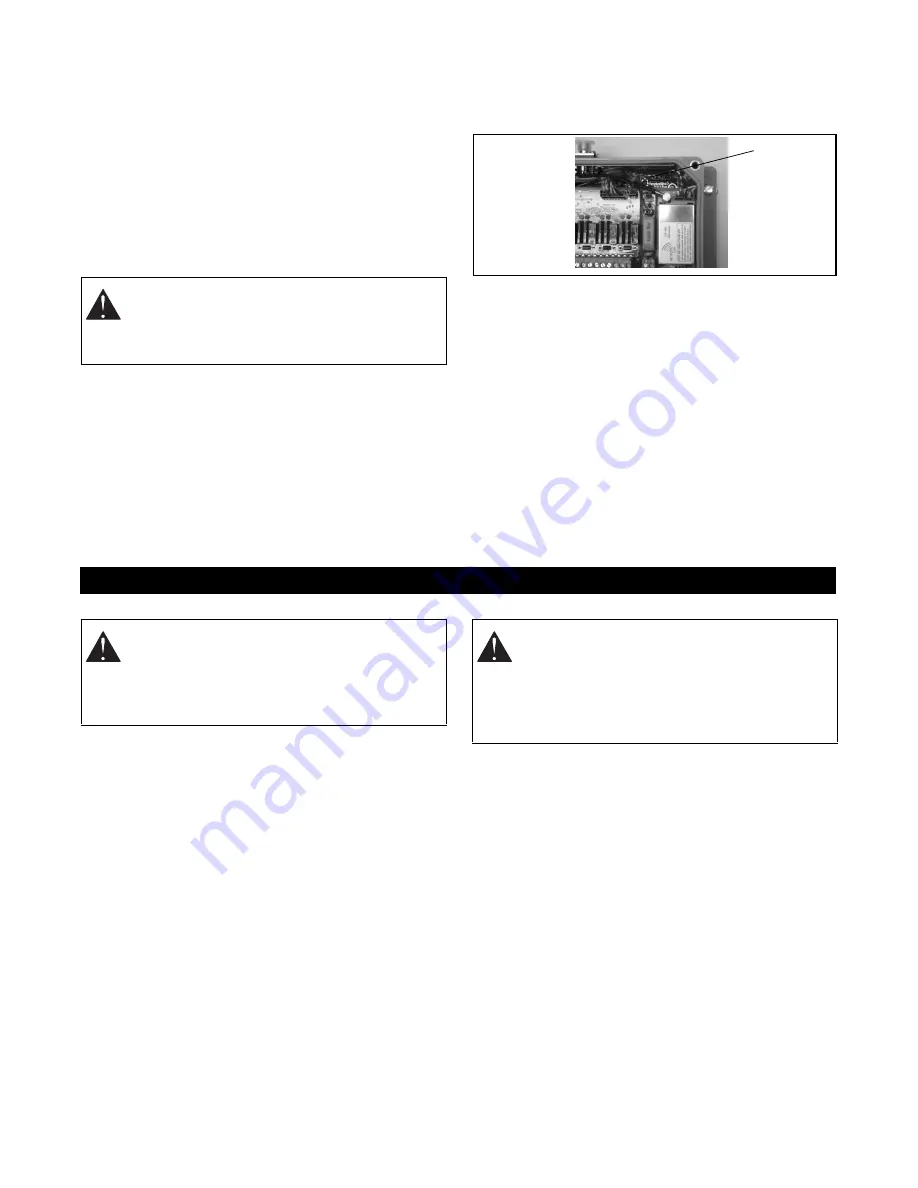
Remove the receiver lid and press the reset button on
the board. Reinstall the receiver lid.
ADDRESS SETTINGS
The address settings are pre-set at the factory in the
ADMO module. However, if the transmitter coder
board, the BMS-1 Base Board, or if the entire
transmitter or receiver are replaced, the ADMO
address must match the system.
IMPORTANT:
If the ADMO settings of the transmitter
and receiver do not match, the system will not function.
The safety checks as described in the following
paragraphs must be completed before the radio remote
control system is activated. These checks must be
performed at least once a day, before the start of any
operation and at all shift changes.
IMPORTANT:
A transmitter drawing is included with
each system. Transmitter layout and inscriptions may
vary according to customer requests. In most cases,
however, the inscriptions are identical to that of the
present control. The only difference is that the machine
is controlled without a cable control. Consult the
machine manufacturer’s operator manual and the
transmitter drawing for additional information on the
arrangement of the transmitter’s operating elements
and their corresponding functions. The following
description refers to the control elements and specific
functions of the radio remote control.
VISUAL CHECK
Always check the transmitter for any physical damaged
before any operation.
• Always keep safety features, guards and controls
in good repair, in place and securely fastened.
• Check equipment for wear or damage.
• Check rubber cuffs and pushbutton caps for wear
or damage.
IMPORTANT:
Never operate a transmitter with worn or
damaged parts. Replace immediately with only
authorized
parts. Contact
IMT
or your Dealer.
START-UP PROCEDURE
This procedure must be carefully followed before
beginning any operation.
WARNING:
AVOID INJURY - The crane is
moving during the adjustment of the
functions. Be sure the work area is clear of
obstacles and bystanders.
Reset
Button
BMS_0010
Figure 7
OPERATION
WARNING:
FAILURE TO FOLLOW
INSTRUCTIONS could result in personal
injury and/or damage to equipment. Read and
understand the safety instructions in all
manuals provided.
WARNING:
FAILURE TO FOLLOW
INSTRUCTIONS could result in personal
injury and/or damage to equipment. Test the
"EMERGENCY STOP" function as described
in the machine manufacturer’s operator
manual before beginning any operation.
Summary of Contents for 16000-SIII
Page 13: ......

